Landscape photographers love data, but they also know numbers never tell the whole story. Sony Lens Compare Beta can be a genuinely helpful tool when you are deciding between focal lengths, checking edge performance, or comparing how two lenses might behave for big scenic compositions. Still, outdoor shooters often debate whether charts and samples fully capture the traits that matter most in the field: flare resistance at sunrise, balance on a long hike, weather confidence, and how a lens really draws a scene. Here are a few practical tips for using the tool more effectively without letting it become your only decision-maker.
Start with the focal length question, not the sharpness chart
1. Compare lenses based on the landscapes you actually shoot
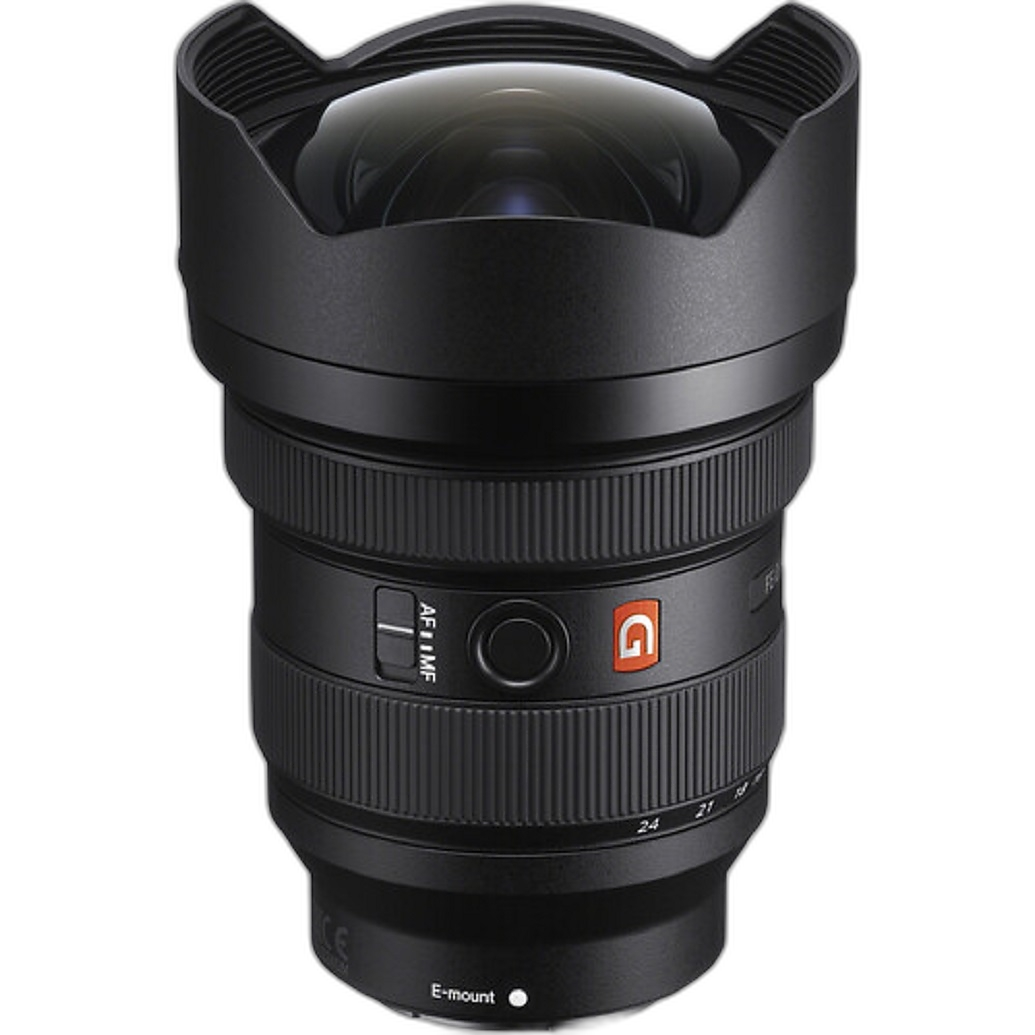
Before zooming in on corner performance, decide what kind of landscapes you photograph most. If you are shooting dramatic foregrounds, towering skies, and tight spaces, an ultra-wide option like the Sony FE 12-24mm f/2.8 GM Lens makes far more sense to compare at the wide end than simply asking which lens is “better” overall.
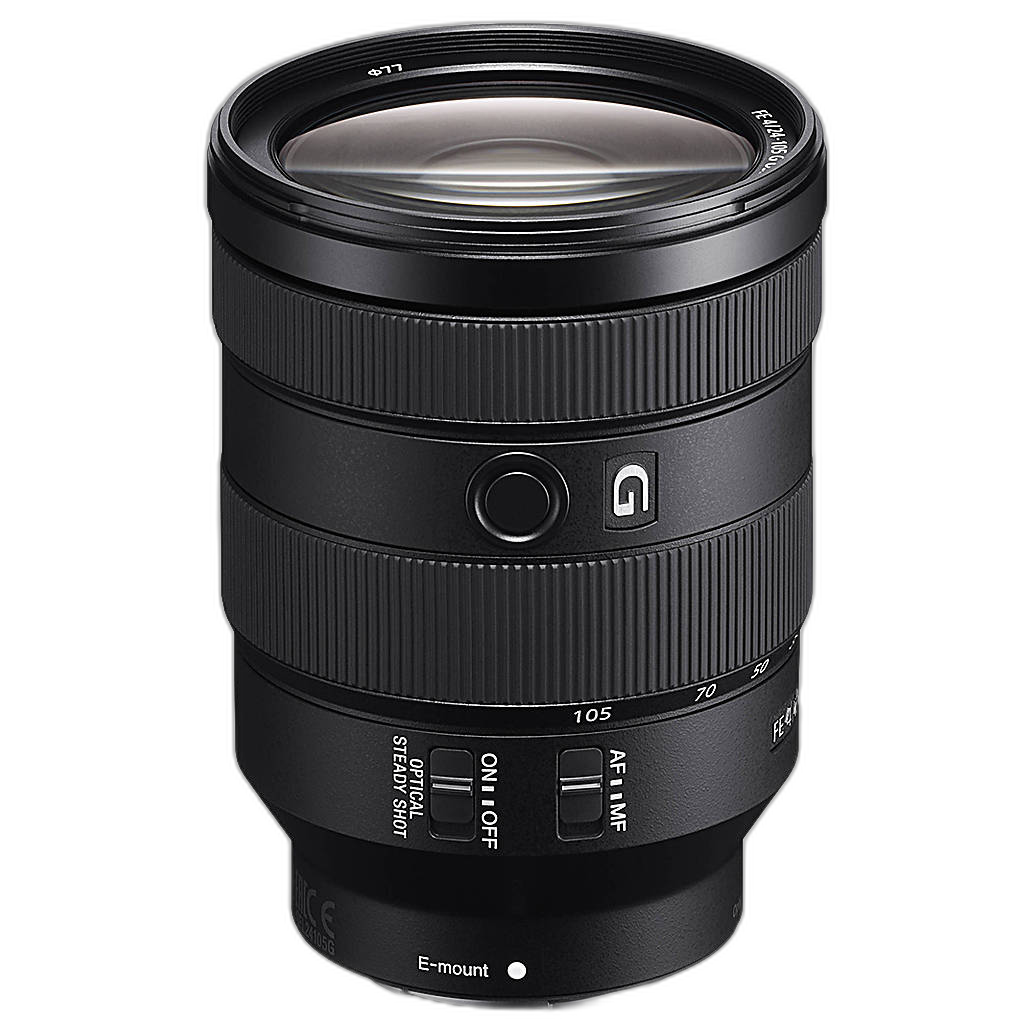
On the other hand, if your outings include roadside vistas, stitched panoramas, compressed mountain layers, and general travel landscapes, the Sony FE 24-105mm f/4 G OSS Lens may be the smarter lens to evaluate because of its much broader framing range.
The useful takeaway: Lens Compare Beta is most valuable when you already know whether you need 12mm drama or 105mm flexibility.
Use the tool to study edge and corner behavior carefully
2. Landscapes reveal weaknesses outside the center of the frame
For outdoor photography, edge-to-edge performance matters more than it does in many other genres. Tree branches, rock textures, distant ridgelines, and stars near the borders can quickly expose softness or field curvature. When using Sony Lens Compare Beta, spend extra time looking at the outer image areas, not just the center crop.
- Check wide-open performance and stopped-down performance.
- Look at corners at focal lengths you would actually use in the field.
- Pay attention to whether the edges clean up evenly or only improve slightly.
This is where a lens like the Sony FE 12-24mm f/2.8 GM Lens becomes especially interesting for landscape shooters, because ultra-wide work puts enormous pressure on corners. Meanwhile, the Sony FE 24-105mm f/4 G OSS Lens is worth examining at both 24mm for classic landscapes and toward the long end for compressed scenes.
Compare at realistic apertures for outdoor work
3. Don’t judge a landscape lens only at its maximum aperture
Many shooters instinctively compare lenses wide open, but landscape photographers often work at f/8, f/11, or occasionally f/16 depending on depth-of-field needs. A comparison tool becomes more useful when you look at apertures that reflect how you actually shoot.
For example, the Sony FE 12-24mm f/2.8 GM Lens may attract attention because of its bright f/2.8 aperture, which certainly matters for night landscapes and astrophotography. But for daytime scenic work, the more relevant question may be how it performs stopped down compared with the Sony FE 24-105mm f/4 G OSS Lens at common landscape settings.
If you only compare wide-open samples, you may overvalue differences that matter less once the tripod is out and the lens is stopped down.
Use the Beta as a filter, not a final verdict
4. The tool is great for narrowing choices, but field traits still matter
This is where many landscape shooters start debating the limits of comparison tools. Sony Lens Compare Beta can show useful image data, but it may miss traits that become obvious only after a sunrise hike or a windy overlook session.
- Flare resistance: Important when shooting into low sun.
- Weather handling: Critical for mist, spray, and mountain conditions.
- Weight and packing comfort: Huge on long walks.
- Filter workflow: Especially important for long exposures and polarizers.
- Zoom ring feel and handling: More meaningful than it sounds during cold-weather shooting.
That is why some photographers will still prefer the versatility of the Sony FE 24-105mm f/4 G OSS Lens for travel-heavy landscape work, even if another lens wins a tighter chart comparison in one area. Likewise, others will accept a more specialized setup for the sweeping perspective of the Sony FE 12-24mm f/2.8 GM Lens.
Pay attention to what the tool may not show well
5. Rendering, flare, and “look” are harder to reduce to data
One of the most common criticisms from experienced outdoor photographers is that comparison tools can underrepresent lens character. Two lenses may both appear sharp, yet one handles contrasty sunrise light more gracefully, shows better microcontrast in rock textures, or produces cleaner transitions in haze and distance.
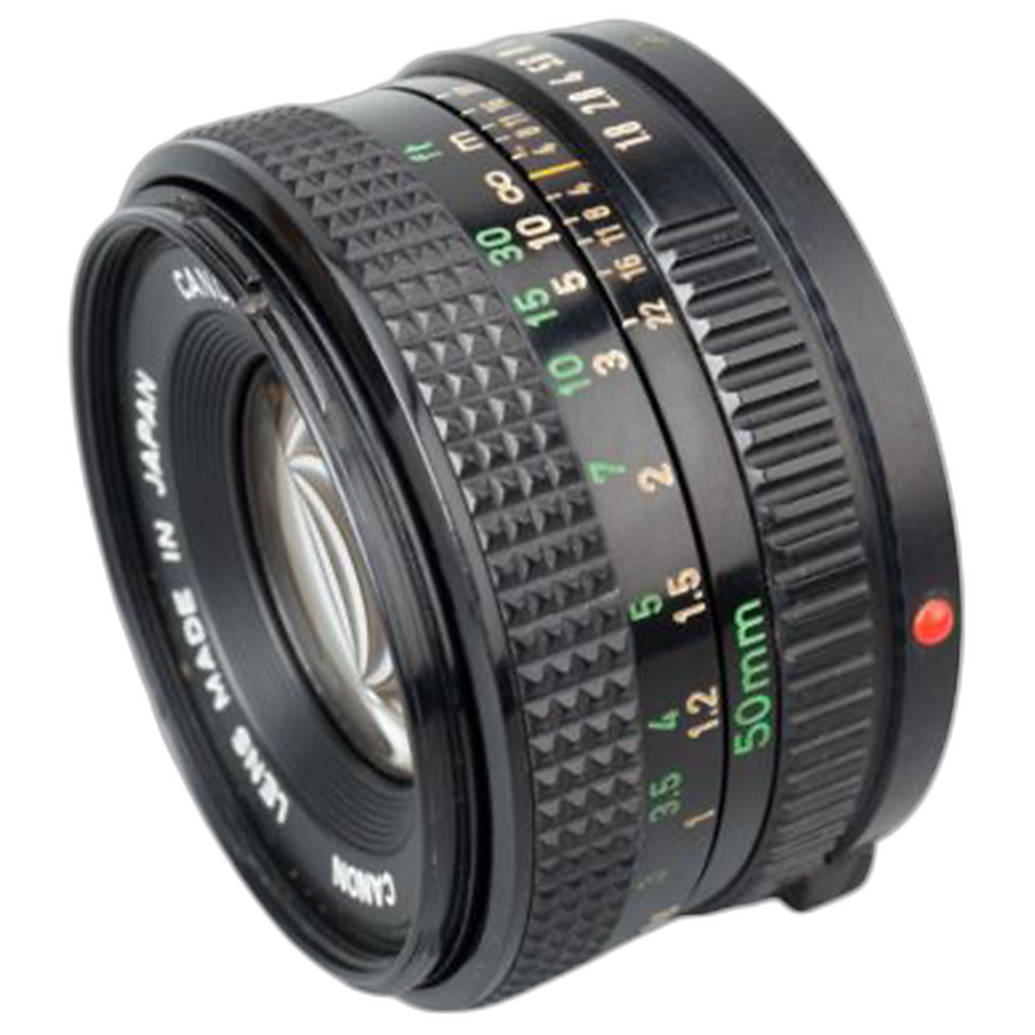
This is not a new debate. Photographers have long appreciated lenses for more than technical perfection, including older optics and distinctive rendering styles. Even a classic piece like a Used Canon FD 50mm f/1.8 Lens - Good reminds us that real-world image character and shooting experience often go beyond what a digital comparison interface can summarize.
So if Sony Lens Compare Beta leaves you feeling like two options look nearly identical, that may simply mean you have reached the point where handling, flare testing, and personal preference matter more than the on-screen data.
Build your own test checklist from what you see
6. Turn comparison results into field-testing priorities
A smart way to use the Beta is to create a short checklist for your real shooting sessions. If the tool suggests small corner differences, test corner foliage and distant detail yourself. If one lens looks stronger at 24mm, bring it into a situation with layered depth and compare files at home. If distortion or vignetting seems relevant, shoot horizons, architecture near scenic areas, or forest interiors with strong verticals.
In other words, let the tool tell you what to investigate next. It should guide your field testing rather than replace it.
Learn faster by pairing comparison with hands-on education
7. Real instruction helps you separate useful specs from distractions
Many photographers get more value from lens data once they understand how it affects composition and technique in the field. A workshop experience like Macro and Landscape Photography at Duke Farms with Michael Downey can help connect lens choice to actual outdoor shooting decisions, from framing and depth to working with changing light.

That kind of experience often reveals an important truth: the best landscape lens is not just the one with the strongest chart result, but the one that fits your location, style, and workflow.
Conclusion
Sony Lens Compare Beta is a useful resource for landscape shooters, especially when you use it to answer focused questions about focal length, edge performance, and likely real-world behavior. Just remember that outdoor photography depends on more than measurable sharpness. Flare, portability, weather confidence, handling, and overall rendering still matter a lot once you leave the desk and head into the field. Use the tool wisely, test with intention, and trust your own shooting priorities. If you are ready to compare options and build a landscape kit that suits your style, Unique Photo is a great place to keep exploring.