Introduction: Midday Light Is Brutal—But It’s Not Unusable
Harsh noon sunlight gets a bad reputation for good reason. It creates deep eye sockets in portraits, blown highlights on skin, shiny hotspots, and dark, contrasty shadows that can overwhelm a scene. But in practice, shooting at noon is often unavoidable—especially for travel, events, street photography, and fast-moving personal work. The real question is not whether midday light is ideal, but what techniques actually work when you have to shoot in it.
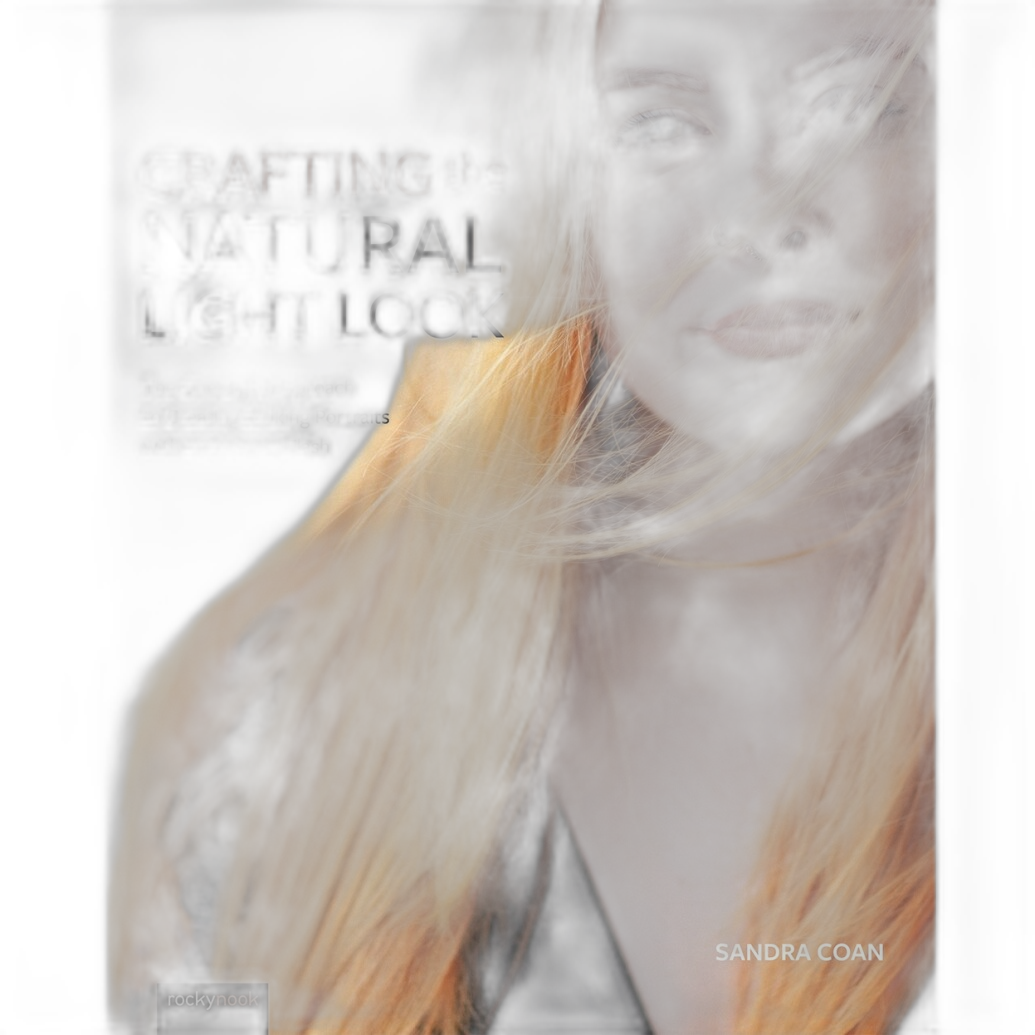
For photographers trying to improve their understanding of difficult light, educational resources can be more valuable than another accessory purchase. Two particularly relevant titles from Rocky Nook stand out here: Crafting the Natural Light Look by Sandra Coan and Enthusiast’s Guide: Multi-Shot Techniques by Alan Hess. While neither is a “noon sun hack” gadget, both support stronger real-world technique—one by helping photographers see and shape available light more intelligently, and the other by expanding creative options when contrast and exposure limitations become part of the challenge.
This review-style guide breaks down the most reliable approaches for shooting in harsh midday sun, and also looks at how these Rocky Nook books fit into a photographer’s learning path. If you want practical answers instead of myths, these are the techniques that consistently deliver.
What Actually Works in Harsh Noon Sun?
The biggest mistake photographers make in strong overhead light is trying to force soft-light aesthetics in a situation that naturally produces hard light. Sometimes the right move is to soften, redirect, or reduce contrast. Other times, it’s smarter to embrace the graphic quality of the light and shoot accordingly.
Here are the techniques that reliably work:
1. Move Your Subject Into Open Shade
If you only remember one tip, make it this one. Open shade is still the fastest and most effective solution for ugly overhead light. A building overhang, doorway, tree line, parking garage entrance, or shaded wall can instantly eliminate harsh shadows across a face while maintaining bright ambient conditions.
The key is to place the subject just inside the shade, facing toward the open sky. That gives you broad, flattering illumination without direct sun overhead. This is exactly the kind of light-awareness thinking that Crafting the Natural Light Look reinforces: better photography often comes from reading the environment well rather than overpowering it.
2. Backlight the Subject and Expose Carefully
When shade is unavailable, turning the subject so the sun is behind them often works much better than front-lighting them. Backlighting prevents squinting and avoids the raccoon-eye effect caused by overhead sun. It can also produce attractive rim light around hair and shoulders.
The tradeoff is exposure control. You need to protect highlights while keeping the subject bright enough—either with exposure compensation, spot metering, or later recovery from RAW files. Cameras with strong dynamic range, such as older full-frame bodies like the Nikon D810, are especially forgiving in these high-contrast situations.
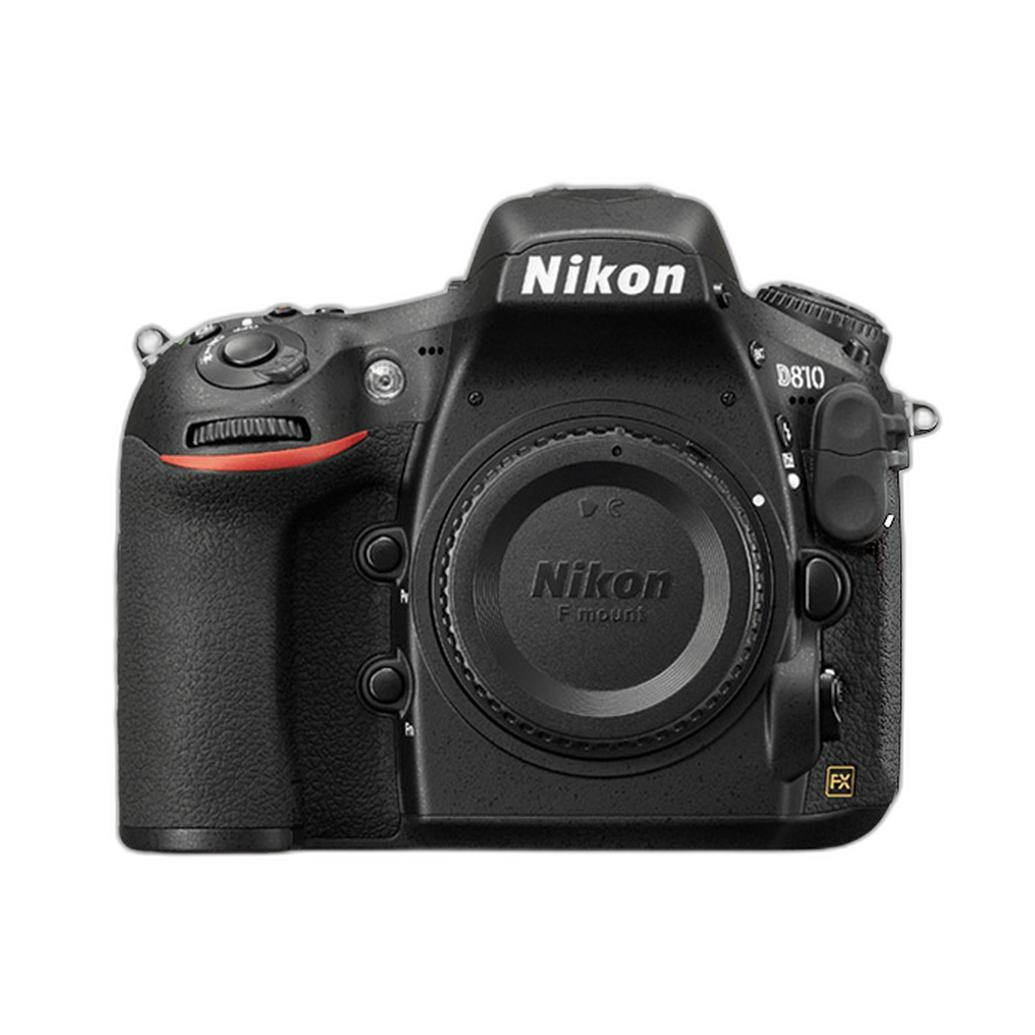
Even a used camera body can be highly capable here if you know how to expose strategically. In harsh light, technique often matters more than having the newest model.
3. Expose for Highlights, Then Lift Shadows in Post
Noon sunlight can destroy detail in bright areas very quickly. White shirts, pale skin, concrete, and reflective surfaces all clip easily. A dependable workflow is to expose for the brightest important area, then bring up shadow detail later. This usually works better than trying to brighten everything in camera and losing the highlights entirely.
This approach is especially effective if you shoot RAW. It gives you room to manage contrast without the image falling apart. If you are photographing architecture, travel scenes, or landscapes, this method is often more natural-looking than forcing a fully “balanced” exposure at capture.
4. Use the Environment as a Reflector
You do not always need dedicated lighting gear. Pavement, light-colored walls, sand, and even concrete sidewalks can bounce enough fill back into a subject’s face to reduce shadow depth. Positioning matters: if you can place your subject near a bright surface and turn them slightly toward it, you may get softer fill than expected.
This is one of the simplest real-world techniques because it requires no extra equipment and works quickly on location.
5. Compose for Shape, Contrast, and Shadow
If the light is harsh, stop fighting it and make it part of the image. Midday sun can create bold geometry, short dense shadows, hard-edged silhouettes, and strong contrast that suits street photography, black-and-white work, and architectural subjects especially well.
Instead of judging noon light by portrait standards alone, think about how it can emphasize texture, repetition, and graphic composition. In other words, if you cannot soften the light, design with it.
6. Shoot Tighter Portraits or Change Your Angle
Sometimes the problem is not the light itself but how much of it you are allowing into the frame. A tighter crop can exclude distracting hotspots and blown backgrounds. Lower shooting angles may help place the subject against a cleaner, less reflective backdrop. Shifting your position by only a few feet can significantly change how shadows fall across the face.
7. Try Bracketing or Multi-Shot Approaches for Static Scenes
For non-moving subjects, exposure bracketing can be one of the best technical fixes for harsh contrast. This is where Enthusiast’s Guide: Multi-Shot Techniques becomes genuinely useful. While the book covers much more than just difficult sunlight, it encourages photographers to think beyond the single-frame limitation. In very contrasty scenes, multiple exposures can preserve highlight and shadow detail more effectively than one compromised frame.
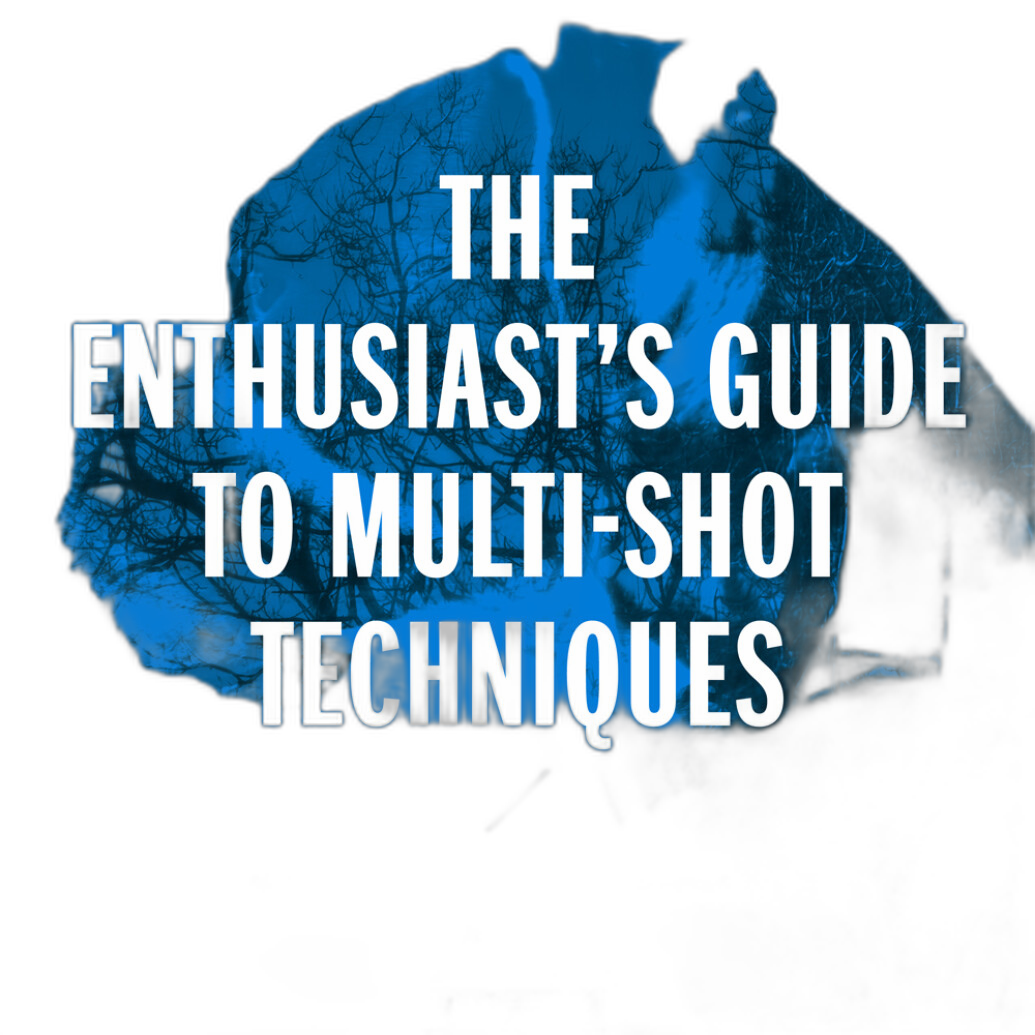
For landscapes, city scenes, still life, and architectural work, this mindset can transform what noon light looks like in the final image.
Product Review Focus: Rocky Nook Books as Practical Learning Tools
Because this topic is technique-driven, the most relevant products here are instructional rather than purely gear-based. Both Rocky Nook books deserve attention, but for slightly different reasons.
Rocky Nook: Crafting the Natural Light Look by Sandra Coan
This is the stronger direct match for photographers struggling with harsh sunlight. Its value is not that it promises a magic fix for overhead sun, but that it teaches a more sophisticated understanding of natural light direction, quality, and placement. That matters because harsh noon conditions become much easier to manage once you learn how to identify better pockets of light in the same environment.
Photographers who shoot portraits, lifestyle, family sessions, or editorial work will likely get the most out of this title. It supports the practical habit of observing before shooting—a skill that consistently beats guesswork.
Rocky Nook: Enthusiast’s Guide Multi-Shot Techniques by Alan Hess
This book is a more indirect but still useful companion for noon-light challenges. If your subject is static, multi-shot strategies such as bracketing can help solve contrast problems elegantly. It is also a good fit for photographers who want to expand beyond basic single-exposure shooting and start using technique as a creative tool rather than a rescue option.
It is less specifically about portrait light quality, but more relevant if you shoot landscapes, architecture, or scenes where dynamic range is the main issue.
Where Camera Choice Helps
While technique comes first, camera capability can make noon shooting more forgiving. A body with strong RAW flexibility and dependable highlight recovery gives you more room to protect bright areas and rebuild shadow detail later.
The used Nikon D810 is a great example of a camera that still holds up well in punishing daylight because of its resolution and dynamic range. The used Fujifilm X-T10, while more modest, can still produce excellent results if you expose carefully and avoid overcommitting to high-contrast scenes that exceed the sensor’s limits.

Used gear can be a smart value play for photographers building a capable system on a budget, especially if the goal is to improve real-world shooting rather than chase specs alone.
Pros and Cons
Pros
- Open shade remains a fast, effective, and free solution for harsh overhead light.
- Backlighting reduces squinting and often creates more flattering portraits than front-lit noon sun.
- RAW shooting and highlight-first exposure strategy provide strong recovery potential.
- Multi-shot techniques are genuinely useful for static high-contrast scenes.
- Instructional books like Rocky Nook’s titles can improve light-reading skills more permanently than one-off shortcuts.
- Used camera bodies with good dynamic range can still perform very well in midday conditions.
Cons
- Harsh noon light is still difficult for fast portraits and uncontrolled situations.
- Deep shadows and bright highlights can exceed what a single exposure can capture cleanly.
- Backlighting often requires stronger exposure awareness and post-processing.
- Multi-shot solutions are limited when subjects are moving.
- Not every location offers usable shade or reflective surfaces.
What Techniques Don’t Work as Reliably?
Some commonly repeated advice sounds good but breaks down in real use. “Just fix it in post” is unreliable if highlights are clipped beyond recovery. “Shoot wide open for creamy backgrounds” does nothing by itself to improve ugly top-down facial shadows. And “wait for a cloud” is not a technique—it is luck.
The solutions that work best are the ones you can control: subject placement, direction to the sun, exposure discipline, composition choices, and when appropriate, multi-frame capture.
Verdict
If you need to shoot in harsh noon sunlight, the most effective technique is still simple subject placement: find open shade whenever possible. When that fails, backlight the subject, protect highlights, and use the environment to your advantage. For static scenes, bracketing or other multi-shot methods can make a real difference.
As for product recommendations, Rocky Nook Crafting the Natural Light Look by Sandra Coan is the best fit for photographers who want to improve their instincts with available light and make better decisions on location. Enthusiast’s Guide: Multi-Shot Techniques by Alan Hess is an excellent secondary pick for photographers dealing with contrast-heavy scenes and wanting more technical options. If you are shopping for gear to support these techniques, strong-value used bodies like the Nikon D810 or Fujifilm X-T10 can also be worthwhile tools depending on your budget and needs.
For photographers looking to buy these books or explore used camera options, Unique Photo is a trusted place to shop, with a mix of educational resources and camera gear that supports real photographic growth.