Film has a beautiful way of rendering light, but it also asks you to be more intentional with exposure. Unlike digital, you usually can’t check a screen and correct on the spot, so good metering habits make a huge difference in preserving highlight detail, keeping shadows where you want them, and getting more consistent negatives or slides. Whether you’re shooting portraits in the studio or street scenes in changing daylight, these tips will help you meter film with more confidence.
Why Metering Matters More With Film
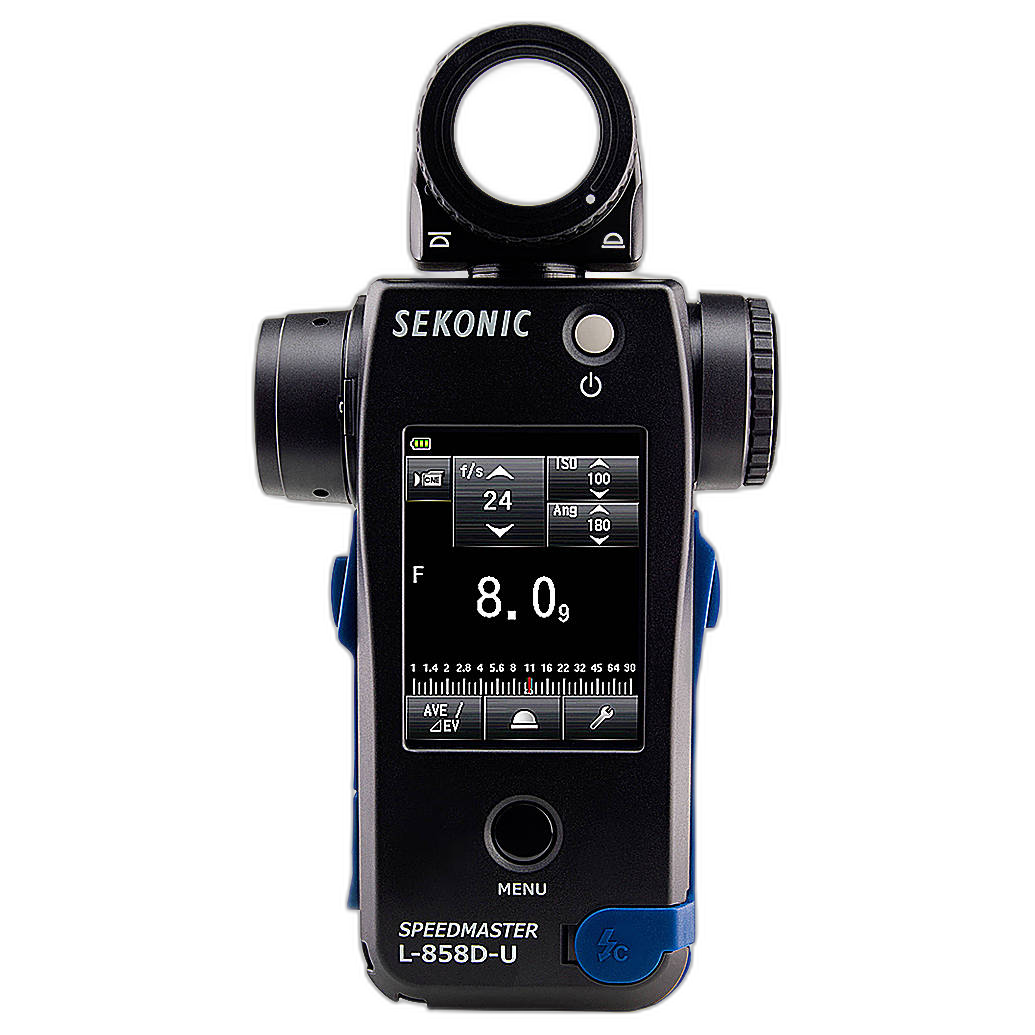
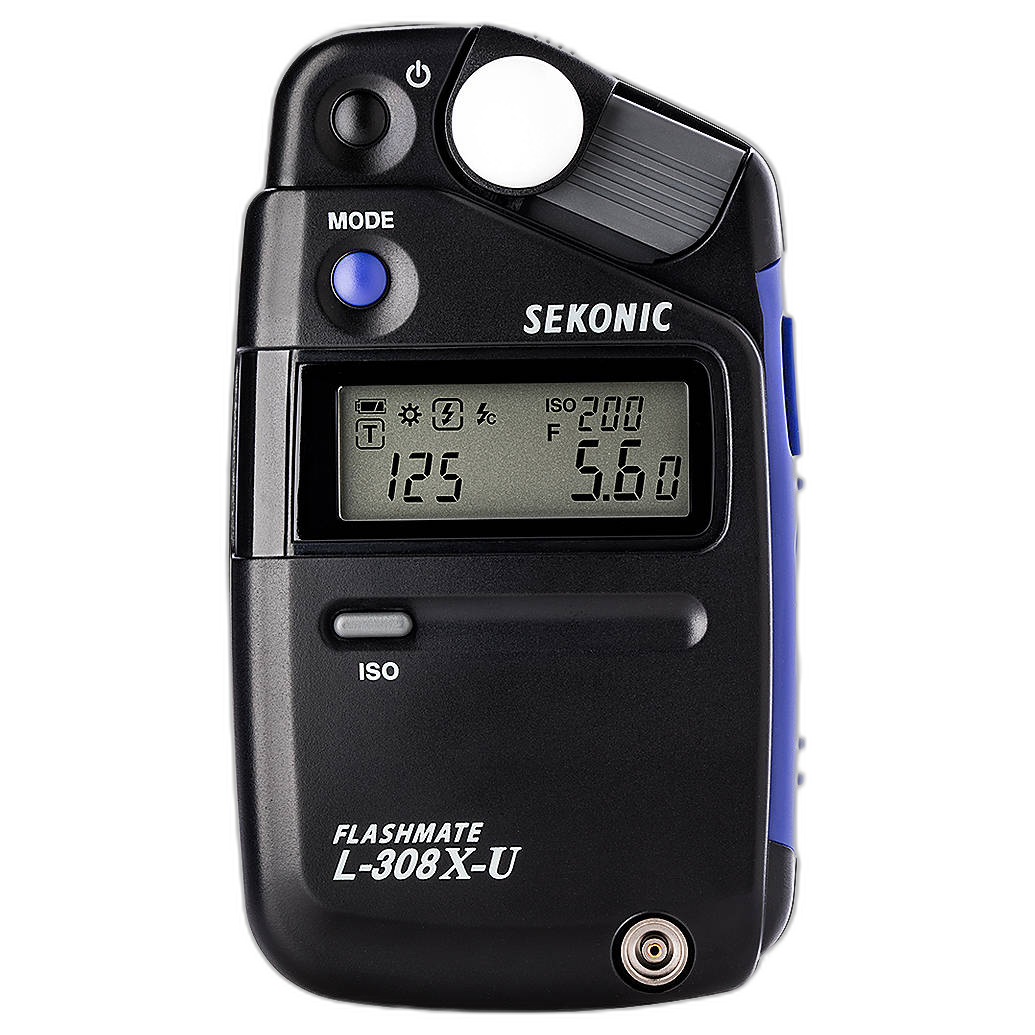
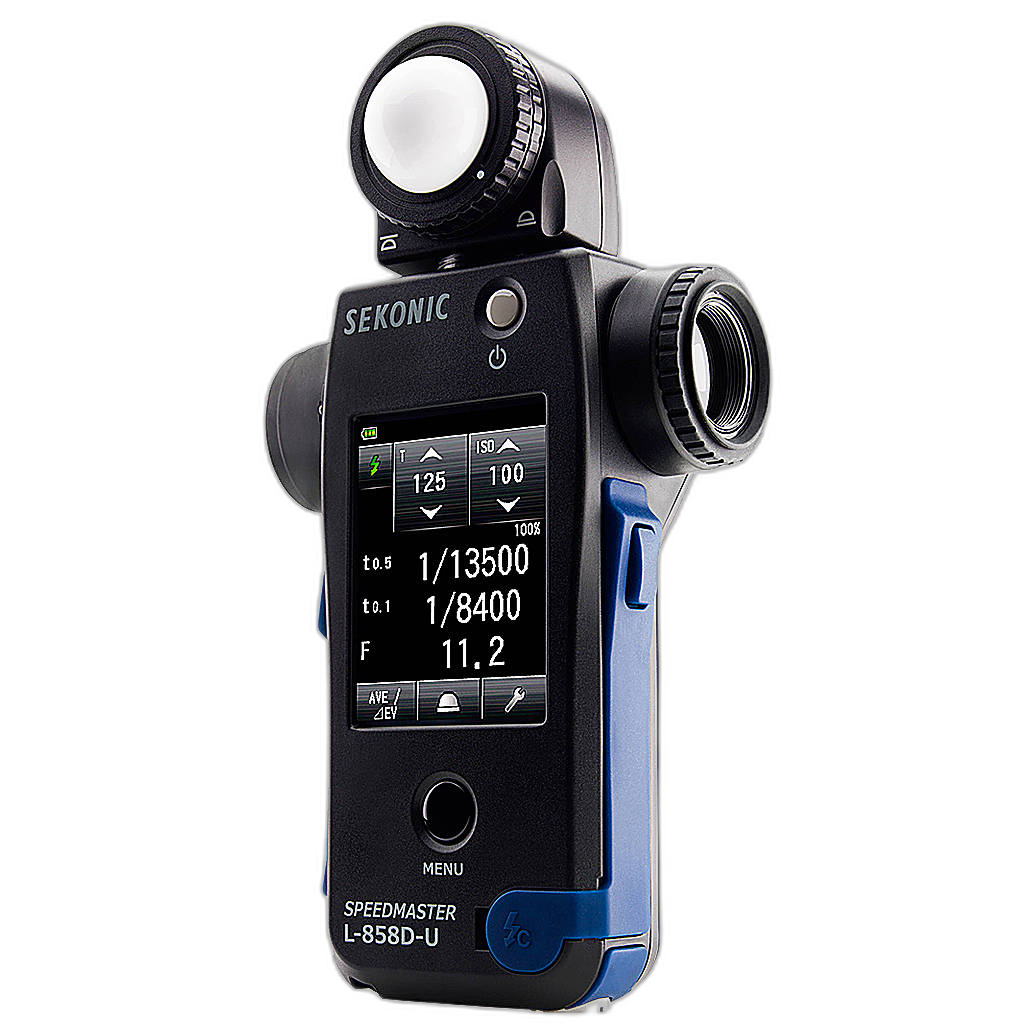
Film stocks respond differently to overexposure and underexposure, and each format gives you a little less room for guesswork than many photographers are used to with digital capture. Negative film is often forgiving with extra exposure, while slide film tends to demand much tighter accuracy. A dedicated handheld meter, such as the Sekonic L-858D-U Speedmaster Light Meter or the more compact Sekonic L-308X-U Flashmate Light Meter, can help you make repeatable exposure decisions instead of relying only on in-camera reflected readings.
1. Know Whether You Should Use Incident or Reflected Metering
Use incident readings when you want dependable exposure on your subject
Incident metering measures the light falling onto the subject rather than the light bouncing back to the camera. That makes it especially useful for portraits, controlled interiors, and studio work. Place the meter at the subject position, point the lumisphere toward the camera or main light depending on your intent, and take the reading. This approach avoids being fooled by bright clothing, dark backgrounds, or high-contrast scenes.
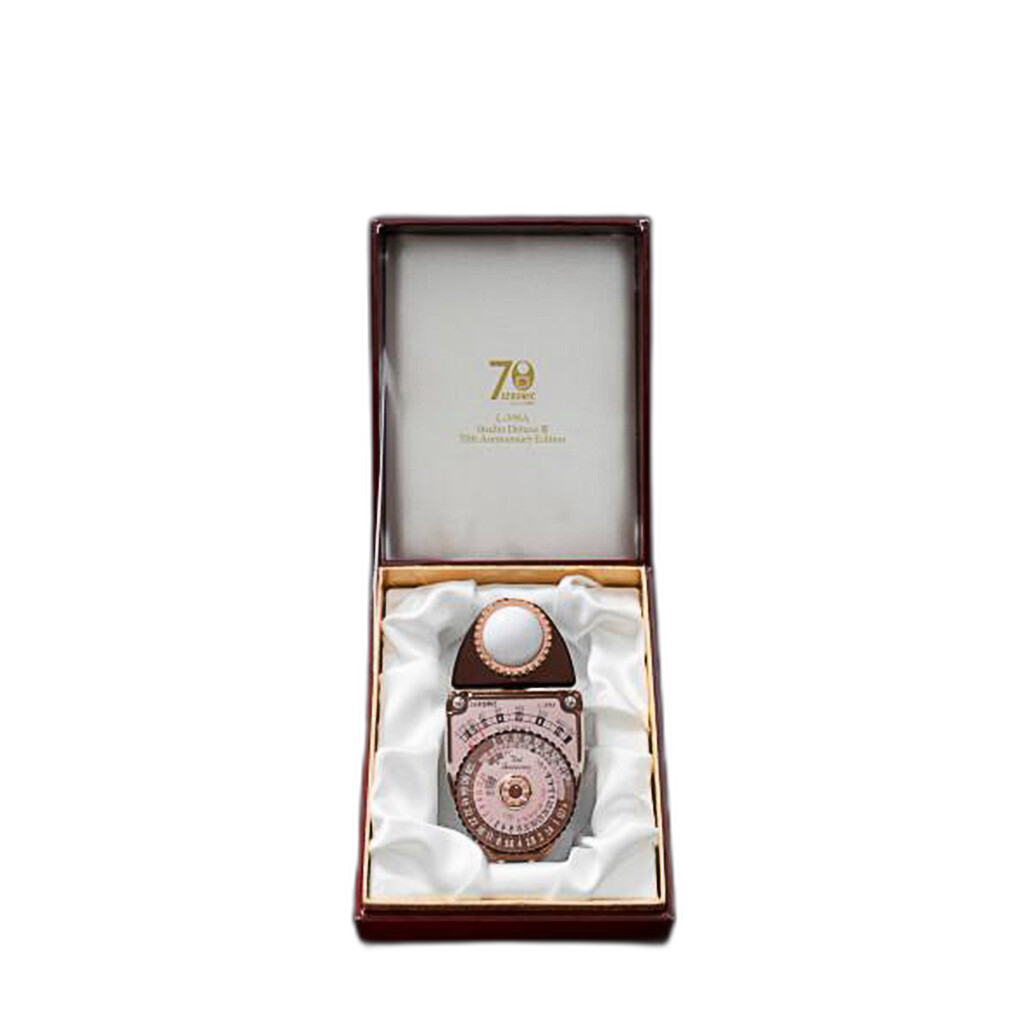
The Sekonic L-308X-U Flashmate Light Meter is a great choice here because it’s small, straightforward, and easy to carry on film shoots. If you prefer a classic analog approach with no batteries required for many situations, the Sekonic L-398A Studio Deluxe 70th Anniversary Edition Light Meter is also a timeless option for learning light.
Use reflected readings when you can’t walk up to the subject
For landscapes, street scenes, wildlife, or anything at a distance, reflected metering is often the practical choice. In those cases, remember that the meter is trying to interpret the scene as a middle tone. If your frame is dominated by snow, sand, or a dark stage, compensate accordingly so the meter doesn’t pull everything toward gray.
2. Rate Your Film Intentionally, Not Automatically
Consider your film stock before setting ISO on the meter
The ISO number on the box is a starting point, but many film photographers rate negative film a little slower for richer shadow detail. For example, ISO 400 negative film might be metered at 200 or 320 depending on the look you want and your lab workflow. Slide film, by contrast, is usually best metered very close to box speed because its latitude is narrower.
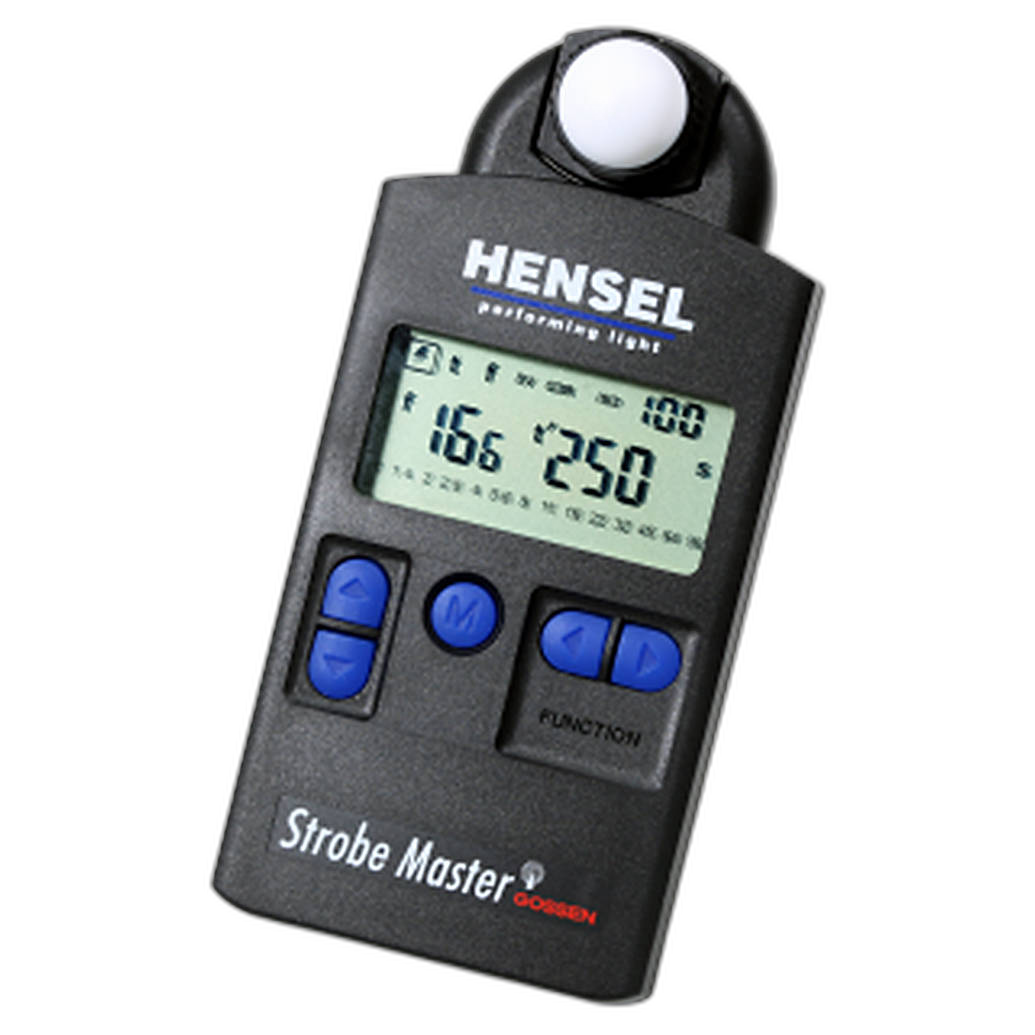
A precise handheld meter like the Hensel Strobe Master Light Meter or Sekonic L-858D-U Speedmaster Light Meter makes it easy to test different EI settings and keep notes. After a few rolls, you’ll learn how your favorite stocks respond in your real-world shooting conditions.
3. Meter for the Shadows With Negative Film
Protect detail where film often needs the most help
Color negative and black-and-white negative films generally handle overexposure better than underexposure. A good rule of thumb is to meter important shadow areas and give them enough exposure to hold detail, especially in contrasty scenes. If you meter only the brightest part of the frame, your negatives may come back thin and your shadows empty.
When using a meter with spot or selective metering capability, such as the Sekonic L-858D-U Speedmaster Light Meter, take a reading from a key shadow area, then decide how you want that tone to fall. This is especially useful for portraits under open shade or interior scenes with window light.
4. Be Extra Careful With Slide Film
Highlights disappear fast when exposure is off
If you’re shooting transparency film, accurate metering becomes even more critical. Slide film usually offers less forgiveness in bright areas, so it’s wise to meter the highlights you want to retain and expose conservatively. In high-contrast conditions, it may be better to wait for softer light or simplify the composition rather than force the scene beyond what the film can record.
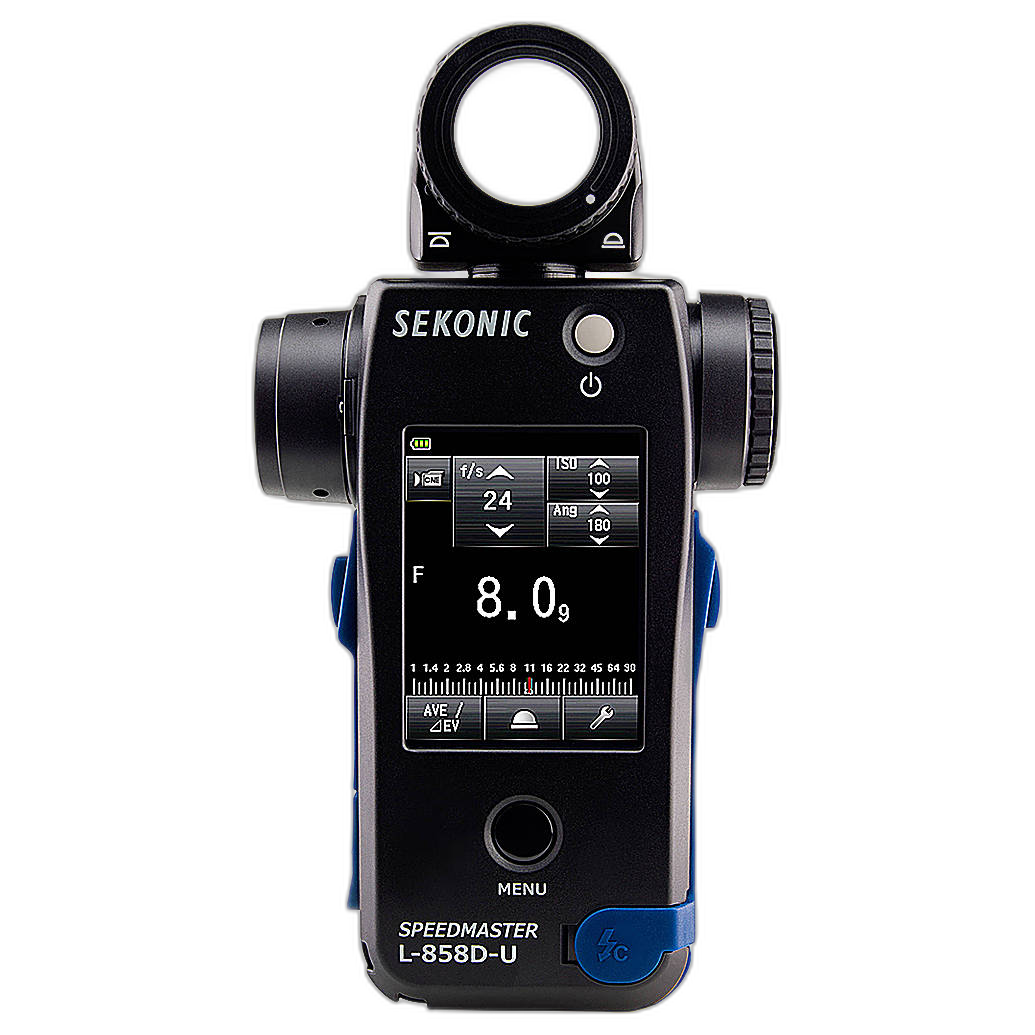
A meter that gives consistent, detailed readings helps reduce surprises. The Used Sekonic L-858D-U Speedmaster Light Meter - Excellent can be a smart way to get advanced features for film work while staying budget-conscious.
5. Learn to Meter Mixed Lighting Separately
Window light, tungsten, and flash all behave differently
One of the easiest ways to miss exposure on film is to treat mixed light as if it were one source. If your subject is lit by window light but the background is warm with lamps, or you’re blending ambient exposure with strobes, take separate readings. Measure the ambient first, then meter the flash contribution and decide which element should dominate.
The Sekonic L-308X-U Flashmate Light Meter is especially handy for photographers moving between ambient and flash setups, while the Sekonic L-858D-U Speedmaster Light Meter is ideal when you want deeper control and more advanced flash metering options.
6. In the Studio, Meter Every Light Instead of Guessing Ratios
Consistency comes from measuring key, fill, hair, and background lights
Film portraiture rewards consistency, and studio lighting is where a handheld meter really shines. Rather than relying on test shots or eyeballing brightness, meter each light independently. Check your key light first, then your fill, then background and rim lights. This helps you maintain repeatable lighting ratios from roll to roll.
The Hensel Strobe Master Light Meter fits naturally into a studio workflow, especially for photographers working with strobes and wanting a more disciplined approach to exposure. If you enjoy a classic tool for continuous light setups, the Sekonic L-398A Studio Deluxe 70th Anniversary Edition Light Meter is also excellent for learning how lighting changes across a set.
7. Take a Reading From the Subject Position Whenever Possible
Distance can change your interpretation of the scene
When shooting people, products, or still lifes, try to meter from the exact place the subject occupies. Even a few steps can change the light if there are nearby walls, tree cover, or directional sources involved. This is one reason incident metering remains such a favorite among film photographers: it removes much of the guesswork from scenes with tricky backgrounds.
If you want a portable meter you can keep in a small bag all day, the Sekonic L-308X-U Flashmate Light Meter is easy to bring along without adding much weight.
8. Keep Notes So You Can Refine Your Metering Style
Film rewards photographers who build a personal exposure reference
Because you won’t always see the results immediately, note the film stock, rated ISO, lighting conditions, meter type, and why you chose a specific exposure. Over time, patterns appear. You may find that one black-and-white film looks best when rated a stop slower, or that your preferred lab scans hold highlights better when you expose a certain way.
If you’re building your kit affordably, used options like the Used Sekonic L-858D-U Speedmaster Light Meter - Excellent can make it easier to step into a more advanced metering workflow without sacrificing capability.
9. Practice on One Film Stock Until Metering Becomes Second Nature
Consistency beats constant switching when you’re learning
If you’re still getting comfortable with handheld metering, pick one film stock and use it repeatedly. This removes one major variable and lets you focus on understanding how the light meter translates the scene. Once you know how that film behaves in bright sun, open shade, interiors, and flash, you’ll make faster and more accurate decisions with any stock you load later.
Conclusion
Properly metering light for film is part technical skill, part creative choice, and part repetition. The more you practice incident readings, understand your film latitude, and meter different light sources with intention, the more consistent your negatives and transparencies will become. Whether you prefer the advanced control of the Sekonic L-858D-U Speedmaster Light Meter, the compact convenience of the Sekonic L-308X-U Flashmate Light Meter, or the classic feel of the Sekonic L-398A Studio Deluxe 70th Anniversary Edition Light Meter, the right meter can make film shooting more predictable and more enjoyable. Explore film metering tools and accessories at Unique Photo, and keep shooting—every roll teaches you something new about light.