Charts are great, portraits are better. That’s the recurring theme we’ve heard from photographers in the Unique Photo community as they compare Sony’s Lens Compare Beta results with images shot in the real world. Below, we break down what the tool gets right (and what it can’t show), how bokeh and color actually look outside the lab, and how to use both data and on-location tests to pick your next portrait lens with confidence.
What Sony’s Lens Compare Beta Shows—and What It Doesn’t
Sony’s Lens Compare Beta provides a helpful starting point: resolution/MFT trends, optical design info, sample imagery, and sometimes simulated depth-of-field and out-of-focus rendering. It’s excellent for shortlisting, but community tests reveal a few limits you should account for when you’re choosing a portrait lens:
- Distance matters: Bokeh and sharpness change with subject distance. Headshot distance vs. full-body will alter highlight shape, cat’s-eye vignetting, and edge acuity.
- Backgrounds change the story: Trees, fairy lights, brick, and busy foliage reveal different bokeh behaviors than plain test scenes.
- Copy variation and corrections: Real lenses vary slightly. In-camera lens corrections and profiles can influence color, vignetting, and micro-contrast in JPEGs.
- Color is contextual: Coatings and glass matter, but so do lighting, white balance, Picture Profile, and post-processing. Tool demos can’t fully reflect your workflow.
Bokeh: Reading the Charts vs. Seeing the Look
Portrait shooters prize the quality—not just the quantity—of blur. Community comparisons mapped these common chart cues to what you’ll actually see in portraits:
- Cat’s-eye highlights: Toward the frame edges, mechanical vignetting can squish bokeh balls into ovals. Expect more at wider apertures and with shorter focus distances. In portraits, this shows up as a gentle swirl near the edges; some like the character, others want perfectly round highlights.
- Onion rings and texture: Aspherical elements may introduce concentric textures inside specular bokeh balls. In real scenes with point lights, this becomes visible; in diffuse backgrounds it’s rarely noticeable.
- Double edges (nisen bokeh): Over-correction for spherical aberration can produce bokeh with bright edges and a slight “double line” on high-contrast backgrounds. It’s subtle in most portrait lighting but will show up with branches or blinds behind the subject.
- Transition zone and 3D pop: Some lenses have a softer falloff from in-focus to out-of-focus, giving a more “creamy” separation. Others feel snappier with higher micro-contrast, which can emphasize texture and pores.
Use the Beta tool to predict tendencies, then validate by shooting a few go-to scenes: backlit foliage for specular highlights, a brick wall behind a subject for edge bokeh shape, and a string of warm LEDs for highlight roundness.
Color Rendition: From Test Page to Skin Tone
Color “signature” comes from coatings, transmission, and contrast, but in practice it’s shaped by your camera’s white balance, Picture Profile, and post. Community members consistently found that careful calibration brought different lenses much closer than expected in overall warmth, leaving only subtle differences in tonal separation and saturation in reds/oranges (key for skin tones).
To make your own comparisons fair:
- Set a custom white balance with a gray card before each lens swap.
- Shoot RAW and apply identical profiles in post.
- Calibrate your display so you’re judging color—not your monitor.
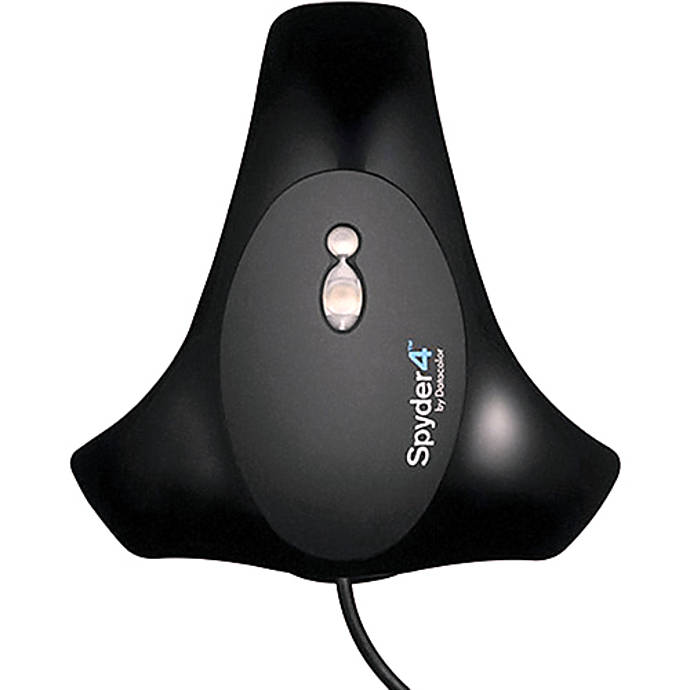
Budget-friendly tip: Unique Photo often has color management tools in our Used & Trades department. A simple monitor calibrator like the Datacolor Spyder series helps you evaluate subtle color differences reliably.
Once your workflow is neutral, evaluate:
- Hue bias in skin tones: Do midtones lean rosy or yellow?
- Saturation of reds/oranges: How quickly do deeper reds clip or desaturate?
- Shadow color: Some lenses render cooler or warmer shadows under tungsten/LED mixes.
Portrait Lens Picks by Look (and Why Distance Rules)
Rather than chasing specs, decide on your working distance and the look you want. Community feedback aligns around these practical buckets:
- Environmental portraits (35–55mm): Wider FOV, subject context, slightly busier bokeh. Great for lifestyle and editorial. Fast 35mm and 50mm primes give stronger separation when you can work close.
- Classic head-and-shoulders (85–105mm): Flattering perspective, strong background melt, and easier subject isolation. Popular for weddings and studio.
- Compression and ultra-creamy (135mm+): Maximum separation with smooth background gradients; ideal for tight headshots or outdoor portraits with messy backgrounds.
If you’re weighing, say, a fast 50mm vs. an 85mm for portraits: at identical framing, the longer lens will almost always give cleaner isolation and fewer background distractions, even if the f-number isn’t quite as fast. The Beta tool can hint at highlight shape, but only shooting at your typical distance will reveal the real balance of sharpness, transition, and background smoothing.
A Field Test Workflow: Matching the Beta Tool to Reality
Use the theoretical data to shortlist, then run this quick, repeatable test plan:
- Normalize your setup: Custom WB, identical Picture Profile, RAW capture, and a calibrated monitor.
- Pick portrait distances: One headshot (≈0.9–1.2 m on 85mm), one 3/4 body, one environmental. Frame each lens identically.
- Background sampler: Shoot with fairy lights, foliage, and a neutral wall. Look for cat’s-eye, onion rings, and double lines.
- Skin tone check: Photograph the same subject under consistent light. Evaluate hue bias and saturation in the red/orange range.
- Focus reliability: Test wide open with eye AF. Note hit rate and any focus shift when stopping down.
- Video pass (if you shoot motion): Rack focus and check for focus breathing and bokeh pumping.
Pro tip: Bring a fast SSD or a rugged drive to back up your test shots on-site. Unique Photo carries portable options that keep your files safe between store and studio.
For Video Portrait Shooters: Breathing, Transitions, and Color Consistency
Community tests emphasize that breathing behavior can make or break a talking-head setup. Some newer designs minimize magnification shift and work well with in-camera breathing compensation. Also check:
- Iris transition smoothness: For exposure ramps under changing light.
- AF pull character: Does the lens snap or glide between faces? Any visible bokeh “pumping” mid-rack?
- Color match across a kit: If using multiple focal lengths, confirm they match after identical white balance to reduce grading time.
Running audio on set? A reliable USB-C cable for wireless systems can keep your rig tidy when monitoring or updating firmware.
Learn, Test, and Compare with the Unique Photo Community
Nothing beats hands-on time. Join our community events and workshops to try lenses side-by-side, share files, and compare results with other portrait shooters.

Looking to deepen your storytelling and people skills while you refine your gear choices? Our classes and community programs put you in real situations where lens rendering differences truly show.

FAQ: Quick Answers from Community Testing
Is simulated bokeh in the Beta tool enough to choose a portrait lens?
Use it to narrow options, but always review real portraits at your working distance and typical backgrounds.
Do lenses have a unique color signature?
Yes, but it’s smaller than many expect once white balance and profiles are matched. Differences remain in contrast and how reds/oranges render in skin.
What matters more for creamy backgrounds—aperture or focal length?
At the same framing, longer focal length usually wins for smoothness and separation. Aperture then fine-tunes the strength of blur.
How do I compare fairly across lenses?
Normalize white balance, shoot RAW, match framing and distance, and review on a calibrated monitor.
Bottom Line: Use the Beta to Shortlist—Then Let Your Portraits Decide
Sony’s Lens Compare Beta is a valuable starting point, especially for spotting tendencies in sharpness and out-of-focus rendering. But the Unique Photo community’s real-world tests show that bokeh character and color nuance reveal themselves only when you shoot at your distances, with your backgrounds, under your light. Shortlist with charts, test with consistent settings, and choose the lens that makes your subjects—and your style—shine.
Suggested internal links at Unique Photo:
- Shop Sony at Unique Photo – bodies and lenses
- Classes & Workshops – learn portrait lighting and posing
- Community Events – meetups to test gear with peers
- Used & Trades – stretch your budget on lenses and calibration tools
- Unique Photo Blog – more lens tests and practical guides