Portrait Lighting Tips: Recommendations for Affordable Setups
Great portrait lighting doesn’t have to be expensive. With a few smart purchases, simple modifiers, and a solid plan, you can create professional-looking portraits in a small space and on a small budget. As a leading resource for photographers, Unique Photo helps creators stretch dollars further with practical gear, education, and one-on-one advice.
Why start with a budget portrait lighting kit?
Budget-friendly kits let you master fundamentals—key, fill, background, and separation—without the overwhelm. Focus on consistent, repeatable results and invest gradually as your style evolves.
- Start simple: one light + one reflector covers 80% of needs.
- Spend on modifiers before chasing more power.
- Choose gear that packs small and sets up fast.
One-light portrait setup: speedlight or compact LED
A single speedlight with a shoot-through umbrella or a compact LED plus a softbox is the best value-per-dollar. Place your light 30–45° off-axis and slightly above eye level for flattering Rembrandt or loop lighting. Add a reflector opposite the key to open shadows.
- Speedlight benefits: small, powerful for the size, easy to run off AA/USB-C batteries.
- LED benefits: what-you-see-is-what-you-get, silent, great for photo and video.
- Affordable modifier picks: 33–43" umbrellas, small octabox (24–32"), or a 5-in-1 reflector.
Want to fast-track the fundamentals? Unique Photo’s education, like Portrait Lighting Made Easy with Joel Grimes (Westcott), demystifies quality of light, direction, and shape so you get results sooner.
Continuous vs. flash for portraits (on a budget)
Both can be affordable—choose based on your space and subjects.
- Continuous (LED): intuitive, ideal for tight spaces and hybrid creators; pair with a small softbox or umbrella.
- Flash (speedlight/compact strobe): more power to overpower daylight; use TTL for speed or manual for consistency.
- Mixed environments: use LED practicals as background interest and a speedlight as your key.
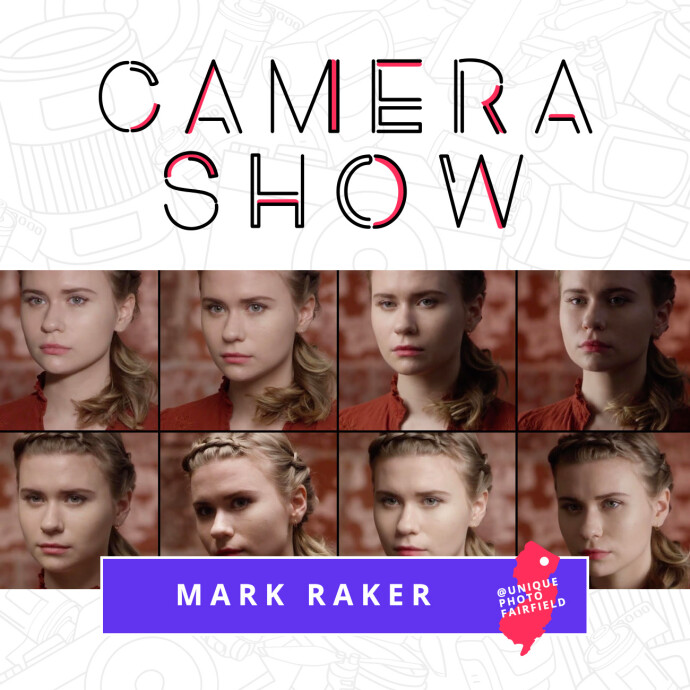
Want to see lighting angles and falloff live? Classes like CS: Key Lighting Methods with Mark Raker (Nanlite) at Unique Photo demonstrate real-time setups that translate perfectly to budget kits.
Two-light upgrade: add fill or a hair/rim light
When you’re ready, the most cost-effective second light is a simple fill or rim.
- Key + reflector fill: still a one-light look with more control.
- Key + speedlight rim: aim bare or with a small strip to separate your subject from the background.
- Key + background pop: add a low-power splash to create tone contrast behind the subject.
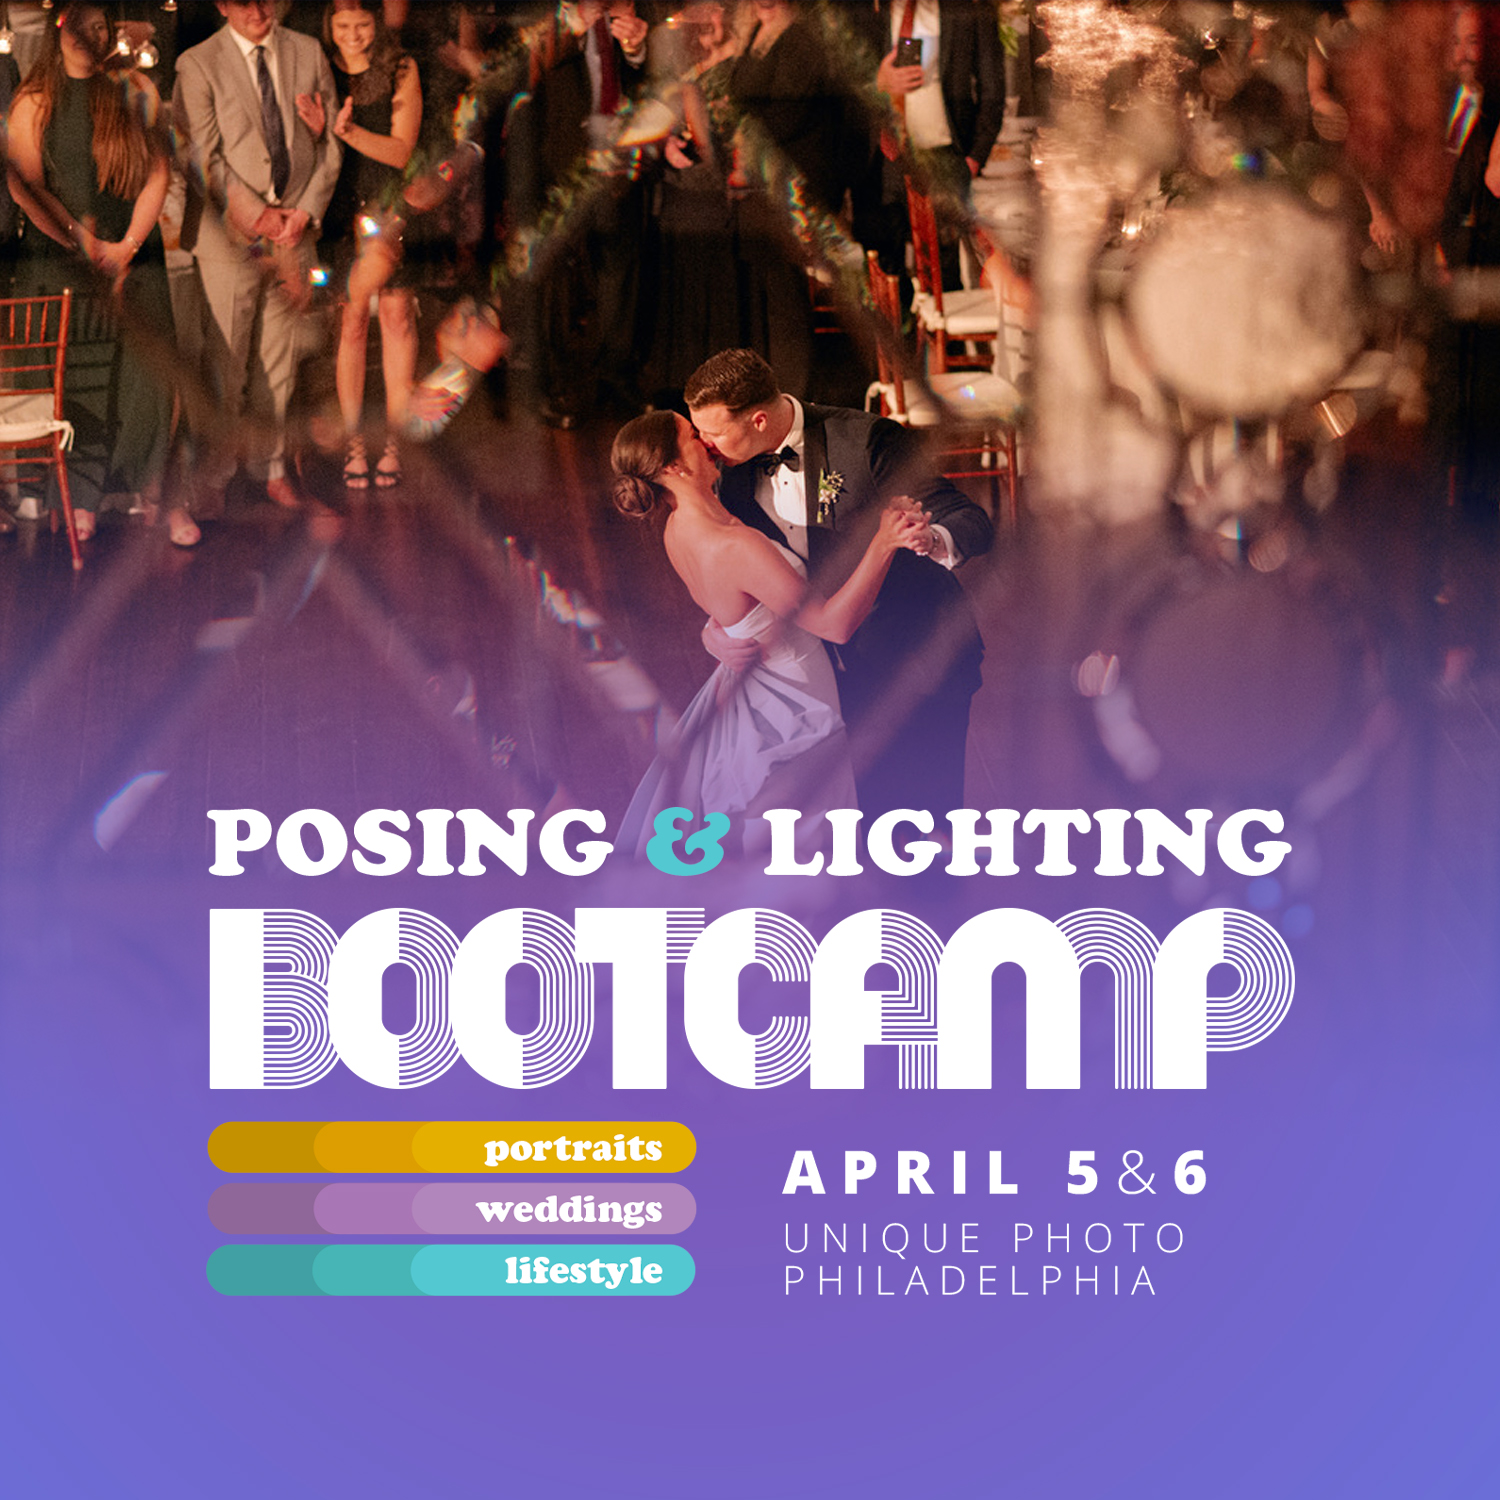
For event-style portraits or receptions, fast setups matter. Unique Photo’s Posing and Lighting Bootcamp: Reception Lighting w. Magda and Simon (Philly) focuses on quick, repeatable lighting that works in real venues.
Best affordable modifiers for portraits
- Umbrellas (shoot-through or reflective): cheapest, fastest, and surprisingly beautiful.
- Small octabox (24–32"): round catchlights, soft wrap, portable.
- Strip softbox (8x36" or similar): controlled rim/hair light with minimal spill.
- 5-in-1 reflector: the ultimate budget tool for fill, flags, and negative fill.
- Diffusion panel: turns a small LED or window into a giant soft source.
For stylized looks, learn how pros sculpt faces with shape and shadow. Unique Photo’s EXPO: The Art of Stylized Portraiture with Lindsay Adler (Canon) breaks down high-impact lighting you can adapt to small kits.
Natural light portraits: make the most of the sun
Daylight is free—and with a reflector and diffusion, it can look like a studio.
- Open shade: consistent color and soft light; add white or silver reflector for catchlight and lift.
- Window light: north-facing or indirect sun; use sheer curtains or a diffusion panel to soften.
- Golden hour: low-contrast key with warm tone; use negative fill (black side of a 5-in-1) for shape.
Deepen your process with Mastering the Natural Light Portrait by Scott Kelby from Unique Photo—packed with practical positioning and timing tips you can apply immediately.
Portable and small-space lighting setups
Working in apartments, hallways, or on the go? Keep it lean:
- One compact light + umbrella + reflector fits in a backpack.
- Clamp a reflector to a light stand to save a second stand.
- Use gridded modifiers or flags to control spill in tight rooms.
Attend live shoots like Unique Photo’s NJCS: Part II - Compelling Portraiture Live Shoot with Jonny Edward to see how pros position lights within real-world constraints.
Budget power settings and camera basics
- Start at ISO 100–400, f/2.8–f/5.6 for portraits, 1/160–1/200s for flash (or as needed for LED).
- Place lights closer for softer quality and to use less power.
- For LED, keep shutter speed high enough to avoid subject blur; raise ISO before pushing LED to the max.
- For flash, work in manual power (1/64–1/4) for repeatability, or TTL when working quickly.
Store and transport your budget kit safely
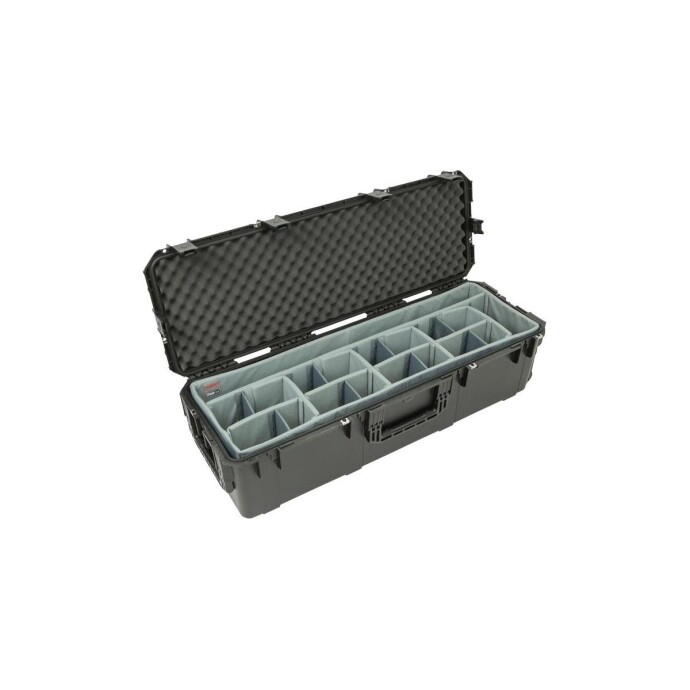
Affordable gear still deserves pro-level protection. The SKB iSeries 3i-4213-12 Case with Think Tank Designed Lighting/Stand Dividers offers rugged, water-resistant protection and smart dividers so stands, heads, and modifiers travel organized.
Learn fast: budget-friendly classes and resources
Education accelerates everything. Unique Photo’s Unique University hosts hands-on sessions that help you do more with less, including:
- Portrait Lighting Made Easy with Joel Grimes (Westcott) – master the core patterns, angles, and modifiers.
- Stunning Portraits Workshop with David Maynard and ExpoImaging – practical tools and techniques for expressive images.
- CS: Key Lighting Methods with Mark Raker (Nanlite) – see continuous lighting in action and learn to shape it.
- EXPO: The Art of Stylized Portraiture with Lindsay Adler (Canon) – polish your creative vision and repeatable looks.
Quick buying checklist: affordable portrait lighting
- One light (speedlight or compact LED) + umbrella or small softbox.
- Light stand (6–9 ft) + swivel/umbrella adapter.
- 5-in-1 reflector (with black side for negative fill).
- Optional second light for rim or background.
- Case for protection and transport.
FAQ: common budget lighting questions
Do I need two lights to start? No. One light and a reflector can deliver professional results with the right placement.
Is LED bright enough for portraits? Yes for indoor and shaded outdoor portraits; raise ISO modestly and keep your subject still.
What’s the cheapest modifier that looks great? A shoot-through umbrella—fast, soft, and very affordable.
How do I avoid harsh shadows? Bring the light closer, enlarge the source with a softbox/umbrella, or add reflector fill.
Conclusion and internal linking ideas
Affordable portrait lighting is about shaping light—smart placement, simple modifiers, and repeatable techniques. Unique Photo’s team, classes, and curated gear make it easy to build a budget-friendly kit that grows with you.
Suggested internal links to support this article:
- Shop Strobes & Speedlights at Unique Photo
- Shop LED Continuous Lights
- Shop Softboxes, Umbrellas & Grids
- Shop Light Stands, Boom Arms & Grip
- Shop Reflectors & Diffusers
- Unique University: Photography Classes & Workshops
- Photography Books & Guides
- Hard Cases & Lighting/Stand Cases