Introduction: A Field Guide to Standout Natural-Light Feature Images
If your assignments live and die by a single, compelling feature image, Scott Kelby’s "Mastering the Natural Light Portrait" is a pragmatic compass. Rather than chasing exotic gear, this book focuses on repeatable, real‑world techniques that help you shape, refine, and confidently deliver striking portraits and people-centric features using the light you have. It’s aimed at working shooters, serious enthusiasts, and content creators who need reliable results in unpredictable conditions—from window-lit environmental portraits to fast-moving editorial sessions outdoors.
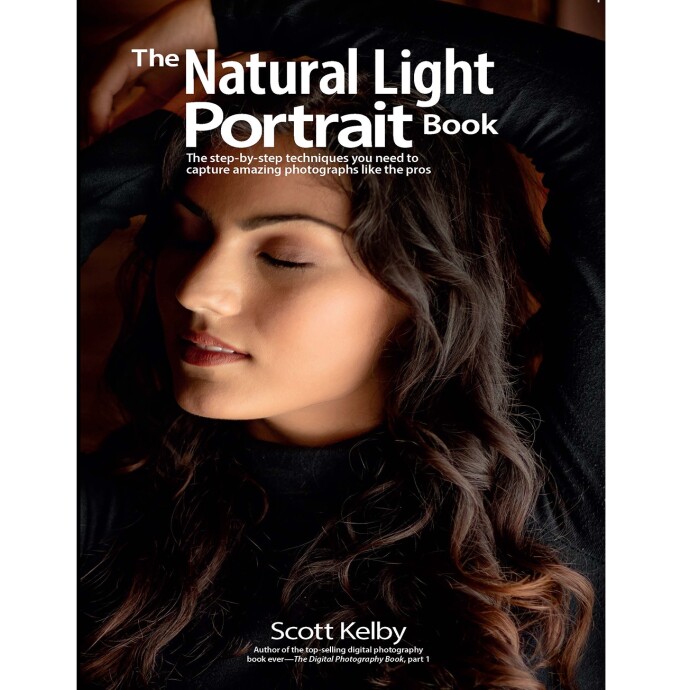
Kelby’s hallmark clarity, step-by-step structure, and on-location problem solving make this a hands-on manual you’ll actually use. The guidance spans exposure decisions, light direction, subject micro-adjustments, and simple modifiers, all the way to finishing touches in post and print. Below, we break down the key takeaways photographers will appreciate most when crafting feature-worthy images in natural light.
Key Features and Techniques
1) Harnessing Directional Light for Drama and Shape
The book demystifies how to see and use directionality—window light, open shade, edge light, and backlight—to model faces and define features without strobes. You’ll learn where to place your subject relative to the light source, how to rotate them for flattering catchlights, and when to lean into contrast for a bolder, editorial look.
2) Shaping Without Strobes: Reflectors, Flags, and Negative Fill
Kelby emphasizes compact, inexpensive tools to sculpt ambient light. Using a reflector to fill eye sockets, a black flag for cheekbone cut, or a diffuser to tame midday harshness are presented as fast, repeatable moves you can make on location. The result is studio-like control with on-the-go simplicity.
3) Subject-Led Storytelling and Micro-Adjustments
Small changes equal big results. The book details face-angle tweaks for jawline separation, chin positioning to avoid compression, and eye orientation toward the brightest source for luminous pupils. These micro-adjustments, paired with background selection and depth cues, build feature images with intention and narrative weight.
4) Background Control: Clean, Cohesive, and Color-Savvy
Strong features minimize distraction. You’ll find practical advice for choosing backgrounds with harmonious color palettes, managing distance to control blur, and using angles to remove visual clutter. The guidance maps neatly to fast editorial realities—find the good light, then curate the frame.
5) Exposure Confidence: Skin-First Metering and Headroom
Kelby champions simple exposure checks that prioritize skin tone detail. Whether you expose to protect highlights in backlight or nudge exposure for richer shadows in overcast scenes, the workflow remains quick and repeatable—perfect for time-pressed assignments.
6) From Capture to Print: Finish Your Feature Image on Paper
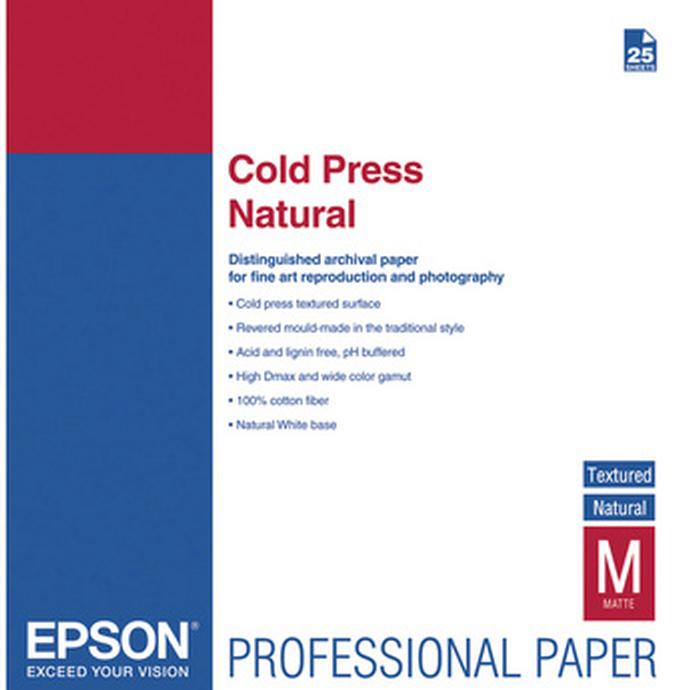
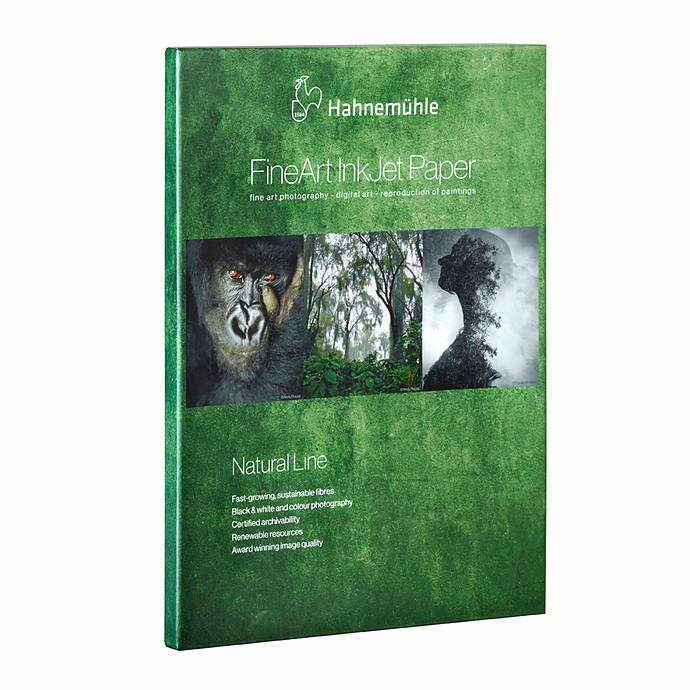
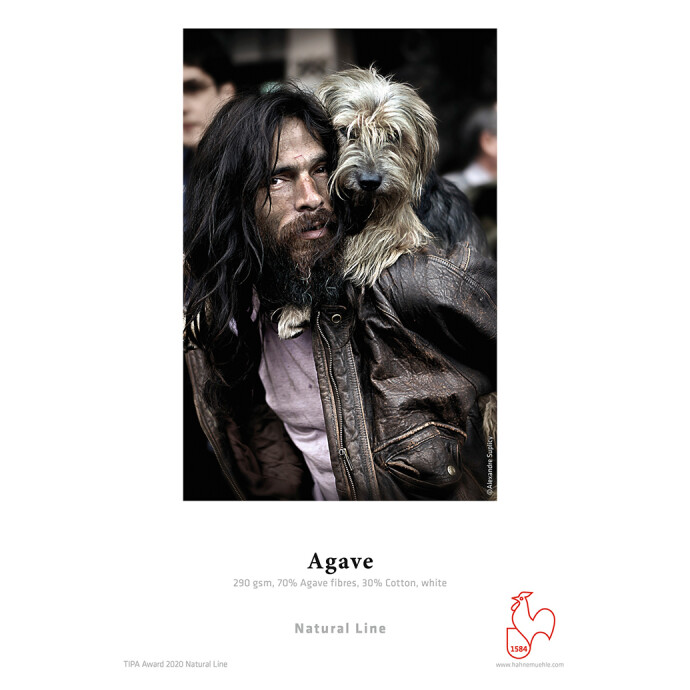
A polished print elevates your best frames from pixels to portfolio. The book’s finishing tips pair nicely with fine-art media that flatter natural-light portraits. If you’re ready to hang or present, consider testing your signature look on textured, natural-toned stocks:
- Epson 17x22 Cold Press Natural Paper: Warm base, gentle texture, and beautiful tonality for skin.
- Hahnemfchle Natural Line and Agave: Distinct character with sustainable fibers that complement organic, natural-light aesthetics.
- Epson Canvas Matte Natural: Gallery-ready presentation with painterly tactility for large feature prints.
7) Learn by Doing: Workshops That Reinforce Technique
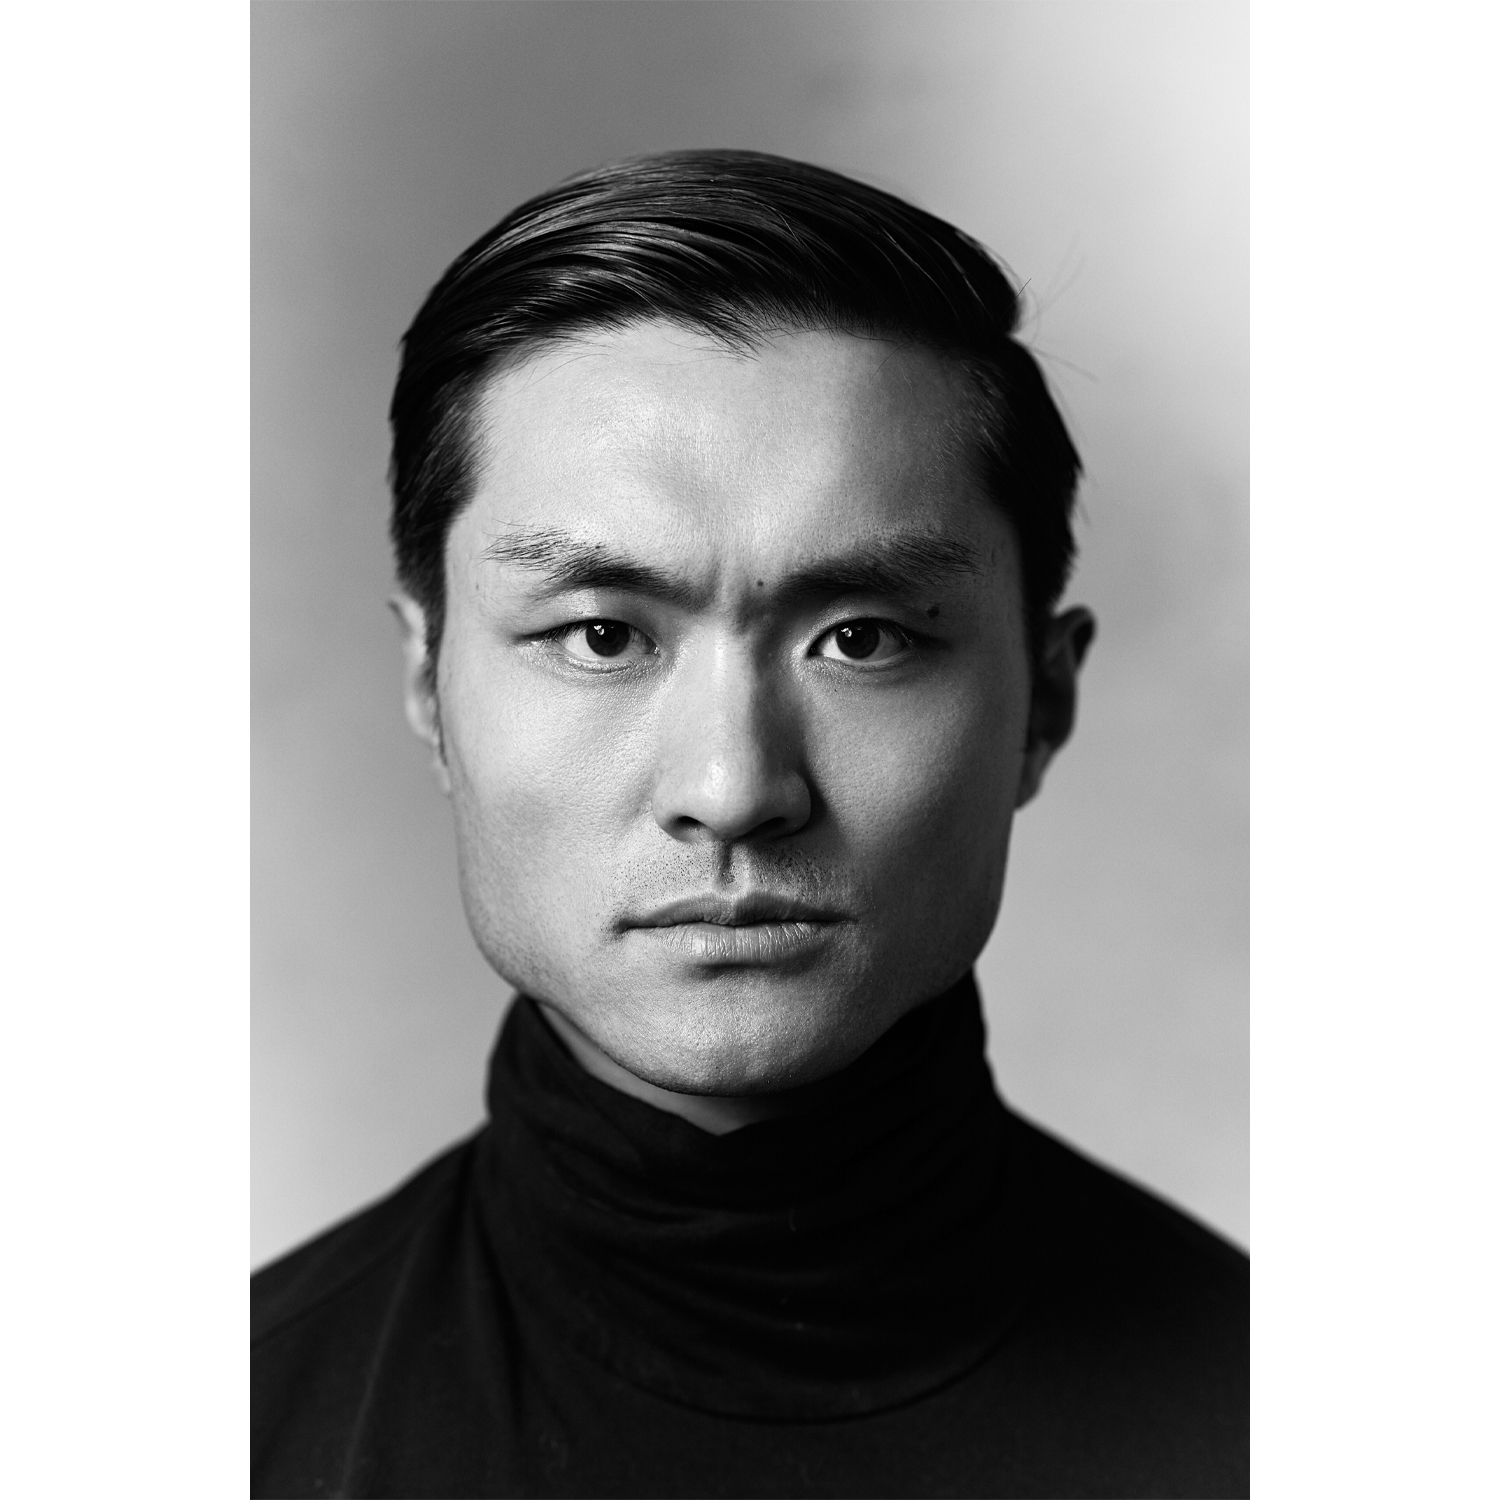
To cement these concepts, pairing the book with a hands-on workshop pays dividends. Unique Photo’s live shoots make natural-light control second nature, letting you practice quick background scouting, reflector use, and posing finesse with instructor feedback.

Pros
- Clear, step-by-step guidance that’s practical under real deadlines.
- Strong emphasis on shaping and directionality without strobes.
- Actionable posing and micro-adjustments that lift portraits immediately.
- Exposure strategies tailored to skin tones and mixed ambient conditions.
- Complements a print-first mindset for portfolio-ready results.
Cons
- Focuses primarily on portraits; documentary or product shooters may want broader genre coverage.
- Advanced retouchers may find the post-processing section introductory.
- Doesn’t replace hands-on practice—best used alongside real-world shooting or workshops.
Who It27s For
Editorial and portrait photographers, wedding and lifestyle shooters, and content creators who want a reliable playbook for fast, flattering, and expressive natural-light features. If you’re building a portfolio or tightening your on-location workflow, this fits squarely in your kit.
Verdict
"Mastering the Natural Light Portrait" distills field wisdom into a concise, repeatable system for crafting compelling feature images without a studio. It’s the rare guide that’s equally useful to experienced pros refining their process and ambitious enthusiasts leveling up fast. Pair it with a hands-on workshop and print on character-rich, natural-base papers to complete the vision from light to lasting print.
Highly recommended—and available now at Unique Photo, where you can also find the fine art papers and canvas highlighted above, plus live learning experiences to reinforce the techniques.