Harsh sunlight can be one of the most challenging lighting conditions photographers face. Midday sun often creates blown highlights, deep eye sockets, shiny skin, and high-contrast scenes that exceed your camera sensor’s dynamic range. The good news is that with the right exposure strategy, positioning, and light-shaping tools, you can turn difficult sunlight into clean, intentional, professional-looking images.
At Unique Photo, photographers regularly look for practical ways to manage bright outdoor conditions for portraits, events, street photography, landscapes, and even film work. Whether you shoot digital or analog, understanding how to balance exposure and soften shadows will help you get more keepers when the sun is less than forgiving.
Why harsh sunlight is difficult to photograph
Harsh sunlight creates strong directional light from a relatively small-looking source overhead. This produces:
- Bright highlights on skin, clothing, pavement, and reflective surfaces
- Dark shadows under eyes, noses, hats, and chins
- Loss of detail in skies or white objects
- Increased squinting and uncomfortable expressions in portraits
- Uneven exposure across a scene
When your scene contains both bright highlights and deep shadows, your camera may not be able to record full detail in both areas simultaneously. That is why harsh sunlight photography often comes down to making careful exposure decisions and modifying light when possible.
How to expose correctly in bright sunlight
If you are wondering how to balance exposure in harsh sunlight, start by deciding what part of the image matters most. In many situations, protecting highlights is the priority because blown highlights are difficult or impossible to recover.
Use these exposure techniques:
- Check your histogram: Don’t rely only on the LCD preview. A histogram will show if highlights are clipping.
- Use highlight-weighted or spot metering: Meter for the brightest important area, especially on faces or light clothing.
- Shoot RAW: RAW files preserve more detail and give you more latitude in post-processing.
- Dial in negative exposure compensation: In aperture priority or shutter priority, try -1/3 to -1 stop when highlights are at risk.
- Use base ISO when possible: Lower ISO helps maintain maximum dynamic range.
For portraits, it is often better to preserve skin highlights and let less important background shadows go darker. For landscapes, you may expose for the sky and bring up foreground shadows later in editing.
Best camera settings for harsh sunlight portraits
Portraits in midday sun are especially tricky because facial features can cast strong shadows. A few simple setting choices can improve results immediately:
- Use a fast shutter speed: Bright conditions make this easy and help freeze motion.
- Select a moderate aperture when needed: If your lens is too wide open in bright sun, you may hit your camera’s max shutter speed. Stopping down slightly can help.
- Enable Auto ISO carefully: Set a max ISO limit so the camera does not jump higher than needed.
- Use continuous shooting: Expressions change quickly when subjects are squinting or moving between sun and shade.
If you want shallow depth of field in bright light, an ND filter can help you keep a wider aperture without overexposing. This is especially useful for outdoor portraits with blurred backgrounds.
How to reduce harsh shadows outdoors without losing contrast
The easiest way to reduce harsh shadows is to change the quality or direction of light. You do not always need a full strobe setup. Sometimes a reflector or a shift in position makes a dramatic difference.
Try these methods:
- Move your subject into open shade: Shade from a building, tree line, or overhang softens the light dramatically.
- Backlight your subject: Place the sun behind them and expose for the face. This reduces squinting and smooths skin tones.
- Use a reflector: Bounce light back into eye sockets and under the chin.
- Use diffusion: If available, place a scrim or diffuser between the sun and the subject.
- Change your shooting angle: Sometimes a small step left or right removes distracting shadow lines.
For portrait photographers shopping at Unique Photo, a reflector-based solution can be especially useful on location because it is fast and portable.
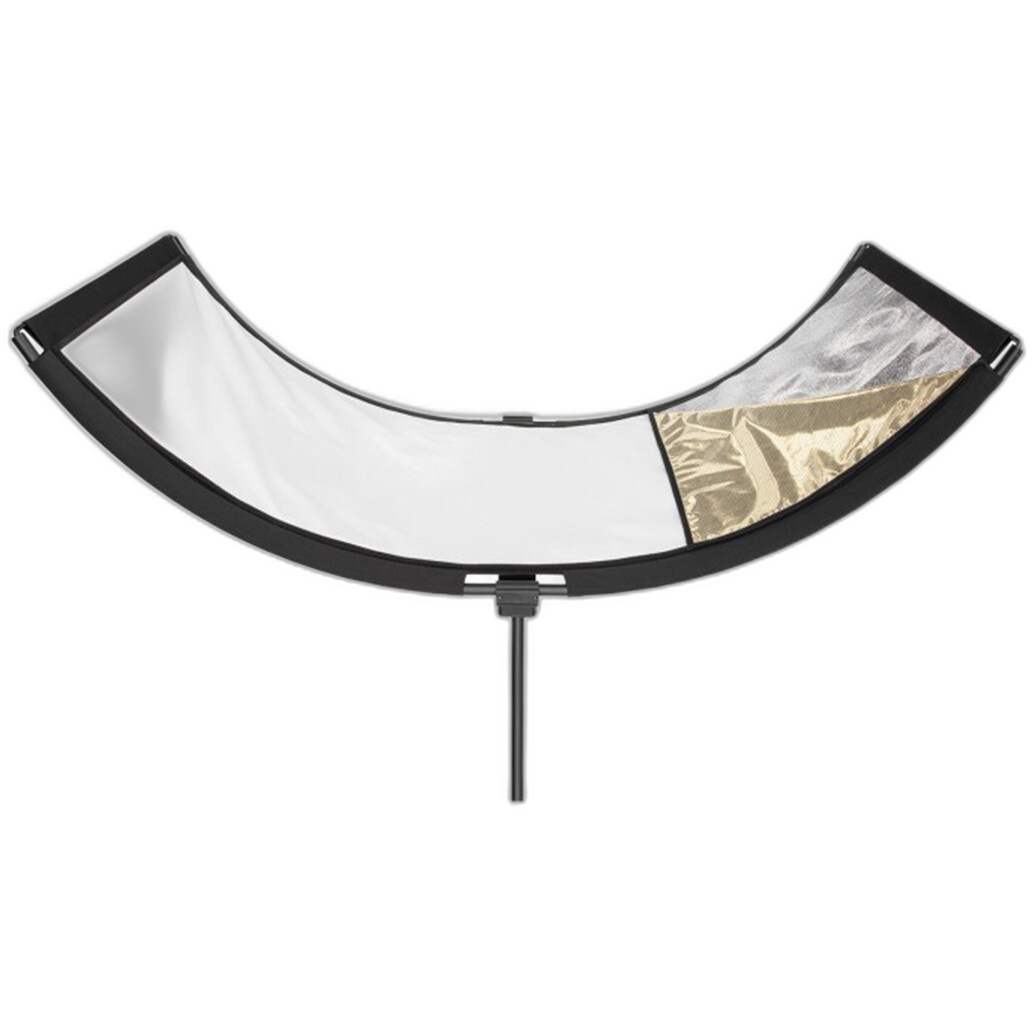
The Westcott Eyelighter 3 is a strong example of a practical modifier for outdoor portrait work. Its curved reflector design helps direct flattering fill light upward into the face, which can reduce deep shadows under the eyes and chin in bright sun. For headshots, beauty work, and outdoor interviews, tools like this can make harsh sunlight look much more polished.
Using reflectors and modifiers to soften midday sun
Reflectors are one of the most effective tools for photographing in harsh sunlight because they require no batteries, work quickly, and can add natural-looking fill. Silver surfaces provide a stronger, punchier bounce, while white tends to be softer and more subtle.
When you need more controlled shaping, professional modifiers can also help complement the sun or fill shadows when used with strobes.
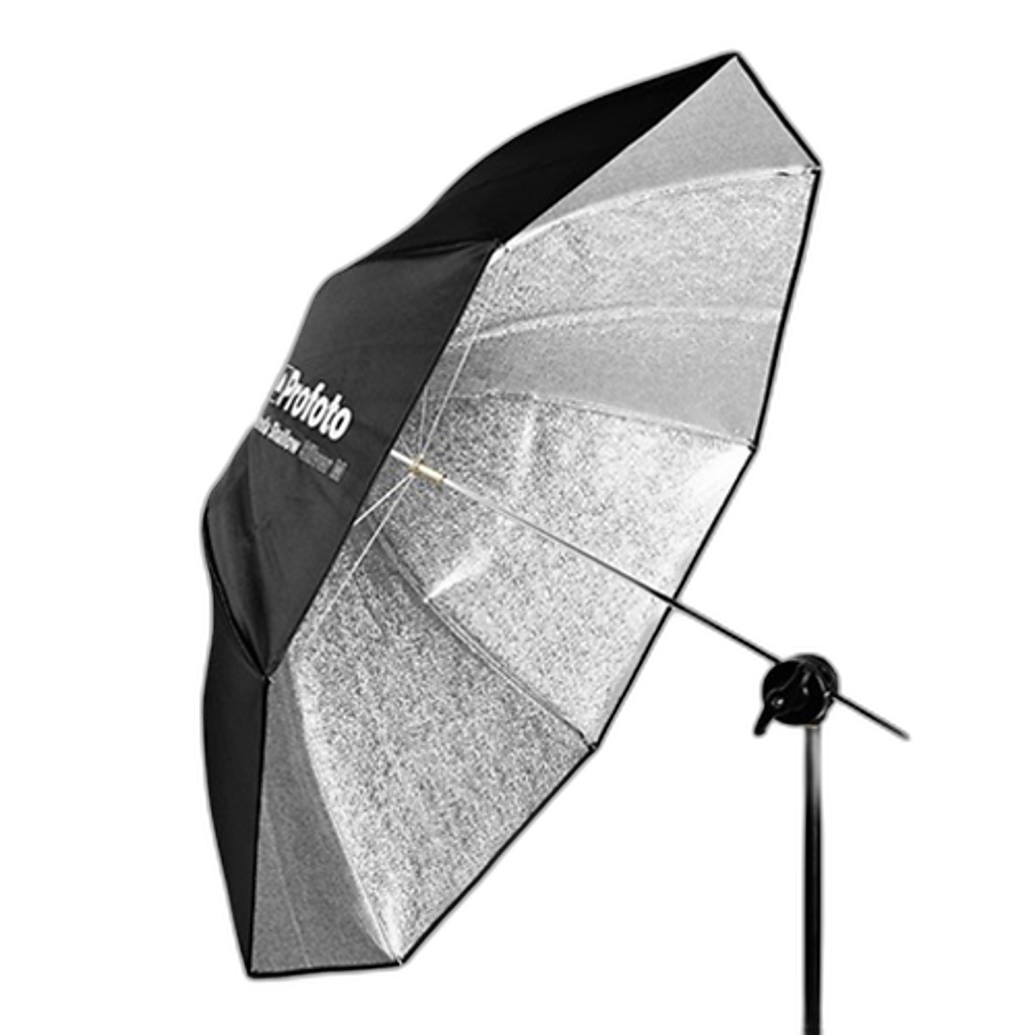
The Profoto Umbrella Shallow Silver M can be useful for photographers combining flash with sunlight. Silver interiors create efficient output, which is helpful when you need your off-camera light to compete with bright ambient conditions. This is a common approach for fashion, editorial, and outdoor commercial portraits.
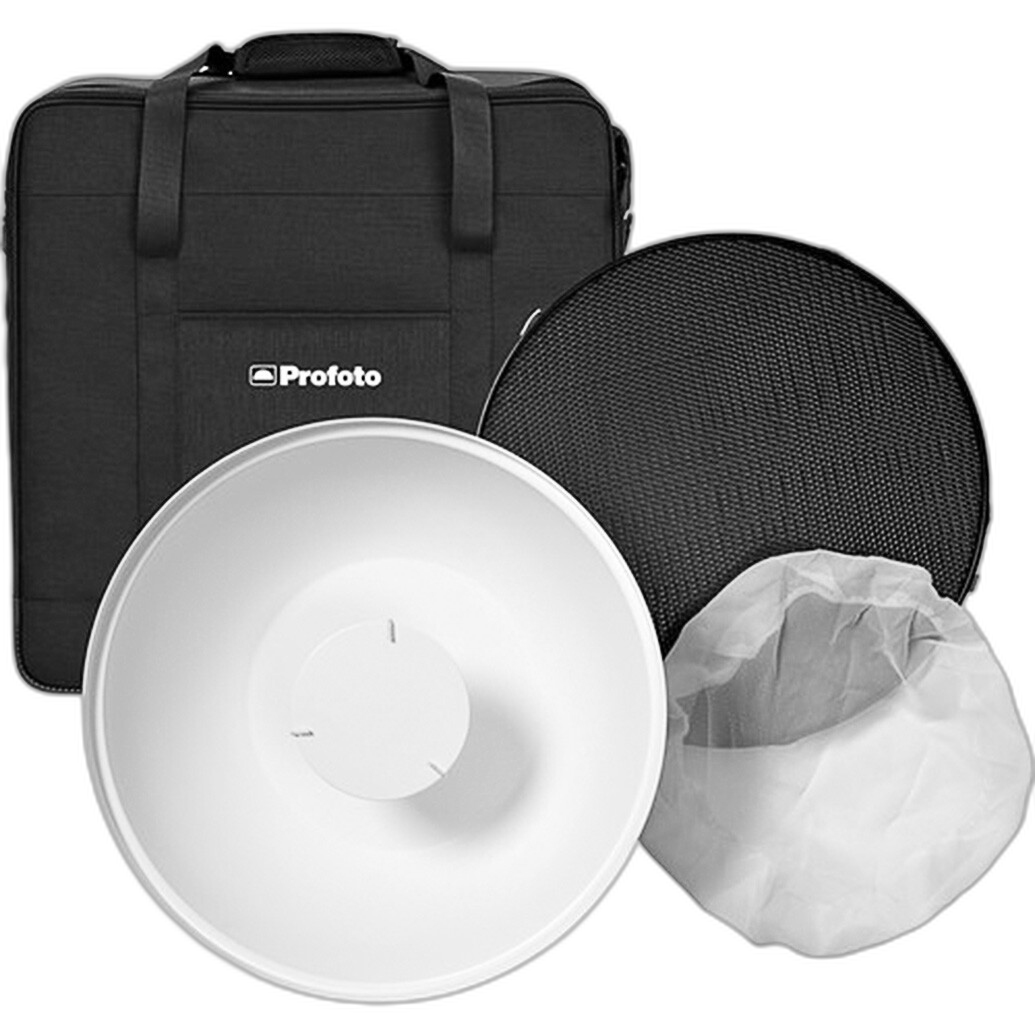
The Profoto Softlight Kit is another strong option for photographers who want more flattering light quality outdoors. A setup like this can help reduce the hard-edged look that direct sunlight often creates, especially when paired with careful subject placement and balanced exposure.
Should you shoot in direct sun or move into shade?
This depends on your goal. Direct sun can look bold, graphic, and editorial when used intentionally. Shade is often better for flattering skin and easier exposure control.
Choose direct sun when:
- You want dramatic contrast
- You are photographing architecture or street scenes
- You want crisp shadows as a design element
- You are creating a fashion-forward or cinematic look
Choose open shade when:
- You want softer skin tones
- You need more even portrait lighting
- Your subject is uncomfortable squinting
- You need consistent exposures across a sequence
If you stay in direct sun, try to make the light look intentional rather than accidental. Frame shadows carefully, watch highlights, and use fill when needed.
How to position your subject in harsh sunlight
Subject positioning is one of the fastest fixes for difficult light. Instead of placing someone face-first into the sun, try these alternatives:
- Back to the sun: Great for rim light and fewer facial shadows from overhead light.
- Sun at 45 degrees: Can create dimensional light, but monitor nose and eye shadows closely.
- Use a wall or ground bounce: Light-colored surfaces can naturally fill shadows.
- Lower the chin slightly: Often helps with catchlights and facial shape.
For environmental portraits, combine backlighting with a reflector or flash fill to hold detail in the face while keeping the background bright and lively.
Can flash help balance exposure in bright outdoor light?
Yes. Flash is one of the best ways to balance exposure and reduce harsh shadows in sunlight. By exposing for the ambient background first and then adding flash to illuminate your subject, you can create a more controlled final image.
Key tips for using flash outdoors:
- Expose for the background first: Keep highlights under control.
- Add fill flash to the subject: Lift shadows without making the image look artificial.
- Use high-speed sync if needed: Helpful when using fast shutter speeds with wide apertures.
- Modify your flash: Bare flash can look harsh, especially in close portraits.
For photographers building a more advanced lighting kit through Unique Photo, pairing outdoor flash with a reflector or soft modifier can dramatically improve portrait consistency in full sun.
Landscape and street photography tips for harsh midday light
Harsh sunlight is not only a portrait problem. Landscapes and street scenes also become more contrast-heavy around noon. Instead of fighting the conditions, look for subjects that benefit from strong light.
Good midday subjects include:
- Architecture with bold lines and shadows
- Urban scenes with graphic contrast
- Desert, beach, and travel environments
- Black-and-white compositions with strong tonal separation
To improve results:
- Use a polarizer carefully to deepen skies and control glare
- Bracket exposures for high-contrast scenes
- Look for repeating shadows and shapes
- Convert to black and white when color feels too harsh
Strong sunlight can create excellent storytelling opportunities if you lean into contrast rather than always trying to eliminate it.
Film photography in harsh sunlight
Film photographers also need to be careful in bright conditions, especially with limited exposure latitude depending on film stock. Negative film can be forgiving, but slide film is much less tolerant of highlight clipping. Meter carefully and consider how your chosen stock handles contrast.
Large format and classic cameras can be especially rewarding in bright light when you slow down and meter with precision. Unique Photo’s used department often appeals to film photographers who enjoy deliberate shooting workflows.
Whether someone is using a classic field camera or a compact film point-and-shoot, the same principles apply: protect highlights, avoid unflattering overhead light on faces, and use shade or reflected light whenever possible.
Editing photos taken in harsh sunlight
Post-processing is often where harsh sunlight images come together. If you shot RAW and exposed carefully, you can recover a surprising amount of detail.
Focus on these adjustments:
- Reduce highlights: Bring back detail in skin and bright skies.
- Open shadows selectively: Avoid flattening the image too much.
- Use local adjustments: Brighten faces without affecting the whole frame.
- Tame hot spots: Lower whites and clarity on shiny skin if needed.
- Adjust white balance: Direct sun can be warmer or more reflective depending on surroundings.
Once your images are finished, printing is a great way to evaluate whether your shadow and highlight balance holds up beyond the screen.
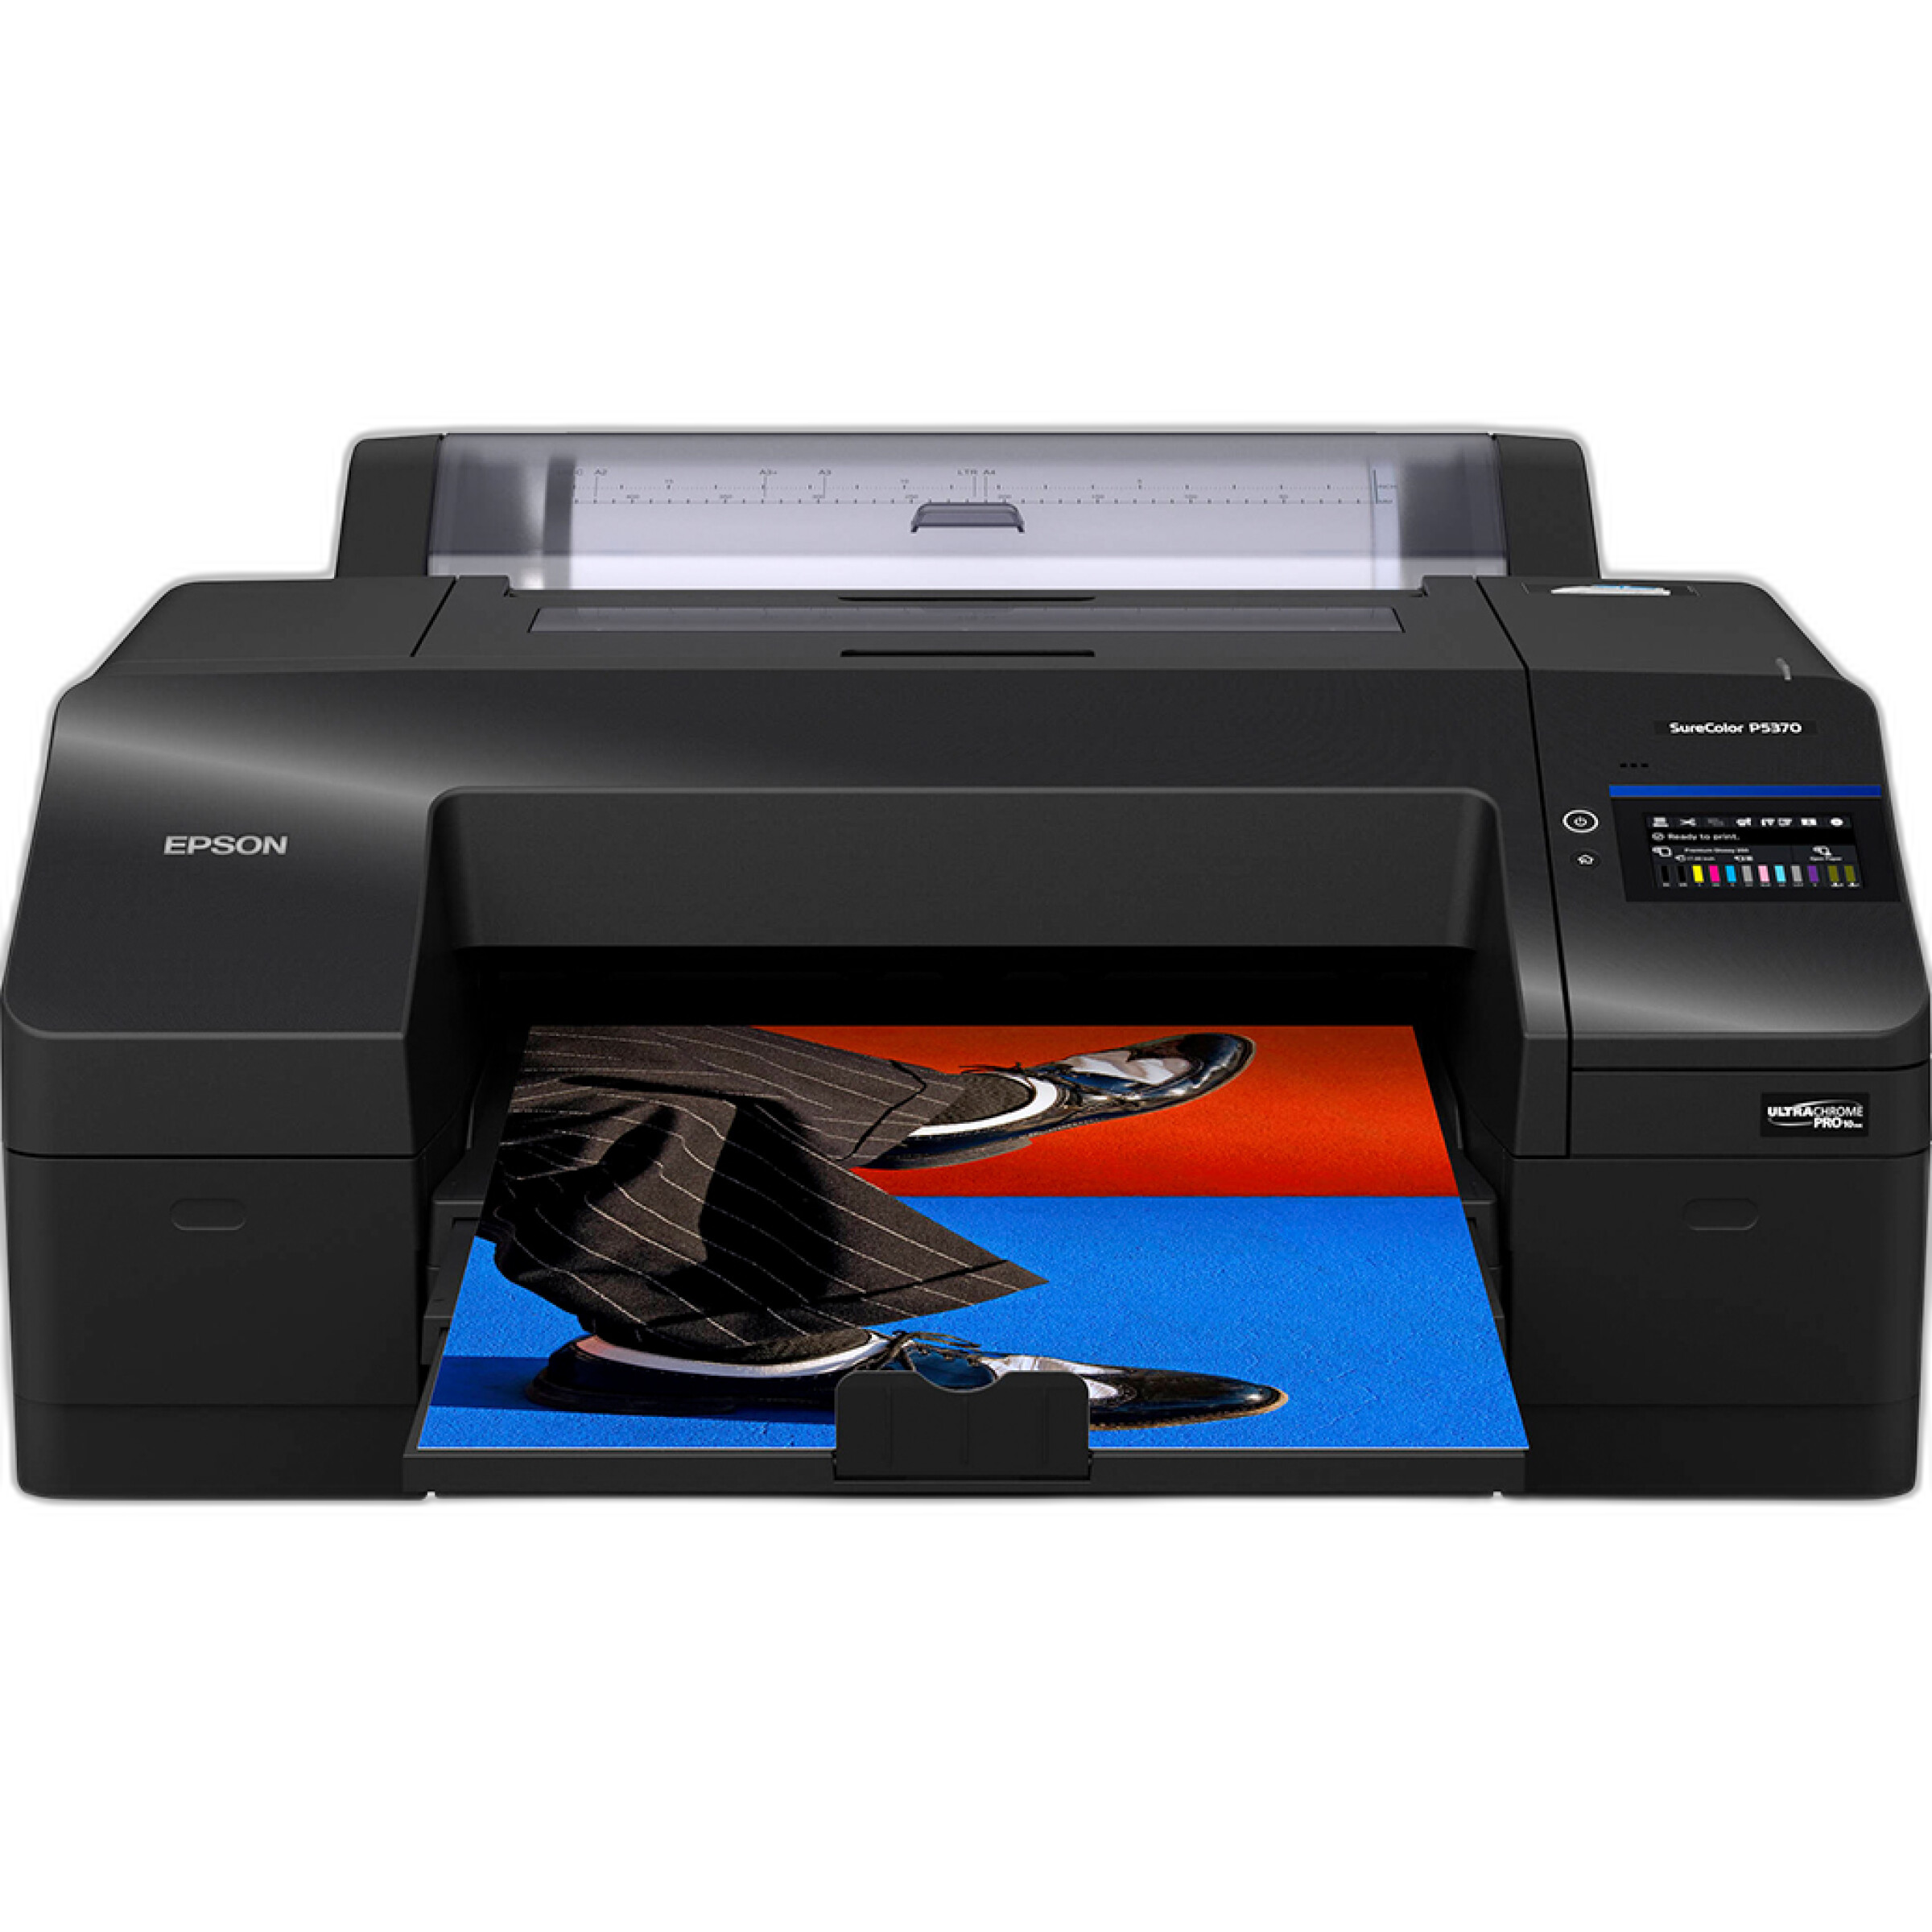
The Epson SureColor P5370 is a strong fit for photographers who want to make exhibition-quality prints and judge tonal transitions accurately. High-contrast sunlight images can look very different in print than on a monitor, so a dependable photo printer is valuable for refining your editing choices.
Common mistakes when photographing in harsh sunlight
Avoid these frequent issues:
- Letting highlights blow out on faces or clothing
- Pointing subjects directly into the sun
- Ignoring the histogram
- Over-brightening shadows until the image looks flat
- Using unmodified flash too close to the subject
- Forgetting to watch backgrounds for distracting bright patches
The biggest improvement usually comes from solving problems before you press the shutter. Better placement, better metering, and a simple reflector often matter more than heavy editing later.
Quick checklist for shooting in bright sun
- Protect important highlights
- Shoot RAW for maximum flexibility
- Use open shade when flattering light matters most
- Backlight portraits when possible
- Add a reflector or flash fill to reduce deep shadows
- Watch for squinting and shiny skin
- Check histogram and blinkies frequently
- Embrace strong shadows when they support the composition
Final thoughts on balancing exposure and reducing harsh shadows
Photographing in harsh sunlight does not have to mean washed-out skies, dark eye sockets, and unusable images. With the right combination of exposure control, subject positioning, and fill light, bright midday conditions can become much easier to manage. Sometimes the best move is simply stepping into open shade. Other times, a reflector, flash, or light modifier gives you the control you need.
Unique Photo is a great resource for photographers looking to refine their outdoor workflow, whether that means adding a reflector like the Westcott Eyelighter 3, building a stronger location-lighting kit with Profoto modifiers, or making finished prints to evaluate tonal range more accurately.
For internal linking opportunities, consider guiding readers to related Unique Photo pages on used equipment, lighting accessories, photo printers, and educational content focused on portrait lighting, flash photography, and shooting outdoors.