Shooting film in changing light is one of the most rewarding challenges in photography. Whether you are working on the street, traveling between sun and shade, or making portraits under mixed lighting, manual metering helps you stay in control of exposure instead of guessing. At Unique Photo, many film shooters ask the same question: how do you meter film accurately when the light keeps changing? The answer is a combination of understanding your meter, knowing your film stock, and making fast exposure decisions with confidence.
In this guide, we will cover practical manual metering tips for shooting film in unpredictable light, including how to read difficult scenes, when to trust reflected metering, when to switch to incident metering, and how to expose negative and slide film more consistently.
How to meter film manually in changing light
Manual metering starts with one key principle: meter for the light that matters most in your scene. If clouds are moving quickly, your subject is walking through open shade, or reflections are bouncing light in unexpected ways, your meter reading can shift from frame to frame. That is normal. What matters is learning how to interpret the reading instead of treating it as absolute.
When shooting film manually, begin by setting your film speed correctly. If you loaded ISO 400 film, set your handheld meter or camera meter to ISO 400 unless you are intentionally rating the film differently. Then choose your priority:
- Aperture priority thinking: pick the f-stop you need for depth of field, then meter for shutter speed.
- Shutter priority thinking: pick the shutter speed you need to freeze motion or prevent camera shake, then meter for aperture.
- Creative control: decide both aperture and shutter based on the look you want, then adjust by reading the light and changing your shooting position or waiting for better light.
In unpredictable conditions, it helps to meter once for sunlight, once for open shade, and once for backlight, then remember those exposure ranges. This gives you a fast mental map as scenes change.
Reflected meter vs incident meter for film photography
One of the biggest issues with manual metering is knowing what your meter is actually reading. A reflected meter measures light bouncing off the subject. A camera's built-in meter usually works this way. An incident meter measures the light falling onto the subject. In difficult lighting, incident readings are often more consistent because they are less influenced by subject tone.
For example, if your subject is wearing a black jacket in bright shade, a reflected meter may overexpose by trying to render the dark clothing as middle gray. If your subject is wearing white in direct sun, the same reflected meter may underexpose. Incident metering avoids much of that problem.
That said, reflected metering is still very useful when you cannot walk up to the subject. Street photographers and documentary film shooters often rely on reflected readings plus experience. At Unique Photo, many film photographers build this skill by practicing with one film stock until exposure compensation becomes second nature.
Best metering techniques for negative film in harsh or mixed light
Negative film is forgiving, especially color negative film, which usually handles overexposure better than underexposure. In unpredictable light, that gives you a valuable safety margin. If you are unsure, slight overexposure is often safer than slight underexposure.
Here are reliable manual metering tips for negative film:
- Meter for the shadows when shadow detail matters. Negative film generally retains highlights well, so giving shadows enough exposure is often the priority.
- Rate the film slightly slower if needed. Many photographers shoot ISO 400 negative film at EI 200 or 320 for richer shadow detail.
- Watch for bright backgrounds. Backlit scenes can fool reflected meters into underexposing your subject.
- Use open shade readings as a baseline. If the light keeps shifting between sun and shade, take one reading in each and remember the difference.
If you are scanning your negatives later, the extra exposure latitude can be especially helpful. Film shooters printing in the darkroom may also appreciate fuller negatives for easier interpretation on paper. For photographers exploring analog output workflows, Unique Photo also carries darkroom supplies and printing materials like Fujifilm paper options.
How to meter slide film accurately in unpredictable light
Slide film is much less forgiving than negative film, so accurate manual metering is critical. Highlights can blow out quickly, and there is far less room for correction after processing. If you are shooting transparency film, meter conservatively and pay close attention to the brightest important parts of the scene.
For slide film, keep these habits in mind:
- Protect highlights first. If a bright cloud, white dress, or reflective skin highlight matters, do not overexpose it.
- Bracket when the light is unstable. A simple three-frame bracket can save an important shot.
- Be careful with high-contrast scenes. If the range between shadows and highlights is too wide, you may need to recompose or wait for softer light.
- Use an incident meter when possible. It can provide a more dependable baseline than reflective readings off complex subjects.
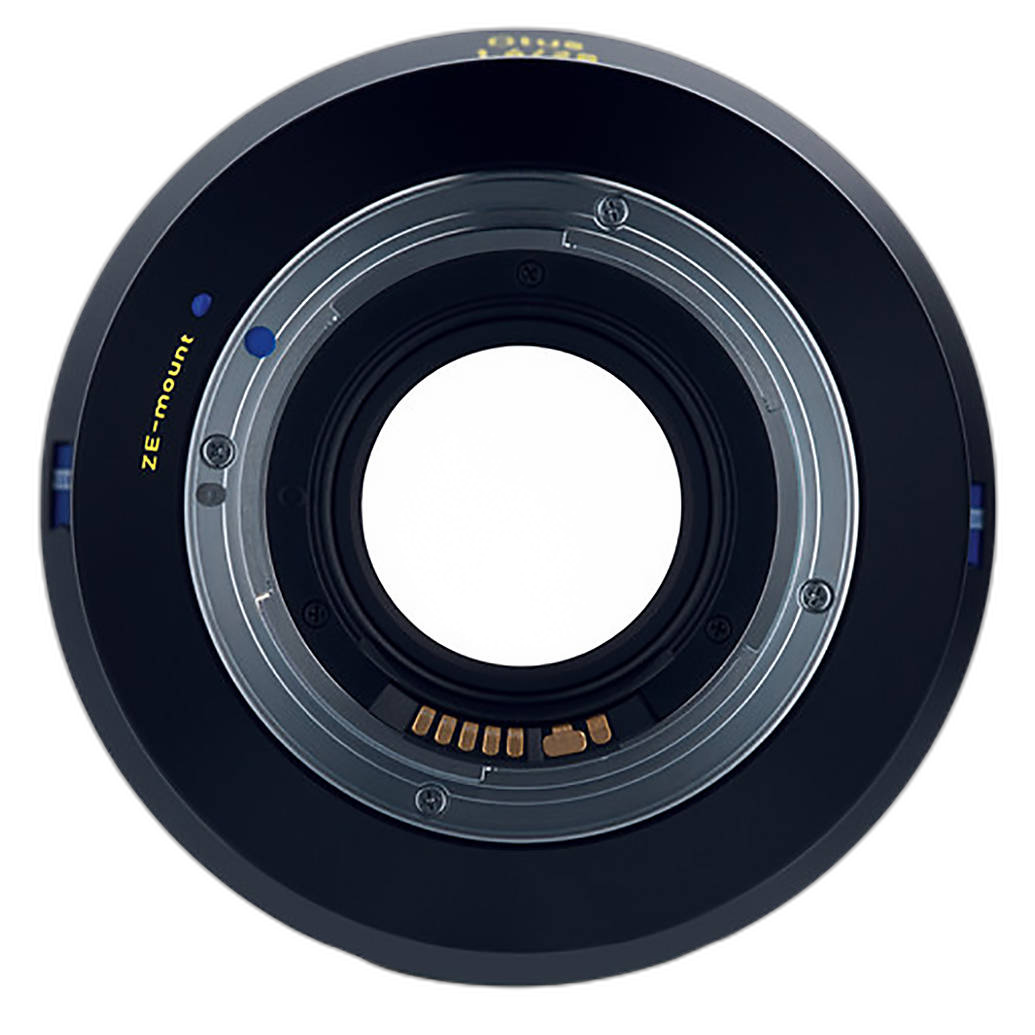
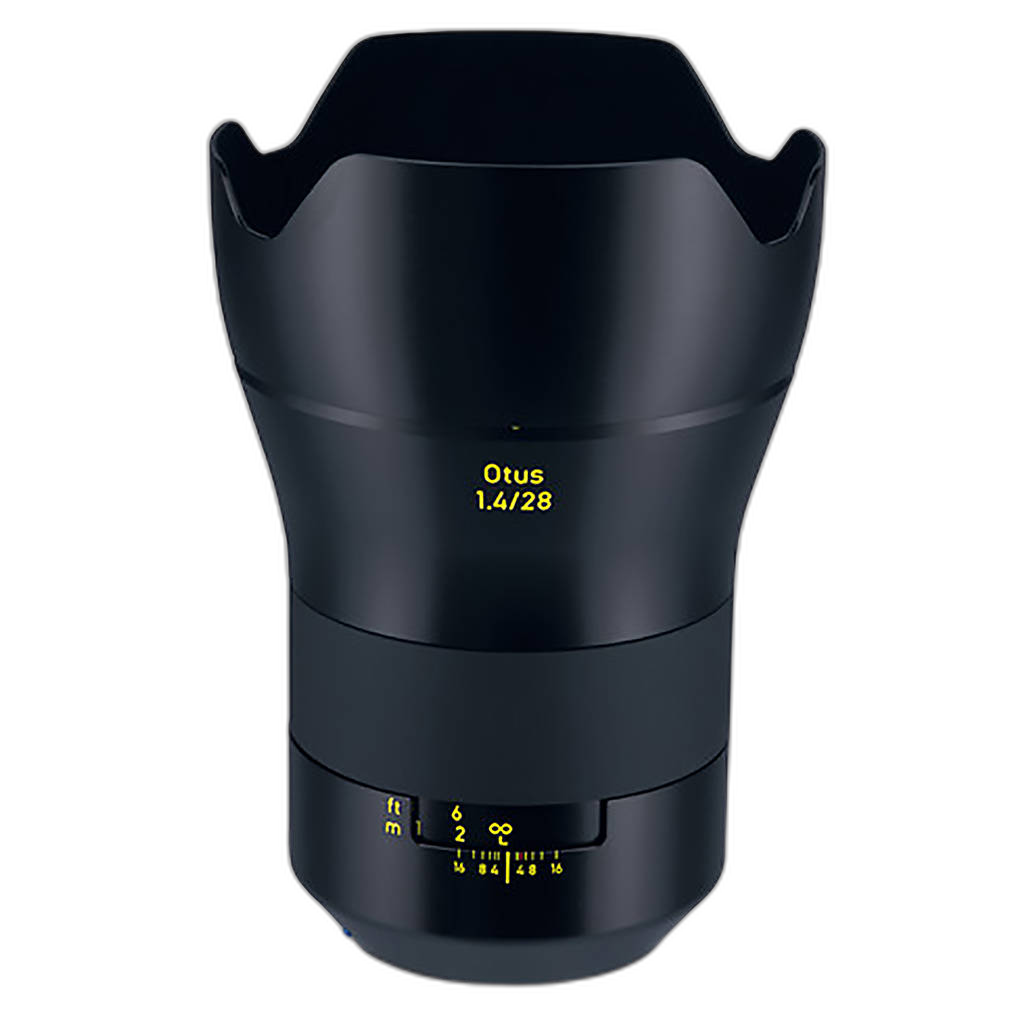
Manual focus shooters often pair film cameras with carefully crafted optics and deliberate exposure technique. A lens with strong contrast and rendering, like a Zeiss manual-focus design, fits naturally into that approach for photographers who value precision.
Sunny 16 and backup exposure strategies when your meter is unreliable
Even if you prefer a handheld meter, every film photographer should know a backup method. The Sunny 16 rule is the classic solution when batteries die, meters get confused, or the light changes too quickly to keep checking.
Sunny 16 says that in bright midday sun, you can set f/16 and a shutter speed close to your film ISO. For ISO 400 film, that means about 1/500 second at f/16. From there, adjust for conditions:
- Bright sun: f/16
- Light haze: f/11
- Open shade or cloudy bright: f/5.6 to f/8
- Heavy overcast: f/4
- Deep shade: f/2.8 to f/4
This is not just a beginner trick. It is a fast reference system for working in changing outdoor conditions. Many experienced film photographers use Sunny 16 as a reality check against a suspicious meter reading.
Manual metering tips for backlit scenes, shade, and mixed lighting
Unpredictable light often means one of three things: backlight, patchy shade, or mixed color temperature. Each scenario benefits from a slightly different metering strategy.
Backlit scenes: If the subject is darker than the background, a reflected meter will often underexpose the face or main subject. Move closer and meter off the subject, use an incident meter, or open up exposure by 1 to 2 stops based on the situation.
Patchy shade: When your subject moves through broken light, decide whether you want consistency or spontaneity. For consistency, keep the subject in one type of light and meter for that. For spontaneity, pre-meter sun and shade and adjust quickly as the subject moves.
Mixed lighting: Indoors near windows, under storefront lighting, or at dusk with streetlamps, meter for the dominant light on the subject. Exposure is separate from color balance, so your first concern is still tonal placement. If you are supplementing ambient light for hybrid film and digital workflows or planning a controlled portrait setup, lighting tools from Godox can help stabilize the scene before you ever meter it.
How to use spot metering and midtone references on film
If you have access to a spot meter, you can make more deliberate exposure decisions by sampling different parts of the scene. This is especially useful when the light is dramatic or uneven.
A practical approach is to find a midtone in the same light as your subject. Grass, weathered pavement, neutral clothing, or the palm of a hand can all be used as references with a little practice. From there:
- Meter the midtone and expose as read for a balanced result.
- Meter a bright highlight and place it carefully if highlight retention matters.
- Meter a shadow area and decide whether you want detail there or are willing to let it go dark.
This way of thinking turns manual metering into interpretation rather than mere measurement. It also helps you stay consistent across an entire roll.
Film exposure compensation tips when the light changes fast
When conditions shift quickly, you may not have time for a fresh reading before every frame. That is where practical compensation habits matter. If your base reading was taken in open shade and the subject steps into weak sun, you may only need to close down about one stop. If the subject becomes strongly backlit, you may need to open up instead, depending on how much of the frame is occupied by the bright background.
Useful rules of thumb include:
- Add exposure for dark subjects, backlight, snow scenes where the subject is the priority, or heavy shade.
- Reduce exposure for very bright subjects, reflective surfaces, or scenes dominated by white if your meter is reading reflectively.
- Bracket key frames when in doubt, especially with slide film or irreplaceable moments.
The more you work with one camera and one film stock, the faster this becomes. Unique Photo is a great place to keep that workflow consistent, whether you are stocking up on essentials or learning from workshops and educational resources.
Why keeping notes improves manual metering with film
Film does not give instant feedback, so note-taking can dramatically speed up your learning. Write down the film stock, rated ISO, lighting conditions, meter type, and chosen exposure. When the scans or prints come back, compare the results to your notes.
You will quickly see patterns such as:
- Your camera meter underexposes backlit portraits.
- Your favorite black-and-white film looks better when rated at half box speed.
- Your handheld incident meter is more reliable in mixed light than your built-in reflective meter.
This kind of record builds confidence much faster than guessing. It also helps you refine personal exposure habits for different genres, from street photography to portraiture.
Gear and education that support better metering technique
Manual metering is mostly about knowledge, but the right tools can make your work more consistent. A precise manual-focus lens encourages a slower, more intentional pace. Controlled lighting tools can reduce exposure uncertainty in portraits and still life work. Educational classes can also sharpen your understanding of how light behaves before you ever load a roll of film.
For photographers who want to improve their understanding of lighting, Unique Photo offers learning resources such as classes on key lighting methods and portrait lighting technique. Those concepts translate directly to film metering because the better you understand light direction, contrast, and subject placement, the easier exposure decisions become.
Final thoughts on manual metering tips for shooting film in unpredictable light
The best manual metering tips for shooting film in unpredictable light are simple: know your film latitude, understand what your meter is reading, pre-meter common lighting situations, and keep a backup method like Sunny 16 in mind. Negative film gives you room to be generous with exposure, while slide film demands more precision. Over time, experience will help you react quickly even when the light keeps changing.
At Unique Photo, we encourage film photographers to build a repeatable workflow: use one or two favorite film stocks, practice metering in a range of conditions, and study your results. If you want to keep learning, consider exploring related categories and resources on Unique Photo such as film cameras, light meters, darkroom supplies, photography classes, and manual-focus lenses. You can also link readers internally to educational pages on portrait lighting, lighting workshops, and analog printing supplies for a stronger film photography workflow.