Introduction: A Real-World Low-Light Guide for Handheld Shooters
Low-light photography is where technique matters as much as gear. If you are trying to get sharp photos indoors, on city streets after dark, at events, or during blue hour without carrying a tripod, success comes down to balancing shutter speed, aperture, ISO, stabilization, and body position. For this review-style guide, the standout product is Rocky Nook Enthusiast's Guide Night & Low-Light Photo by Alan Hess, a practical learning resource that fits photographers who want better handheld results instead of relying only on expensive equipment upgrades.
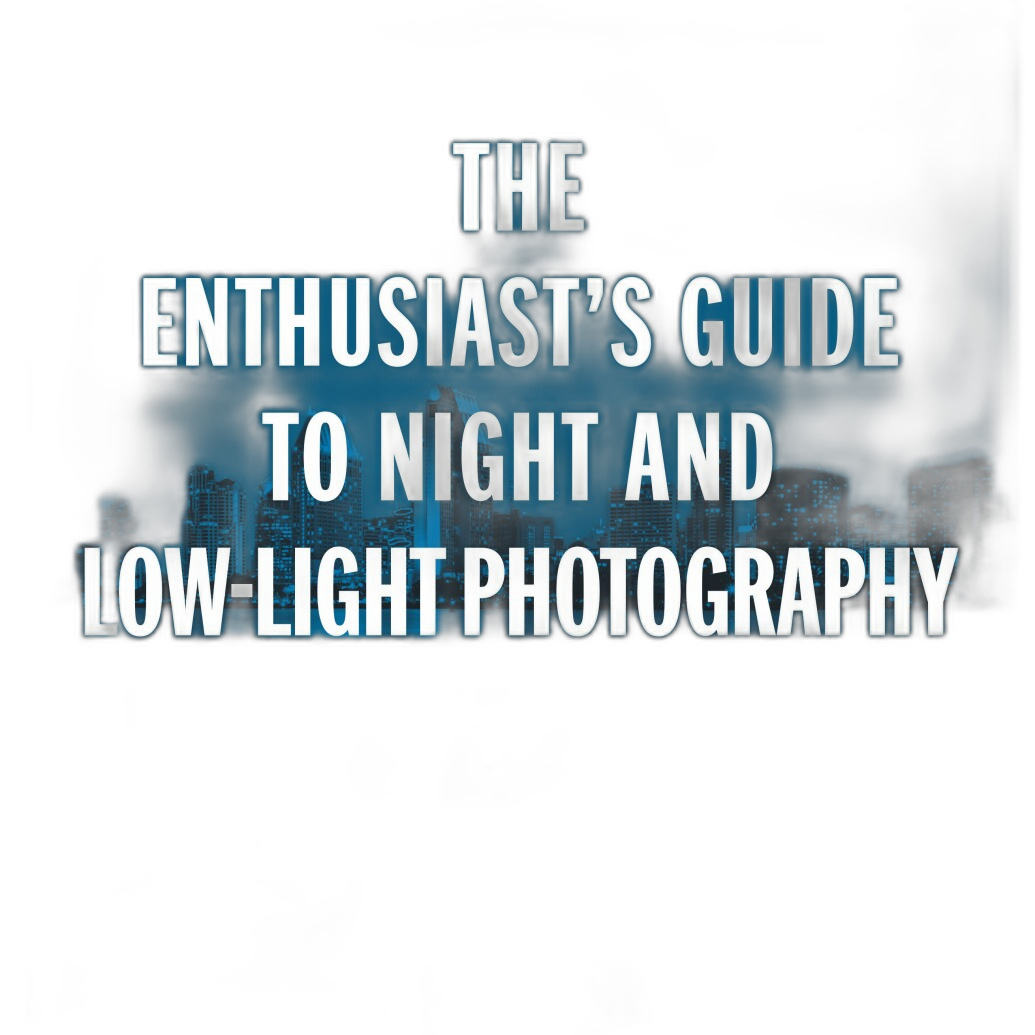
Rather than being a conventional hardware review, this article reviews the value of a dedicated low-light photography book as a tool for improving sharpness when a tripod is not an option. Along the way, it also highlights what kind of camera and lens combinations help in the field, using examples from available gear at Unique Photo.
Why This Book Is Well Positioned for the Topic
Many photographers assume low-light sharpness is mostly about buying a faster lens or a newer camera body. Those things help, but they do not replace understanding technique. Alan Hess's guide is well positioned because it addresses the actual problem: how to think in low light. That includes exposure choices, scene evaluation, movement control, and practical shooting methods that make handheld photography more consistent.
For beginners, the book gives structure to a part of photography that often feels unpredictable. For intermediate shooters, it is a useful refresher that can improve keeper rate in difficult lighting. If your goal is to come home with sharper images without setting up support gear, educational value like this can be more important than another accessory purchase.
Key Features
Focused Education on Night and Low-Light Photography
The biggest strength of this Rocky Nook title is its specialization. Instead of broad coverage of photography in general, it concentrates on the exact situations where many photographers struggle most. That focus makes it relevant to the topic of handheld low-light shooting, because sharpness problems often happen when the light drops and subjects or photographers start moving.
Technique-Driven Approach
A strong low-light guide should teach more than exposure theory. It should help you understand when to raise ISO, when to open the aperture, when to accept motion blur creatively, and when to protect shutter speed at all costs. This kind of guidance is what makes a book like this valuable: it supports decision-making in the moment.
Useful Companion to Fast Lenses and Full-Frame Bodies
Technique works best when paired with capable gear. A lens like the used Tamron 35-150mm f/2-2.8 Di III VXD for Nikon Z is a great example of hardware that supports handheld low-light work because of its bright maximum aperture range.

Likewise, a body such as the used Canon EOS 5D Mark III represents the kind of full-frame platform many photographers still trust for strong high-ISO output and dependable low-light image quality.
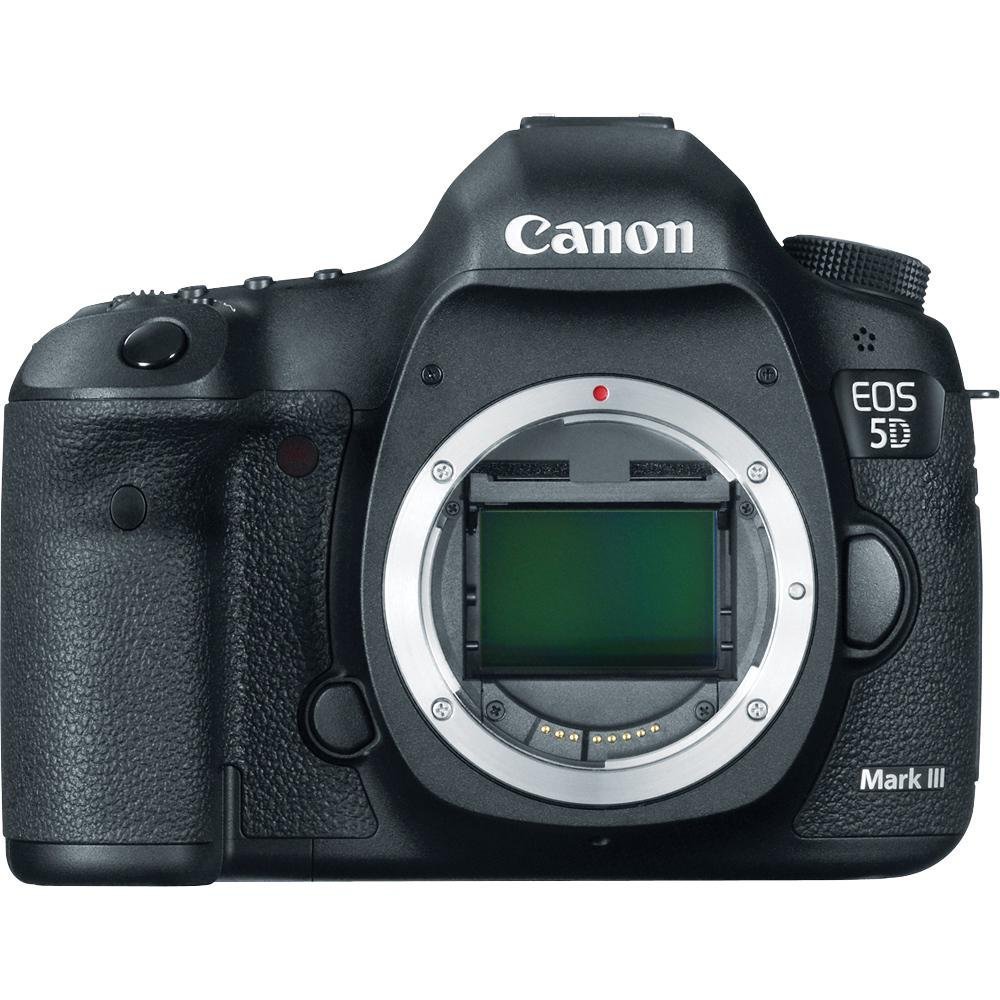
The book does not replace gear, but it helps photographers get more from the equipment they already own.
Low-Light Shooting Tips for Sharp Photos Without a Tripod
Prioritize Shutter Speed First
If you want sharp photos handheld, shutter speed is usually the first setting to protect. A classic guideline is to use a shutter speed at least as fast as the reciprocal of your focal length, but modern high-resolution sensors often benefit from going faster. If you are at 150mm, do not assume 1/150 sec is enough; 1/250 sec or 1/320 sec may deliver more consistent results.
Use the Widest Practical Aperture
Open your lens up when light is limited, especially if your subject separation and depth-of-field needs allow it. Fast zooms and primes make a major difference here. Wider apertures let you hold faster shutter speeds without driving ISO too high.
Accept Higher ISO When Sharpness Matters
A noisy sharp image is usually more usable than a clean blurry one. Modern noise reduction software has made this even more true. In low light, many photographers sabotage sharpness by keeping ISO artificially low. If your subject is moving or your hands are unsteady, increase ISO confidently.
Stabilize Your Body, Not Just Your Camera
Without a tripod, your shooting stance becomes your support system. Tuck elbows in, control breathing, brace against walls or railings, and fire in short bursts. These small habits can make a big difference. If your camera or lens has stabilization, use it, but do not assume stabilization will freeze subject movement.
Time the Shot Carefully
Even when you are handheld, there is often a precise moment where movement is minimal. Press the shutter smoothly at the end of an exhale, or wait for your subject to pause briefly. Better timing often improves sharpness more than changing settings by a fraction of a stop.
Shoot in Bursts for Better Keeper Rate
In low light, firing a short burst of two to four frames often increases your odds of getting one critically sharp result. Tiny body movements vary from frame to frame, so a burst can outperform a single-shot approach.
When a Tripod Still Helps—Even if This Guide Is About Not Using One
While this article focuses on shooting without a tripod, it is still worth acknowledging that support gear remains essential for some scenes. If you regularly shoot cityscapes, architecture, or long exposures, a travel tripod can still be an excellent addition to your kit.
The Benro Bat Zero Series Aluminum Travel Tripod with VX20 Ball Head is a compact option for photographers who need support but want something portable.
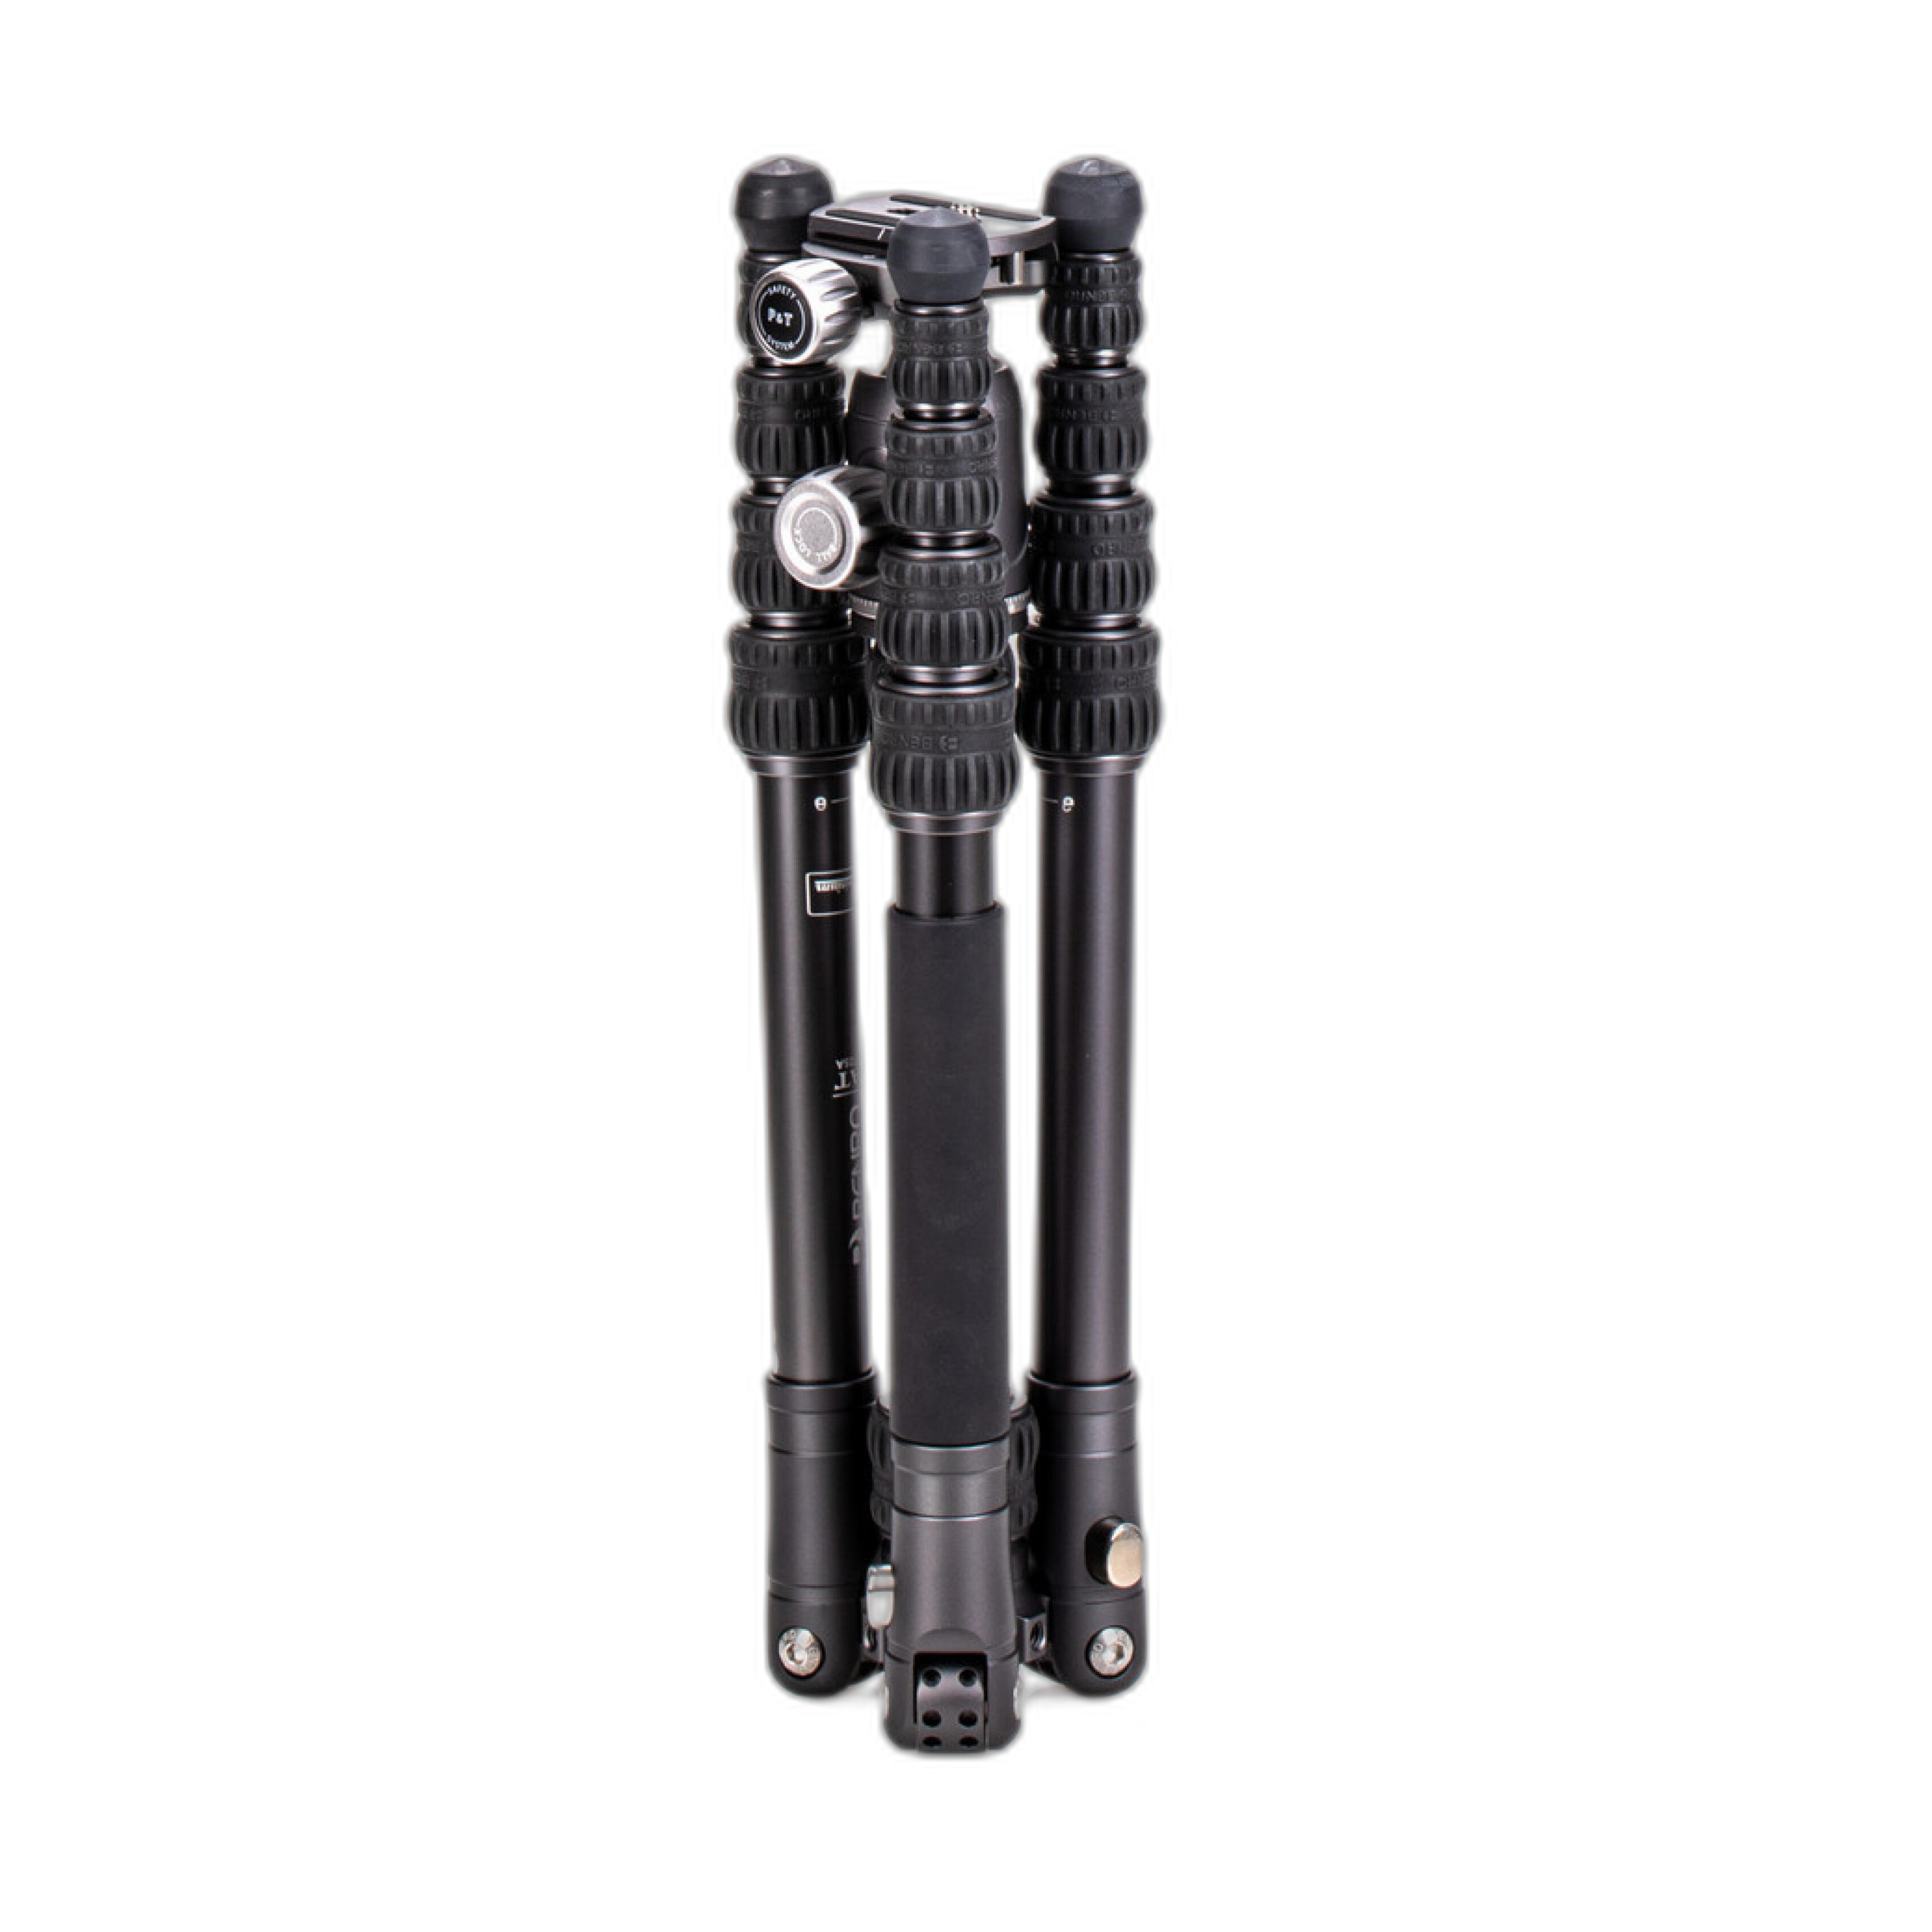
For photographers prioritizing slim design and easy transport, the Benro 0 Super Slim Aluminum Tripod Kit is another appealing option.
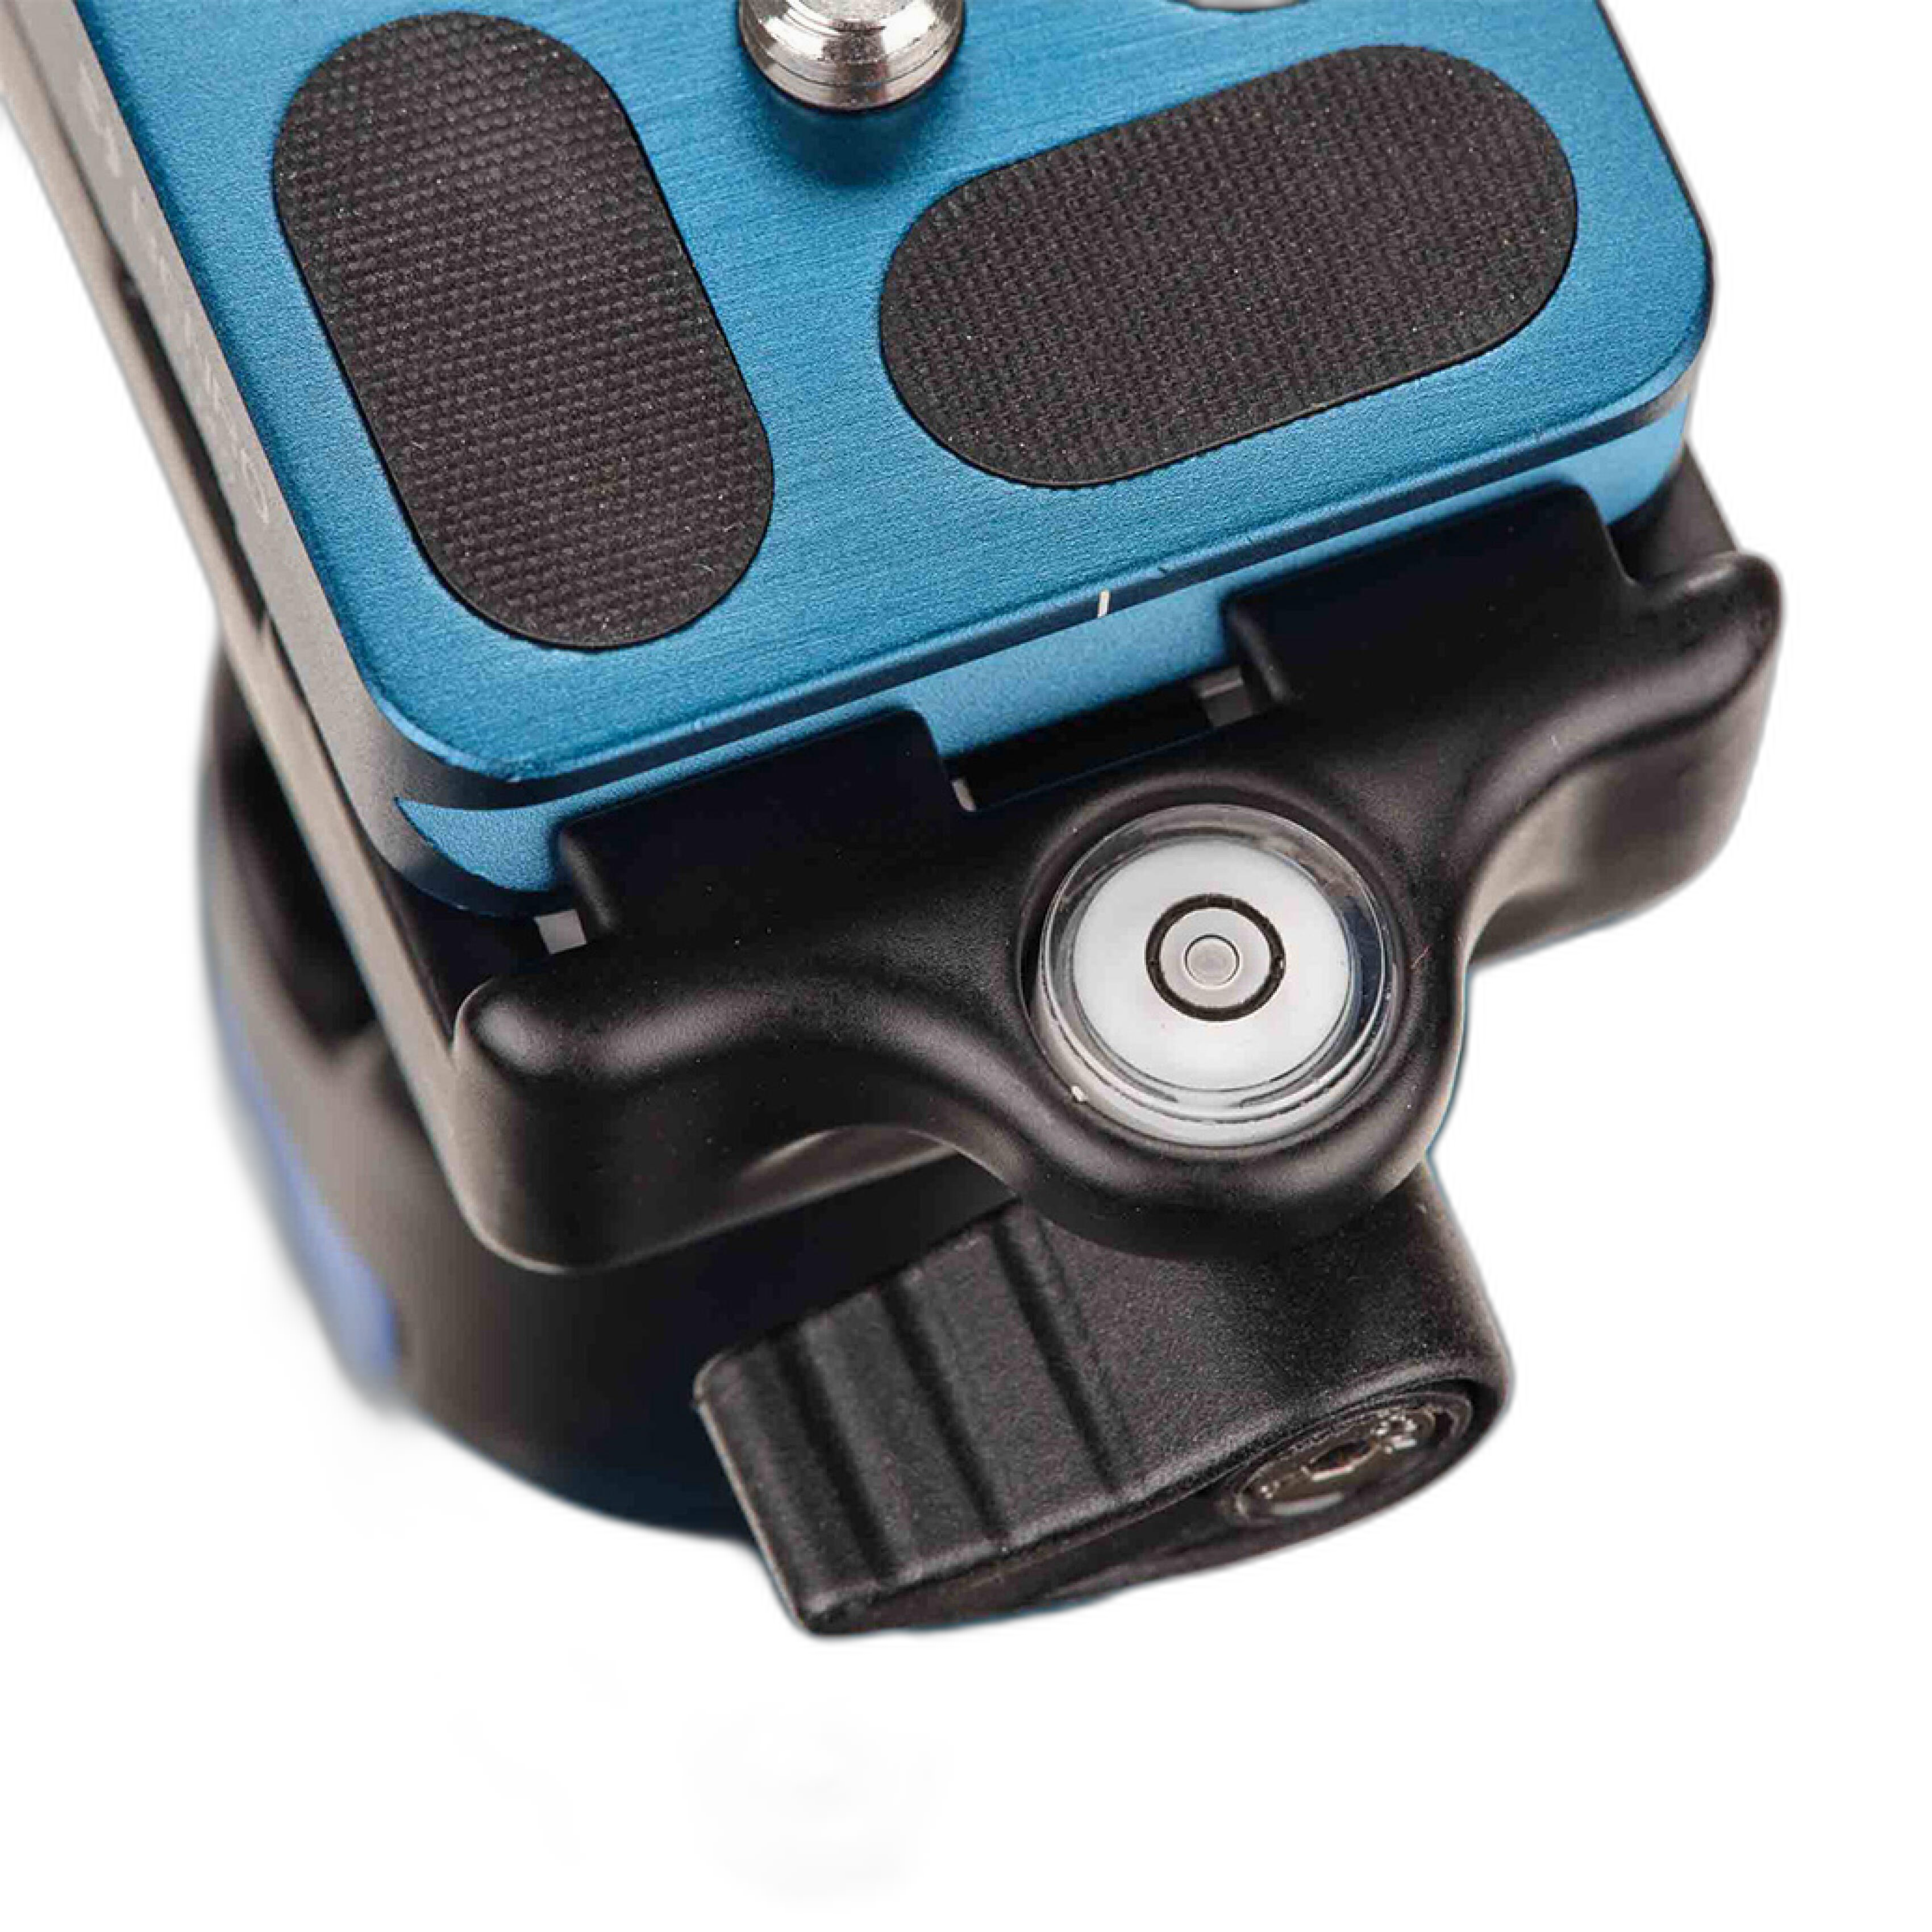
And for users who want premium construction, the Peak Design Pro Lite Tripod Black Carbon Fiber Legs represents a higher-end portable support solution.
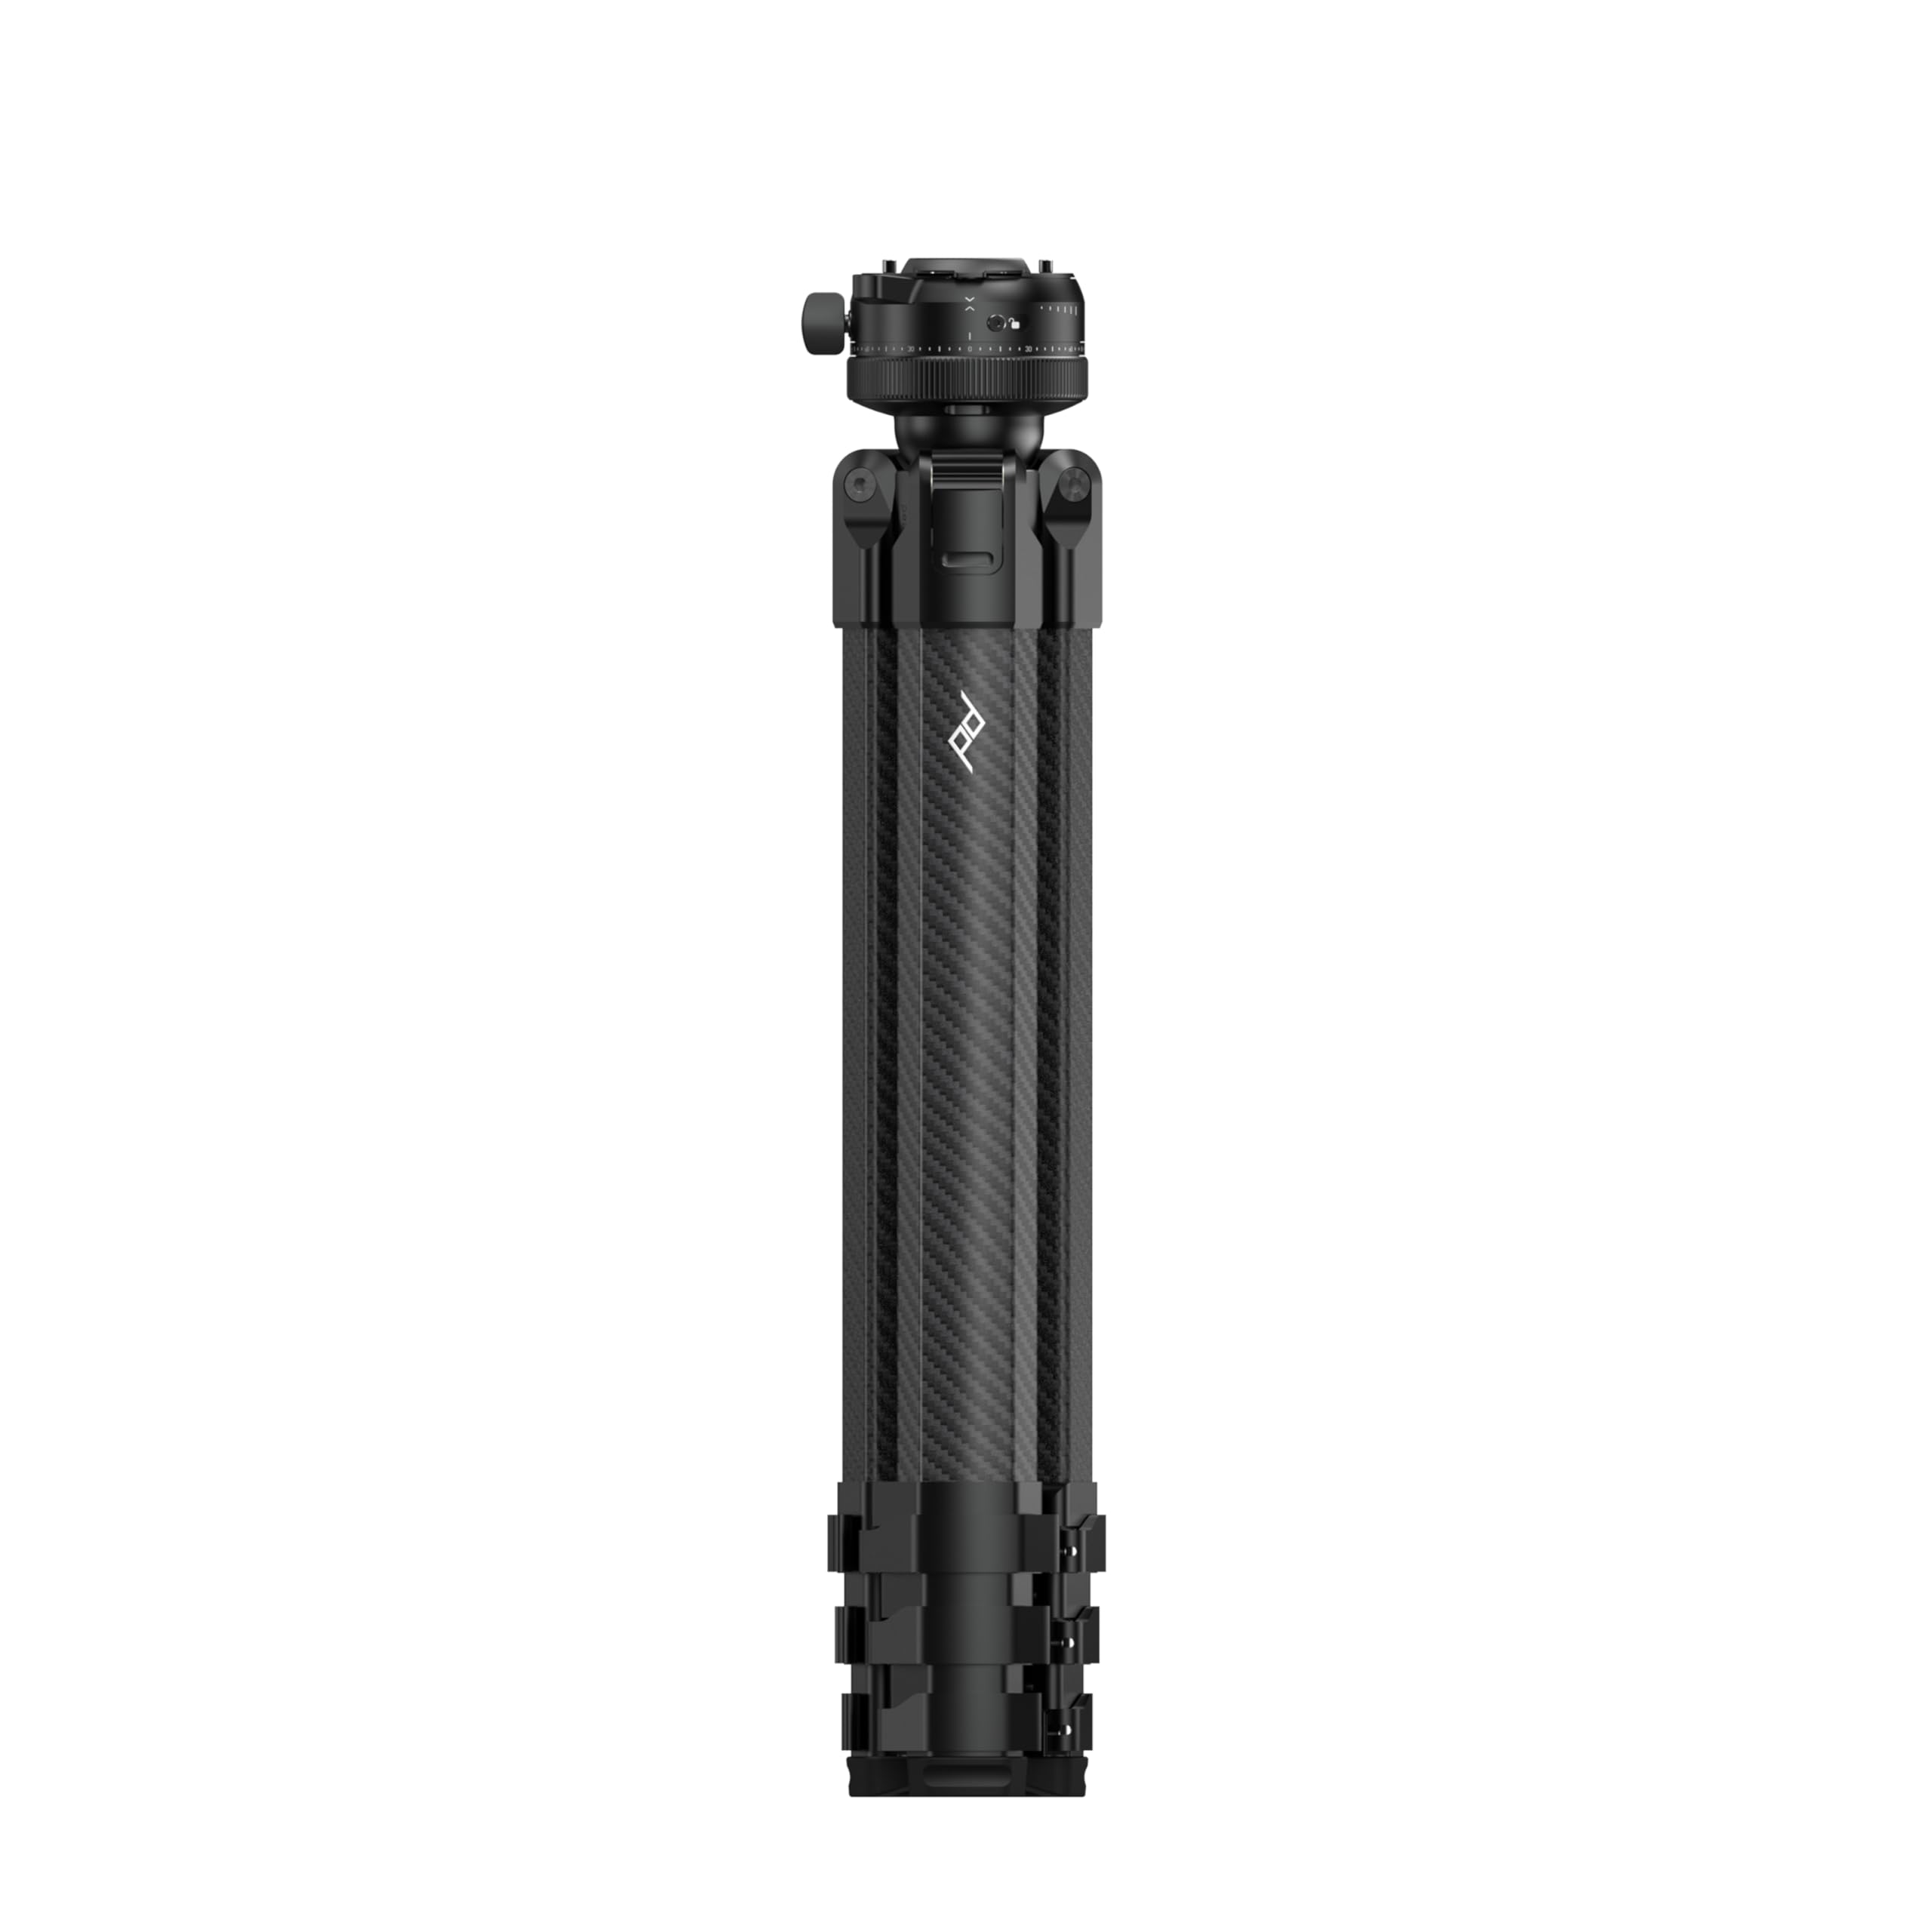
Still, for many everyday low-light situations, technique plus a fast lens is the more practical answer than carrying a tripod everywhere.
Pros and Cons
Pros
- Highly relevant to photographers struggling with low-light sharpness
- Technique-focused learning can improve results with current gear
- Useful for beginners and intermediate shooters alike
- More affordable way to improve photography than a major gear upgrade
- Pairs well with fast lenses and capable camera bodies
Cons
- It is a learning resource, not an instant hardware fix
- Best results still require practice and experimentation
- Photographers looking only for gear reviews may want more equipment-specific coverage
Verdict
Rocky Nook Enthusiast's Guide Night & Low-Light Photo by Alan Hess is an excellent fit for the topic of getting sharp photos without a tripod because it addresses the real issue: knowledge and execution. If your low-light images are soft, inconsistent, or noisier than you want, this book is likely to improve your results more than many impulse gear purchases. It is especially worthwhile for photographers who want practical advice they can apply immediately in handheld situations.
For the best experience, pair the techniques from this guide with a bright lens and a camera body that handles higher ISO well. And if you eventually decide you do need support gear, Unique Photo also offers strong tripod options from Benro and Peak Design. For buying the book itself, as well as complementary camera gear, Unique Photo is the place to shop.
Recommendation
If you are serious about improving handheld night and indoor photography, this Rocky Nook guide earns a solid recommendation. It is not flashy, but it is practical, targeted, and likely to raise your keeper rate in exactly the situations where sharpness is hardest to achieve.