Best Practices for Achieving Sharp Handheld Shots in Low Light
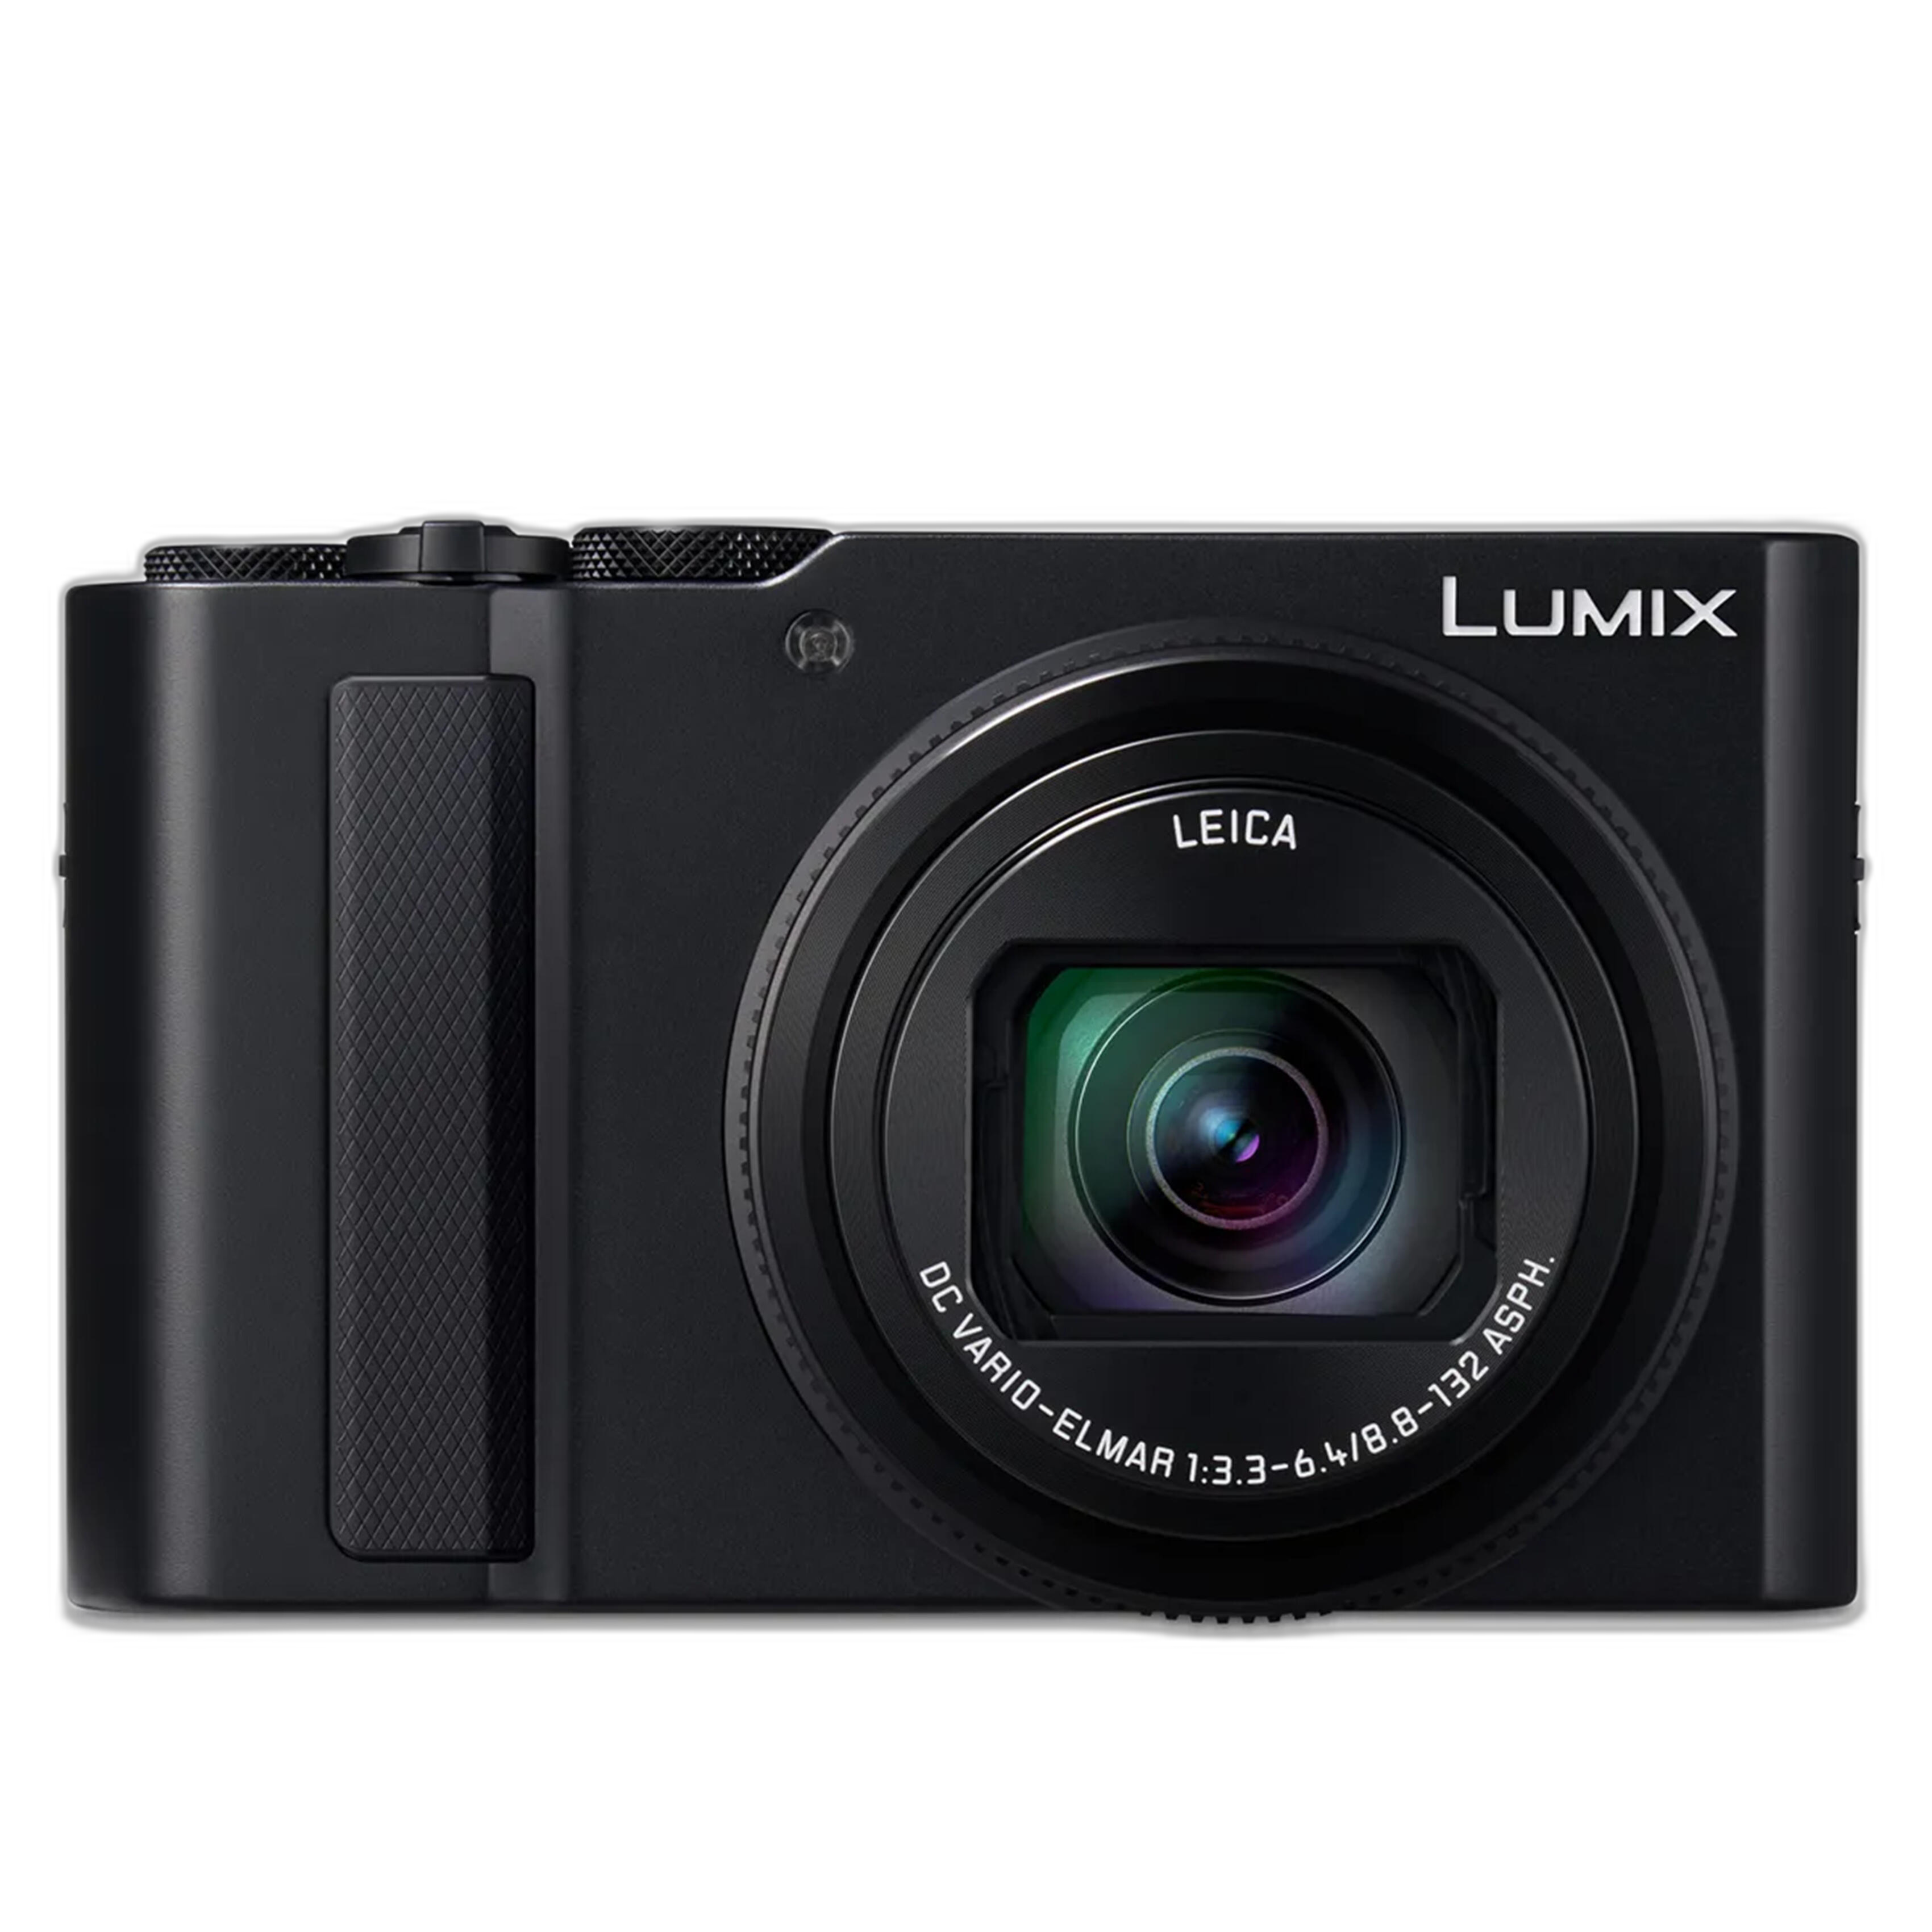
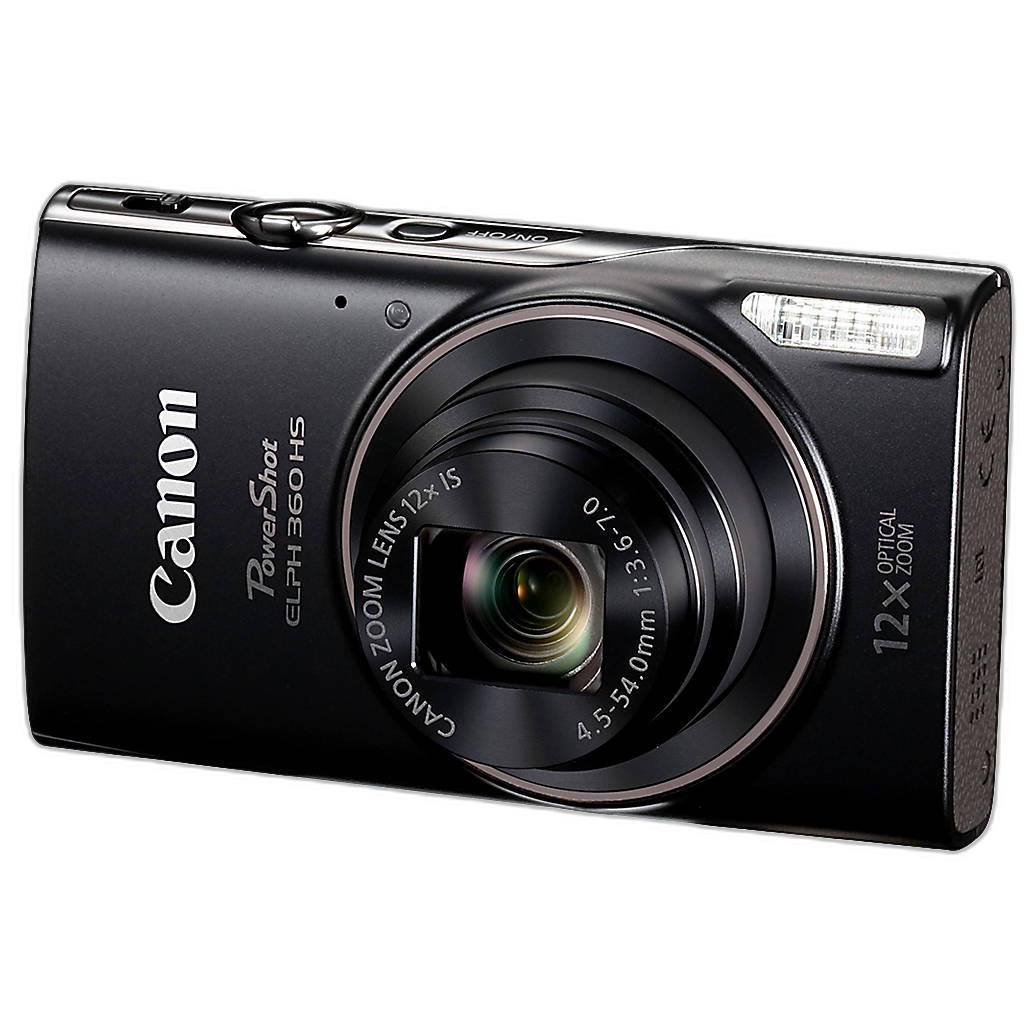
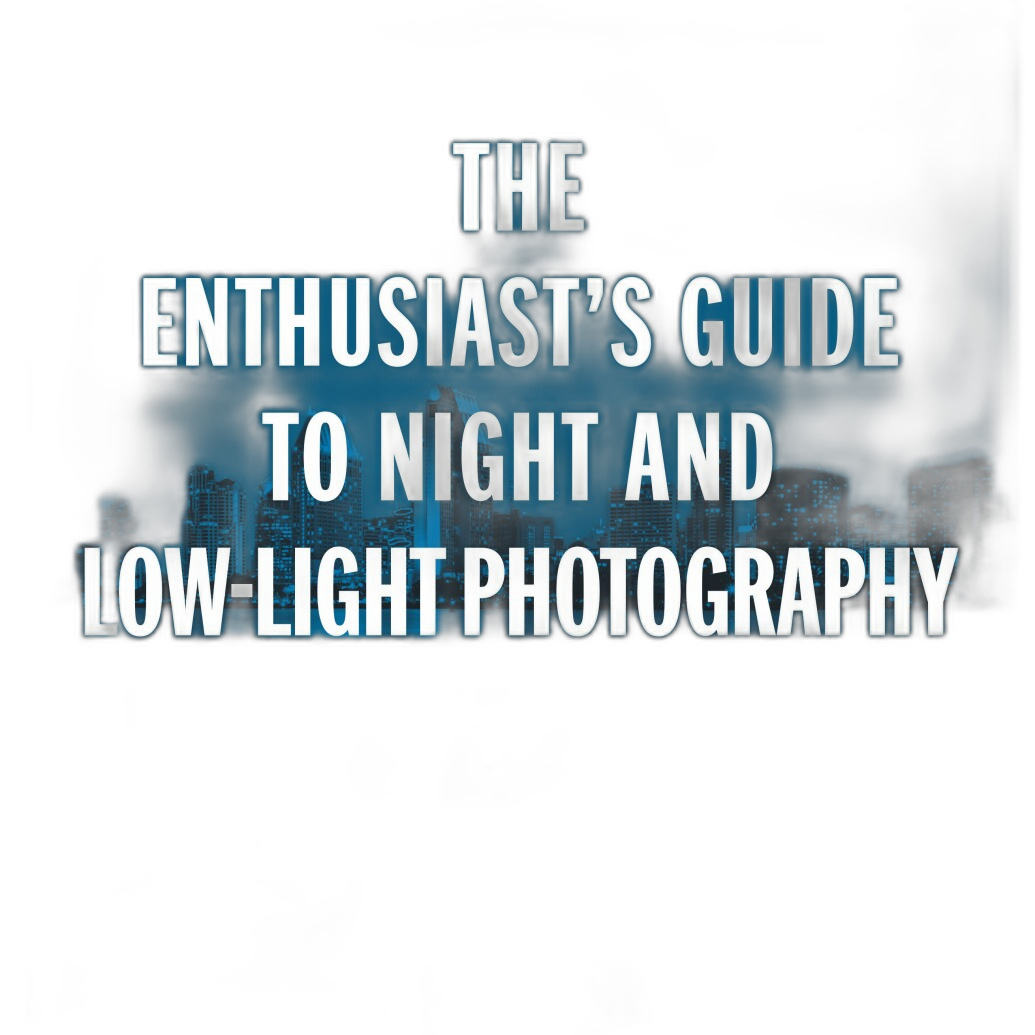
Getting sharp handheld photos in low light usually comes down to three things: stabilization, shutter speed, and realistic expectations from your gear. For this comparison, we’re looking at two compact cameras that photographers might actually carry at night—the Panasonic LUMIX ZS300 and the Canon PowerShot ELPH 360 HS—alongside a learning resource built specifically around the subject, the Rocky Nook Enthusiast's Guide to Night and Low-Light Photo by Alan Hess. This gives us a practical head-to-head: one camera with a larger feature set and strong travel versatility, one simpler compact option, and one educational guide focused on technique.
If your goal is sharper handheld shots after sunset, indoors, or in dim available light, the key question is not just which product is "best," but which one gives you the best chance of success for your shooting style.
Side-by-Side Comparison
| Product | Type | Best Use for Low Light | Key Advantage | Potential Limitation |
|---|---|---|---|---|
| Panasonic LUMIX ZS300 | Point-and-shoot camera | Handheld travel, street, indoor, and night scenes | Feature-rich compact with strong all-around shooting flexibility | Still a compact sensor camera, so low-light performance has limits |
| Canon PowerShot ELPH 360 HS | Point-and-shoot camera | Casual handheld snapshots in dim light | Small, easy to carry, approachable for beginners | Less advanced handling and control for demanding low-light work |
| Rocky Nook Enthusiast's Guide Night Low-Light Photo | Photography book | Learning how to improve technique in dark conditions | Directly focused on low-light photography concepts and practice | Does not replace camera capability |
What Actually Makes Handheld Low-Light Shots Sharp?
Before comparing products, it helps to define what matters most. Sharp handheld results in low light depend on:
- Stable handholding technique
- Fast enough shutter speed for your subject and focal length
- Effective image stabilization
- Good high-ISO image quality
- Access to manual or semi-manual controls when auto modes struggle
That means a camera with better control and stabilization often gives you a higher keeper rate than a simpler compact, even if both are portable.
1. Portability and Real-World Carry
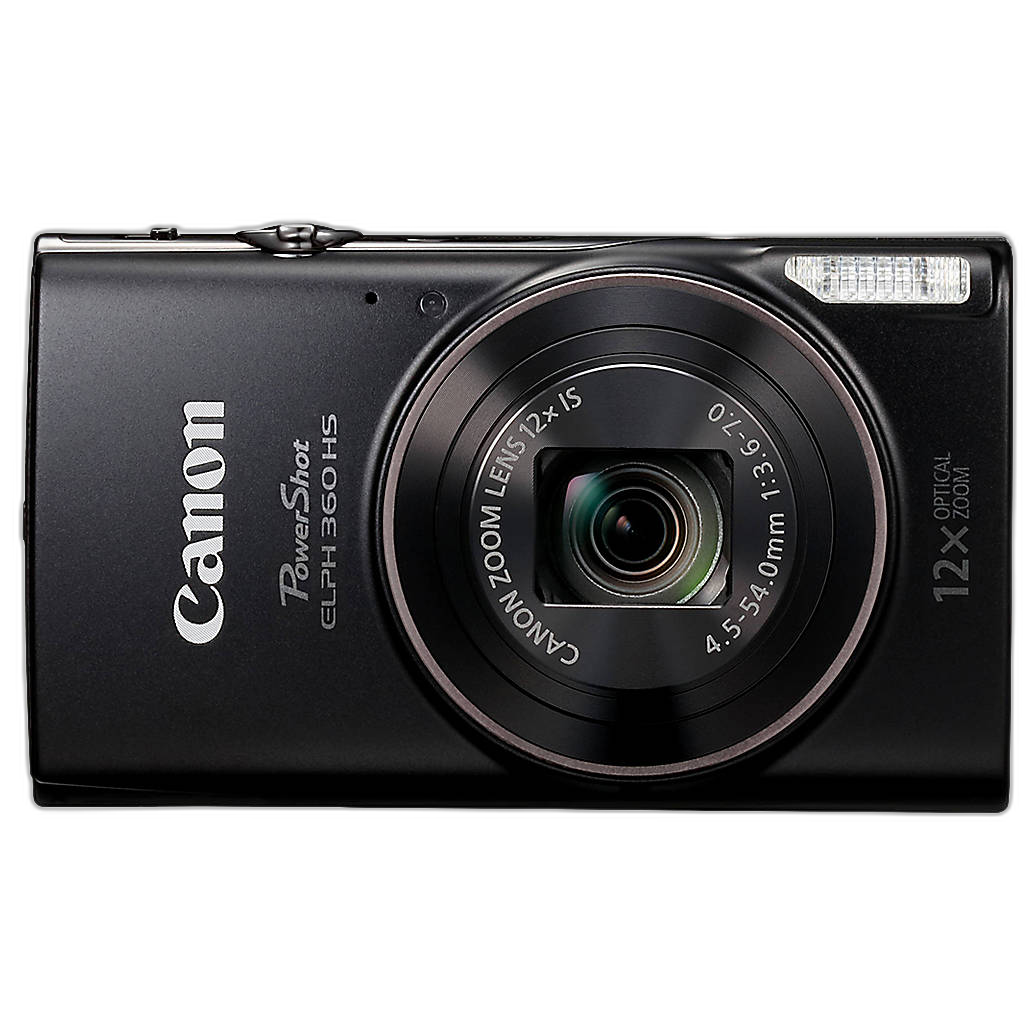
The first rule of low-light photography is simple: the camera you actually bring is the camera that can get the shot. Both the Panasonic LUMIX ZS300 and Canon PowerShot ELPH 360 HS are compact enough to carry easily, which already gives them an advantage over larger systems left at home.
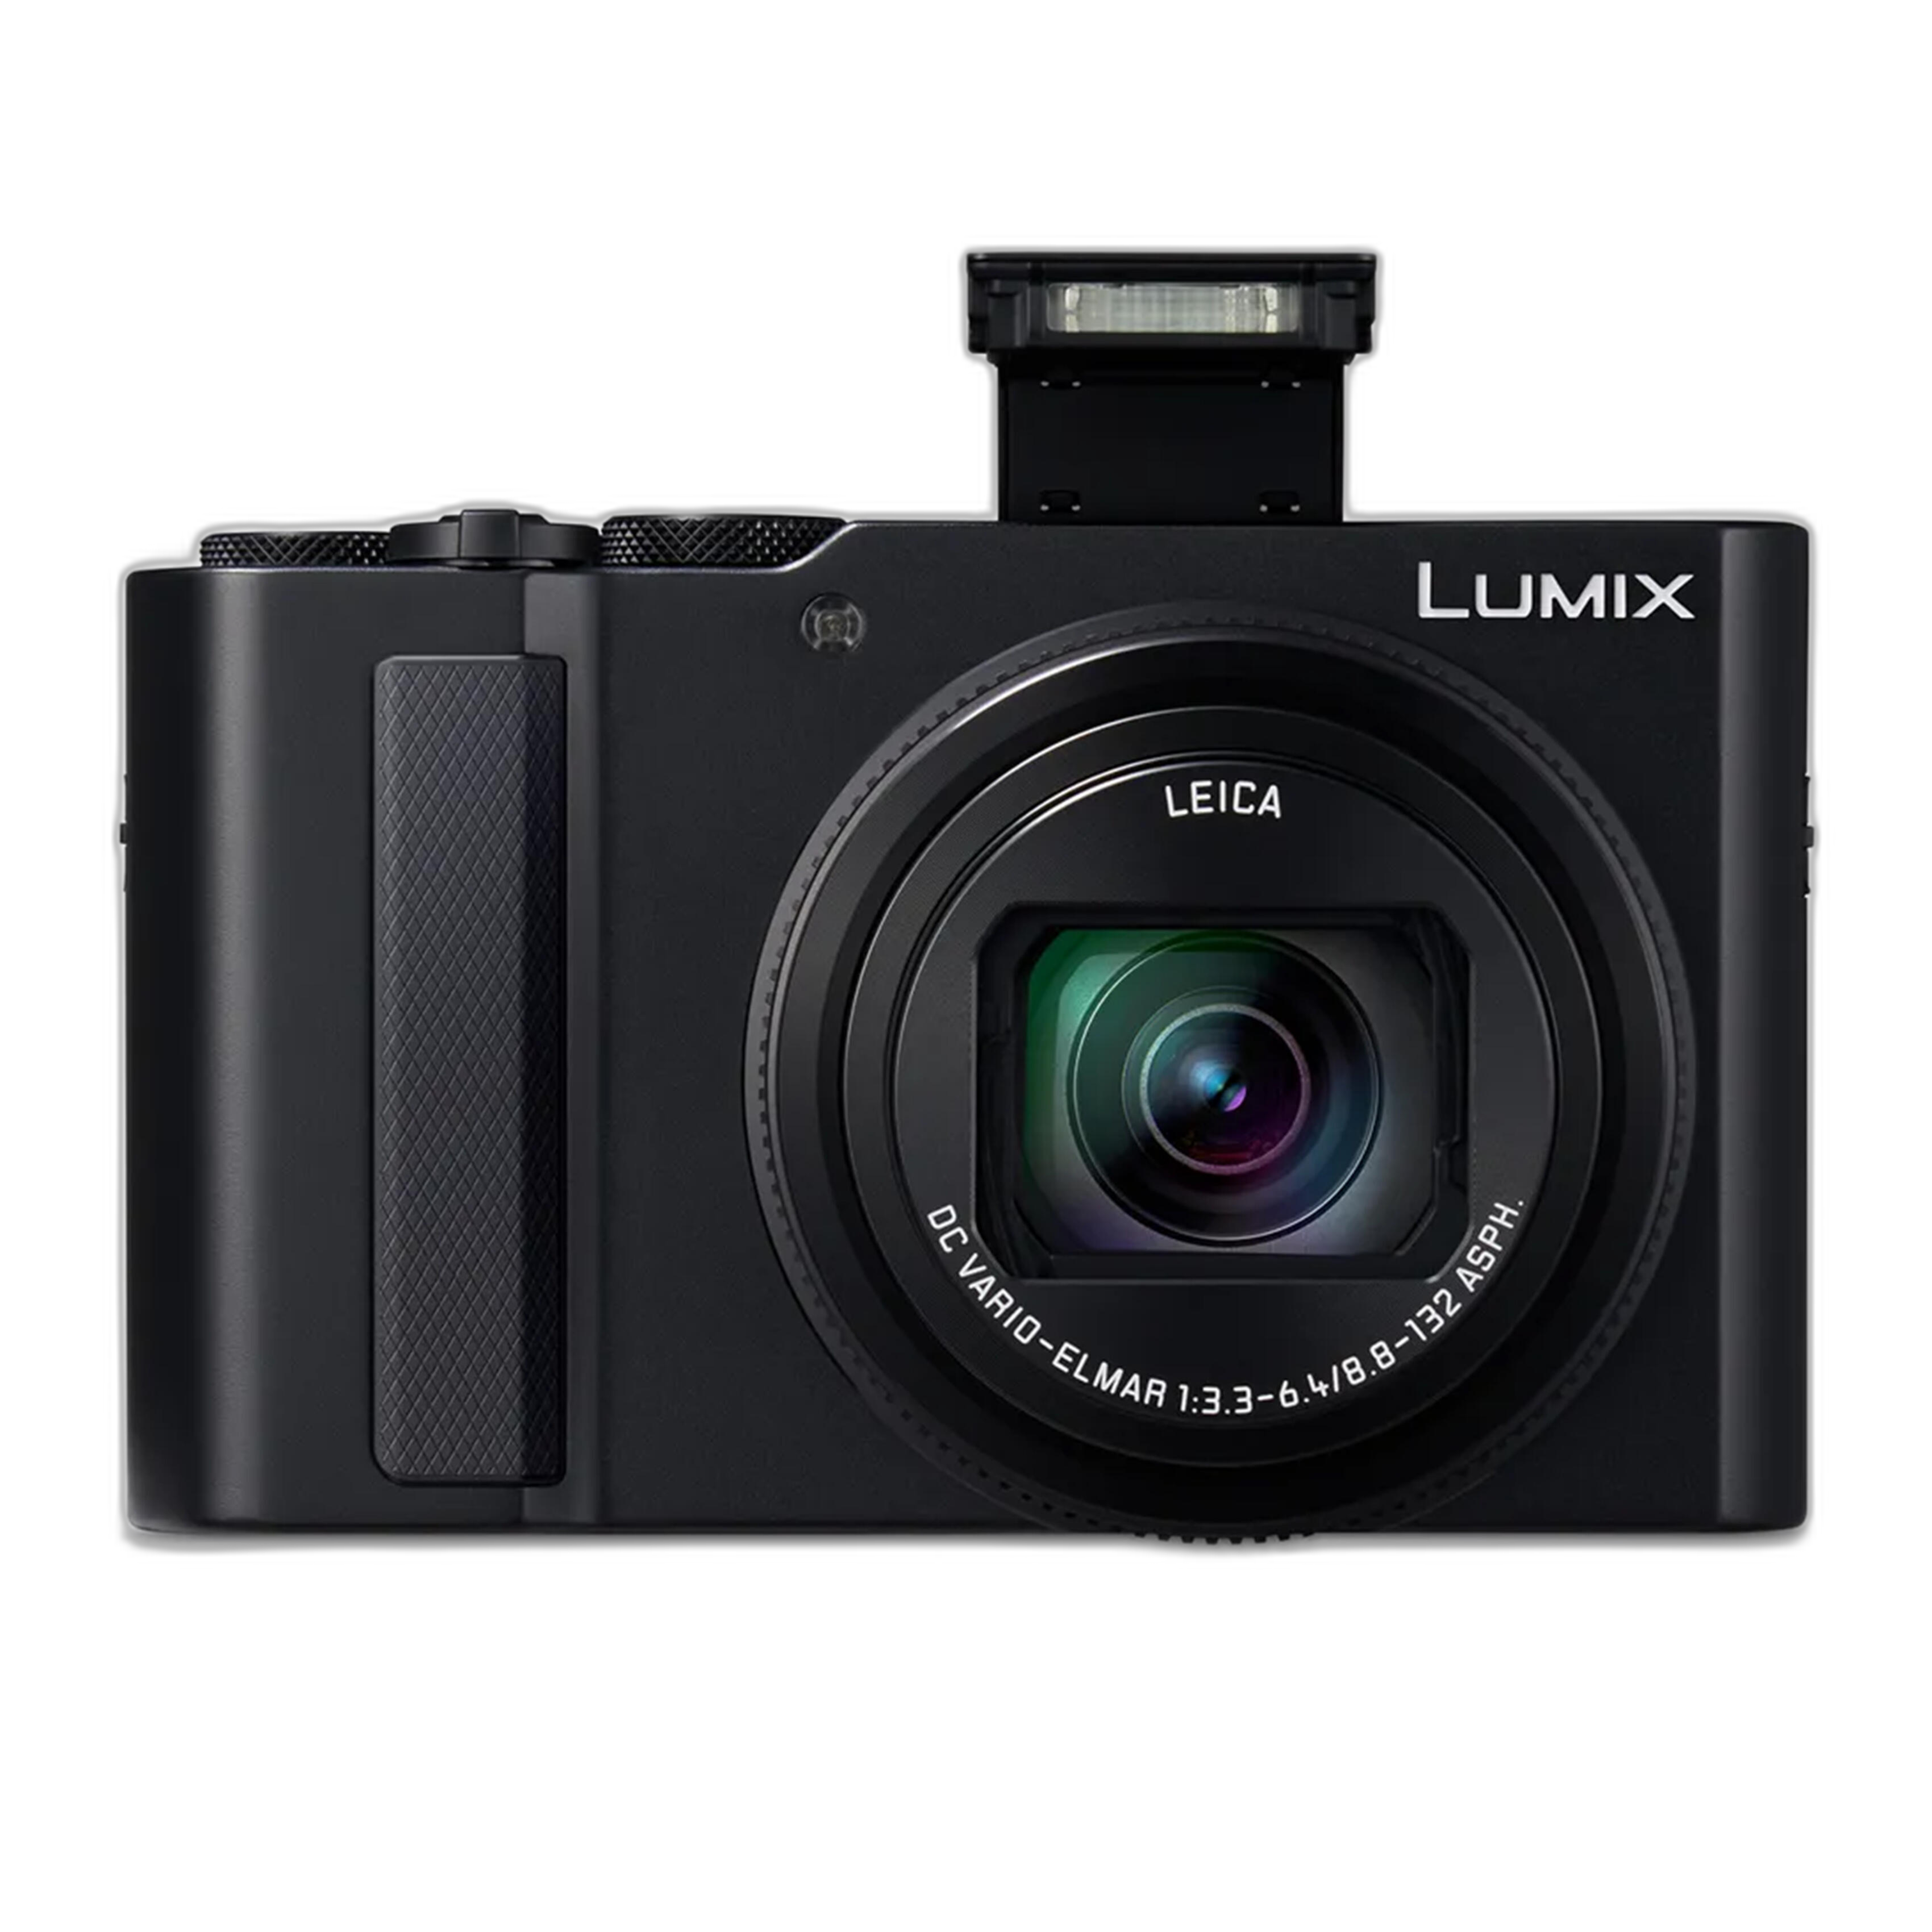
The Canon is especially appealing if you want the smallest, least intimidating option. It suits casual users who want a pocket camera for dinners, vacations, or city walks. The Panasonic, while still compact, feels more like a serious travel camera. For photographers who want more control over difficult light, that matters.
2. Control Over Shutter Speed
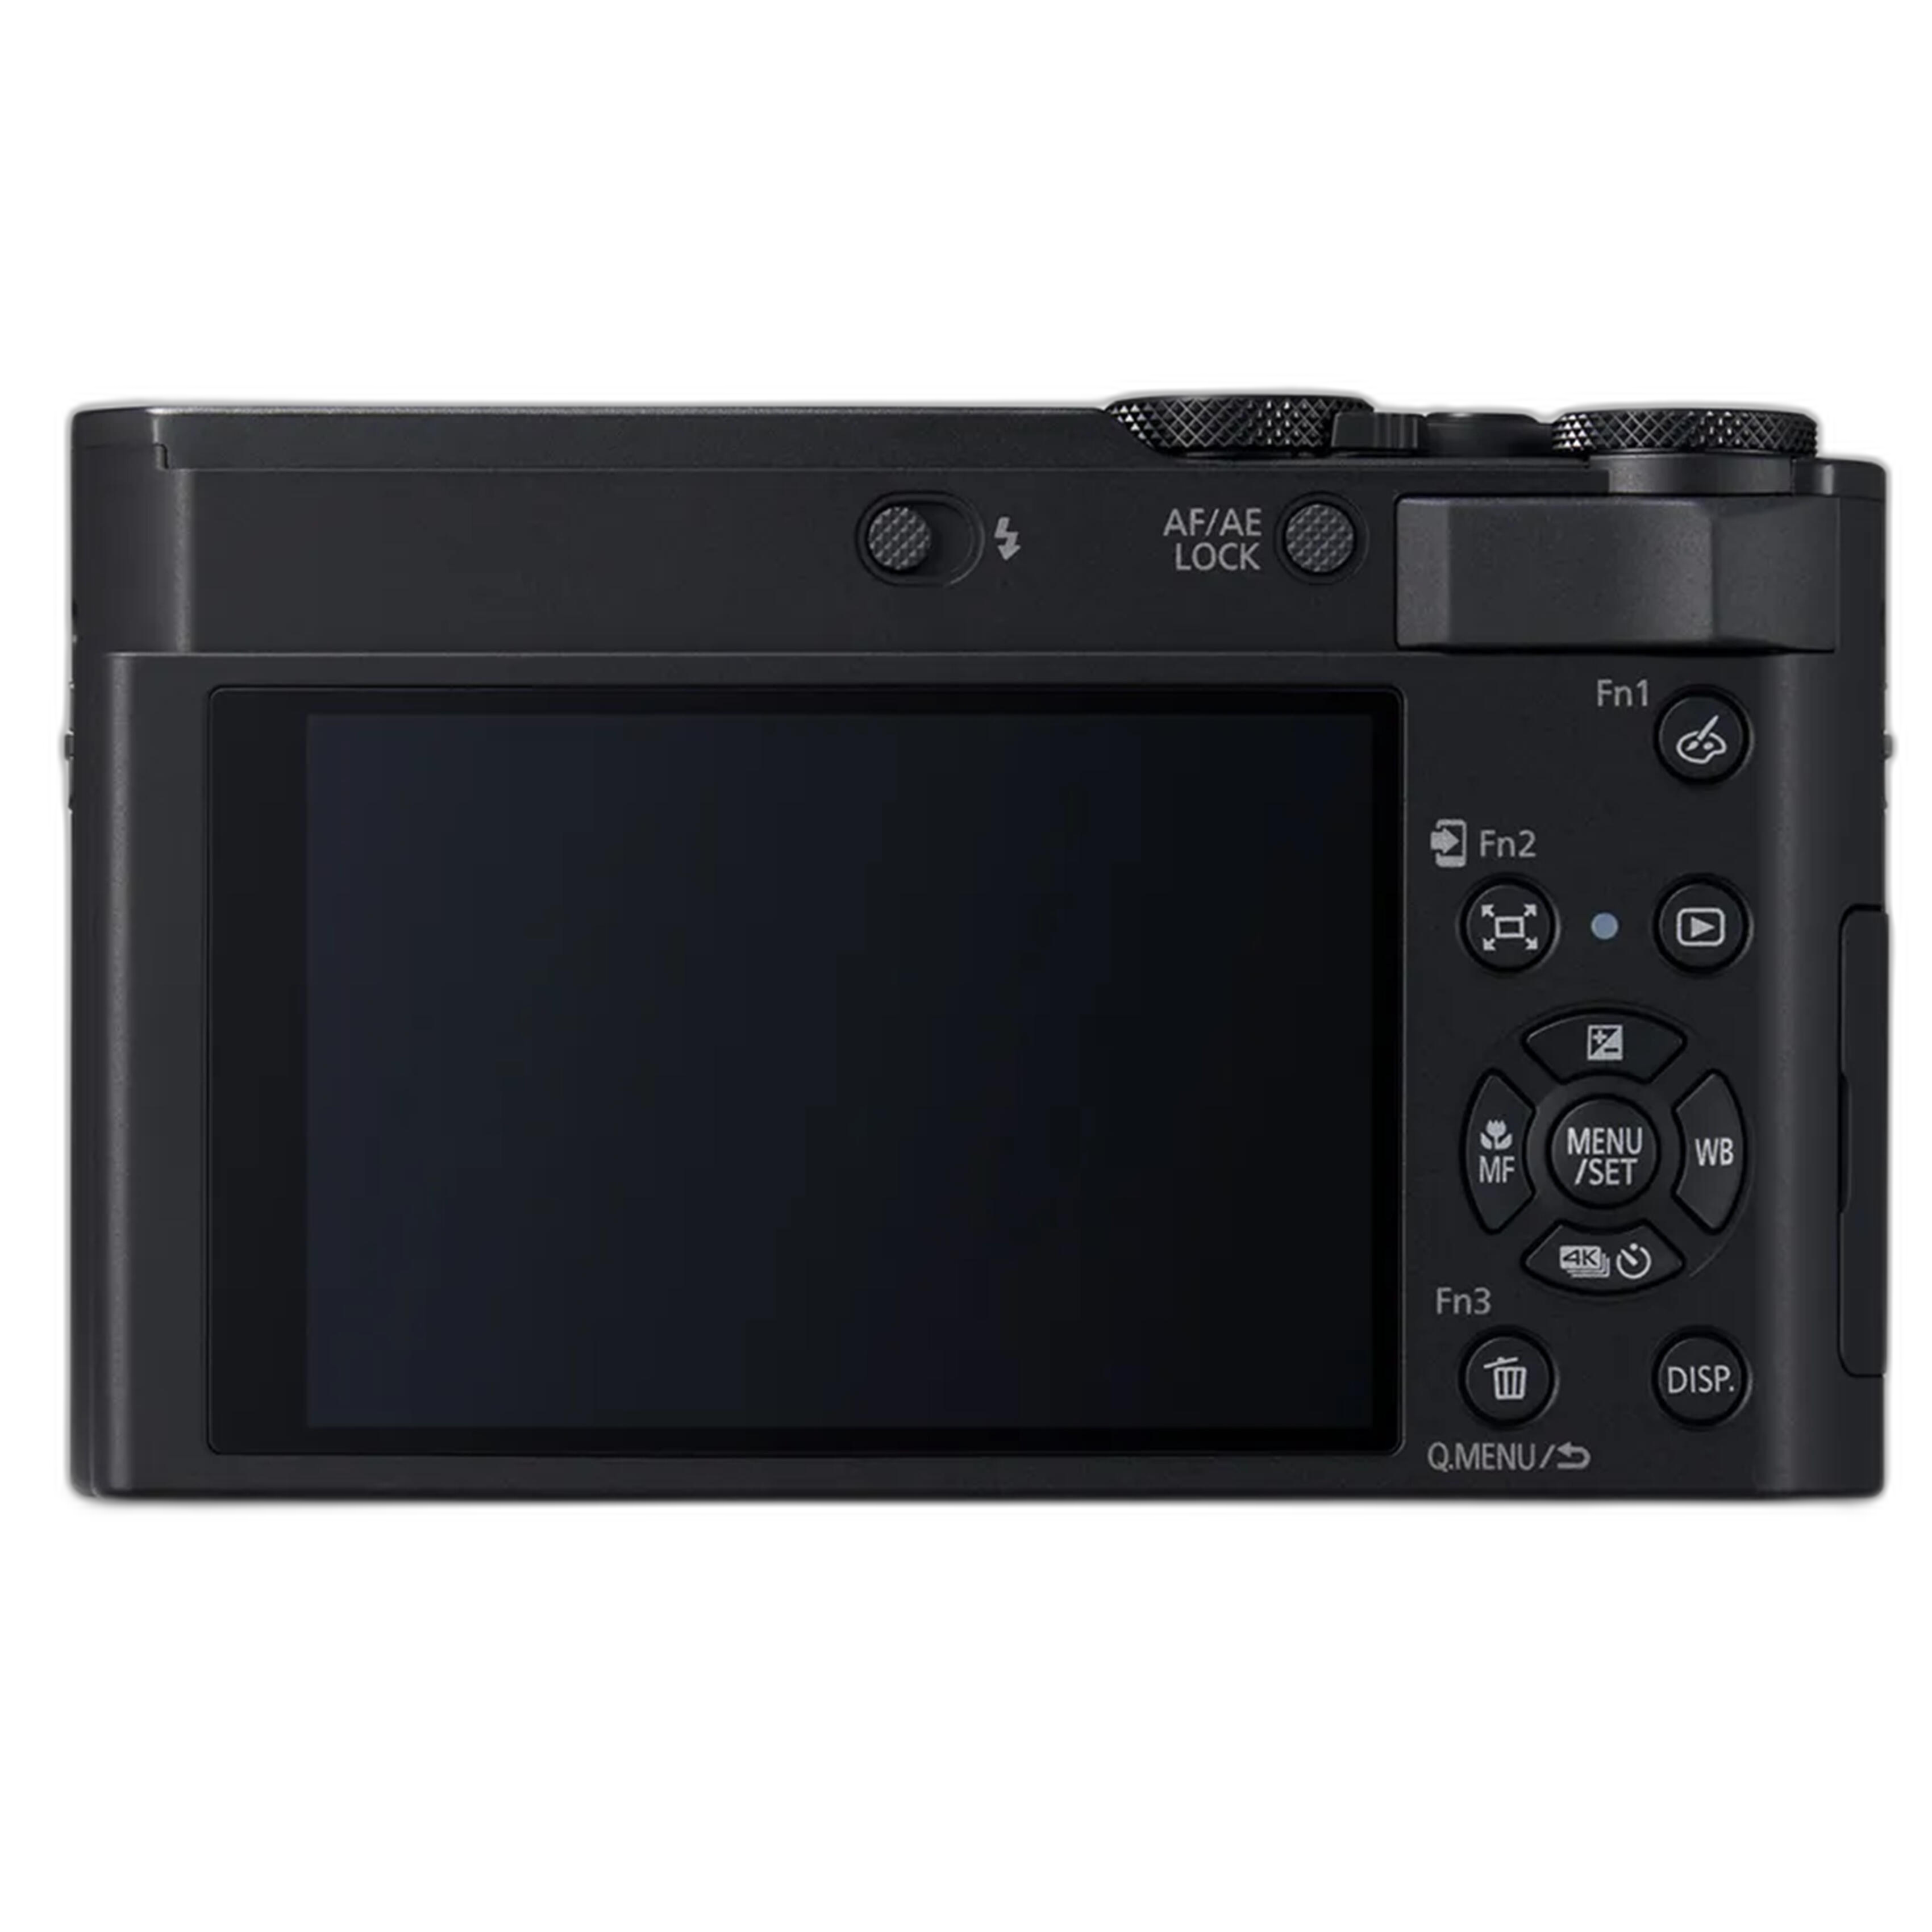
When sharpness is the goal, shutter speed is often the deciding factor. In low light, a fully automatic camera may choose a shutter speed that is technically usable but not ideal for handheld sharpness. That is where the Panasonic LUMIX ZS300 stands out in this comparison. Its more advanced feature set makes it the better choice for photographers who want to actively manage exposure decisions rather than rely only on auto mode.
The Canon PowerShot ELPH 360 HS is more straightforward and beginner-friendly, but that simplicity can be a drawback when low light gets challenging. If the camera drops shutter speed too far, you may end up with motion blur from hand shake or subject movement.
Best practice: if your camera allows it, prioritize a shutter speed that matches your focal length and the movement of your subject. Even excellent technique cannot fully save a shot made at too slow a speed.
3. Stabilization and Handholding Technique
Image stabilization is one of the biggest advantages compact cameras can offer in dim conditions. While stabilization helps reduce blur from your hands, it does not freeze moving subjects. That distinction is essential. For static scenes like architecture, interiors, or evening street details, stabilization can be a major benefit. For people walking, live events, or kids indoors, shutter speed still has to stay high enough.
Between these two cameras, the Panasonic is the stronger fit for photographers who want to push handheld shooting more confidently, especially in mixed conditions where stabilization and better control work together. The Canon remains useful for simple snapshot situations, but it is less ideal if low-light sharpness is a top priority.
4. Zoom Range vs Sharp Results
One of the most common causes of blurry low-light photos is zooming in too far. Longer focal lengths magnify hand shake, meaning you need faster shutter speeds to keep photos sharp. This is true no matter which compact camera you use.
The Panasonic LUMIX ZS300 is attractive as a travel zoom because it covers a wide range of shooting situations, but like any zoom camera, it rewards disciplined technique. If light levels are low, shooting wider can dramatically improve your odds of getting a crisp frame. The Canon ELPH 360 HS users should keep the same principle in mind: in dim conditions, avoid using the longest zoom setting unless you have enough light or support.
Best practice: in low light, step closer when possible instead of relying on full telephoto reach.
5. Learning Curve and Photographer Skill
This is where the Rocky Nook Enthusiast's Guide Night Low-Light Photo becomes surprisingly relevant in a comparison article. Gear matters, but technique often matters more. If you regularly get blurry handheld shots, a dedicated low-light photography guide can help you improve faster than simply switching cameras.
Alan Hess's guide is the best fit here for photographers who want to understand exposure tradeoffs, night shooting habits, and how to work with the limitations of compact cameras. If you already own a camera and want sharper results without immediately upgrading, this book may be the most cost-effective place to start.
6. Which Option Is Best for Different Users?
Choose the Panasonic LUMIX ZS300 if:
- You want the strongest overall compact-camera option for handheld low-light shooting
- You value better creative control
- You shoot travel, city scenes, interiors, and night street photography
- You want one camera that can do more than casual snapshots
Choose the Canon PowerShot ELPH 360 HS if:
- You want a simple, very portable pocket camera
- You mainly shoot casual photos and social moments
- You prefer ease of use over advanced manual control
- Your low-light expectations are modest
Choose the Rocky Nook guide if:
- You already have a camera but want sharper results
- You are struggling with technique more than equipment
- You want to understand night and low-light photography in a structured way
Our Pick
Our Pick: Panasonic LUMIX ZS300
For the topic of achieving sharp handheld shots in low light, the Panasonic LUMIX ZS300 is the best overall recommendation in this comparison. It offers the most convincing blend of portability, versatility, and photographer control. Those extra controls matter when light levels fall and you need to balance shutter speed, ISO, and stabilization carefully.
That said, the Rocky Nook Enthusiast's Guide Night Low-Light Photo deserves an honorable mention because better technique can dramatically improve results with any camera. If you are consistently missing sharp shots, pairing practical learning with capable gear is often the smartest move.
Conclusion
If sharp handheld low-light photography is your priority, the best practices remain the same: keep shutter speeds realistic, avoid over-zooming in dim scenes, brace your camera carefully, and use stabilization as a tool rather than a cure-all. Among the products compared here, the Panasonic LUMIX ZS300 stands out as the strongest gear choice, while the Canon PowerShot ELPH 360 HS is a solid pick for more casual users, and the Rocky Nook low-light guide is a valuable learning resource for improving your keeper rate.
To explore compact cameras and photography resources for better night shooting, shop with Unique Photo.