Lighting for Feature Assignments: Pro FAQ for Indoor & Outdoor Control
Feature assignments rarely hand you perfect light. From dim interiors to high-noon sun, success comes from understanding how to shape, balance, and color your light quickly. Here’s our expert FAQ to help you deliver consistent, polished results on any location.
What’s the foundational approach to lighting on assignment?
Start with a clear plan for key, fill, and separation. Establish your key direction first, then decide whether you want a soft or crisp quality. Add fill to control contrast, and use a rim or background accent to define shape. If you’re new to building a scene, learning systematic key-light placement pays off—our CS: Key Lighting Methods with Mark Raker (Nanlite) workshop breaks down positioning, diffusion, and ratios so you can reproduce looks under pressure. 
How do I balance flash with ambient light on location?
Decide what the ambient should do: set the mood, or simply fill shadows. Meter the scene to your desired background exposure, then add flash to lift your subject. Shutter speed controls ambient (up to your sync speed), while aperture and flash power govern subject brightness. Drag the shutter for warmth and atmosphere; use high-speed sync when you need wide apertures in bright conditions. If you want repeatable, workflow-friendly techniques, Mastering Portrait Lighting: Mixing Flash and Ambient Light (Session 9) dives into settings, metering, and practical setups.  For mixed color temperatures, correct your flash with CTO/CTB gels so your subject and ambient match.
When you need versatile correction options on the go, the LEE Filters Daylight to Tungsten Lighting Pack provides essential CTO/CTB sheets to align flash and ambient color quickly. 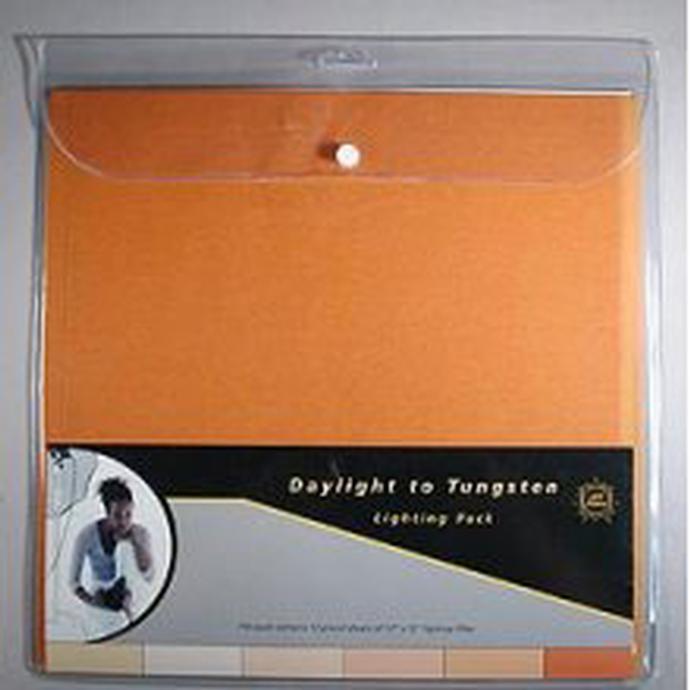
What are reliable strategies for dim indoor receptions or corporate interiors?
Keep your footprint small and setups simple. Use off-camera flash or compact continuous lights to avoid disturbing the scene. Bounce whenever possible for flattering spread; add a subtle rim or background pop to lift the subject off busy environments. Choose higher ISOs with careful noise control instead of pushing flash too hard. To practice fast, repeatable reception setups, our Posing and Lighting Bootcamp: Reception Lighting with Magda and Simon focuses on practical, move-and-shoot recipes tailored for low-light events.  For an on-trend splash of color behind your subject, a creative gel like LEE Filters Rose Purple adds depth without overpowering.
How can I handle harsh sunlight or mixed shade outdoors?
Shape the sun the way you’d shape a studio source. Use diffusion to soften, reflectors or fill to open shadows, and negative fill to deepen contrast in flat shade. If the sun is your rim, place your key on the shadow side to control the face. High-speed sync lets you hold shallow depth of field while keeping highlights in check. For practical outdoor portrait strategies and efficient setups, Portrait Lighting Made Easy with Joel Grimes covers directionality, subject placement, and how to build light that looks natural yet controlled. 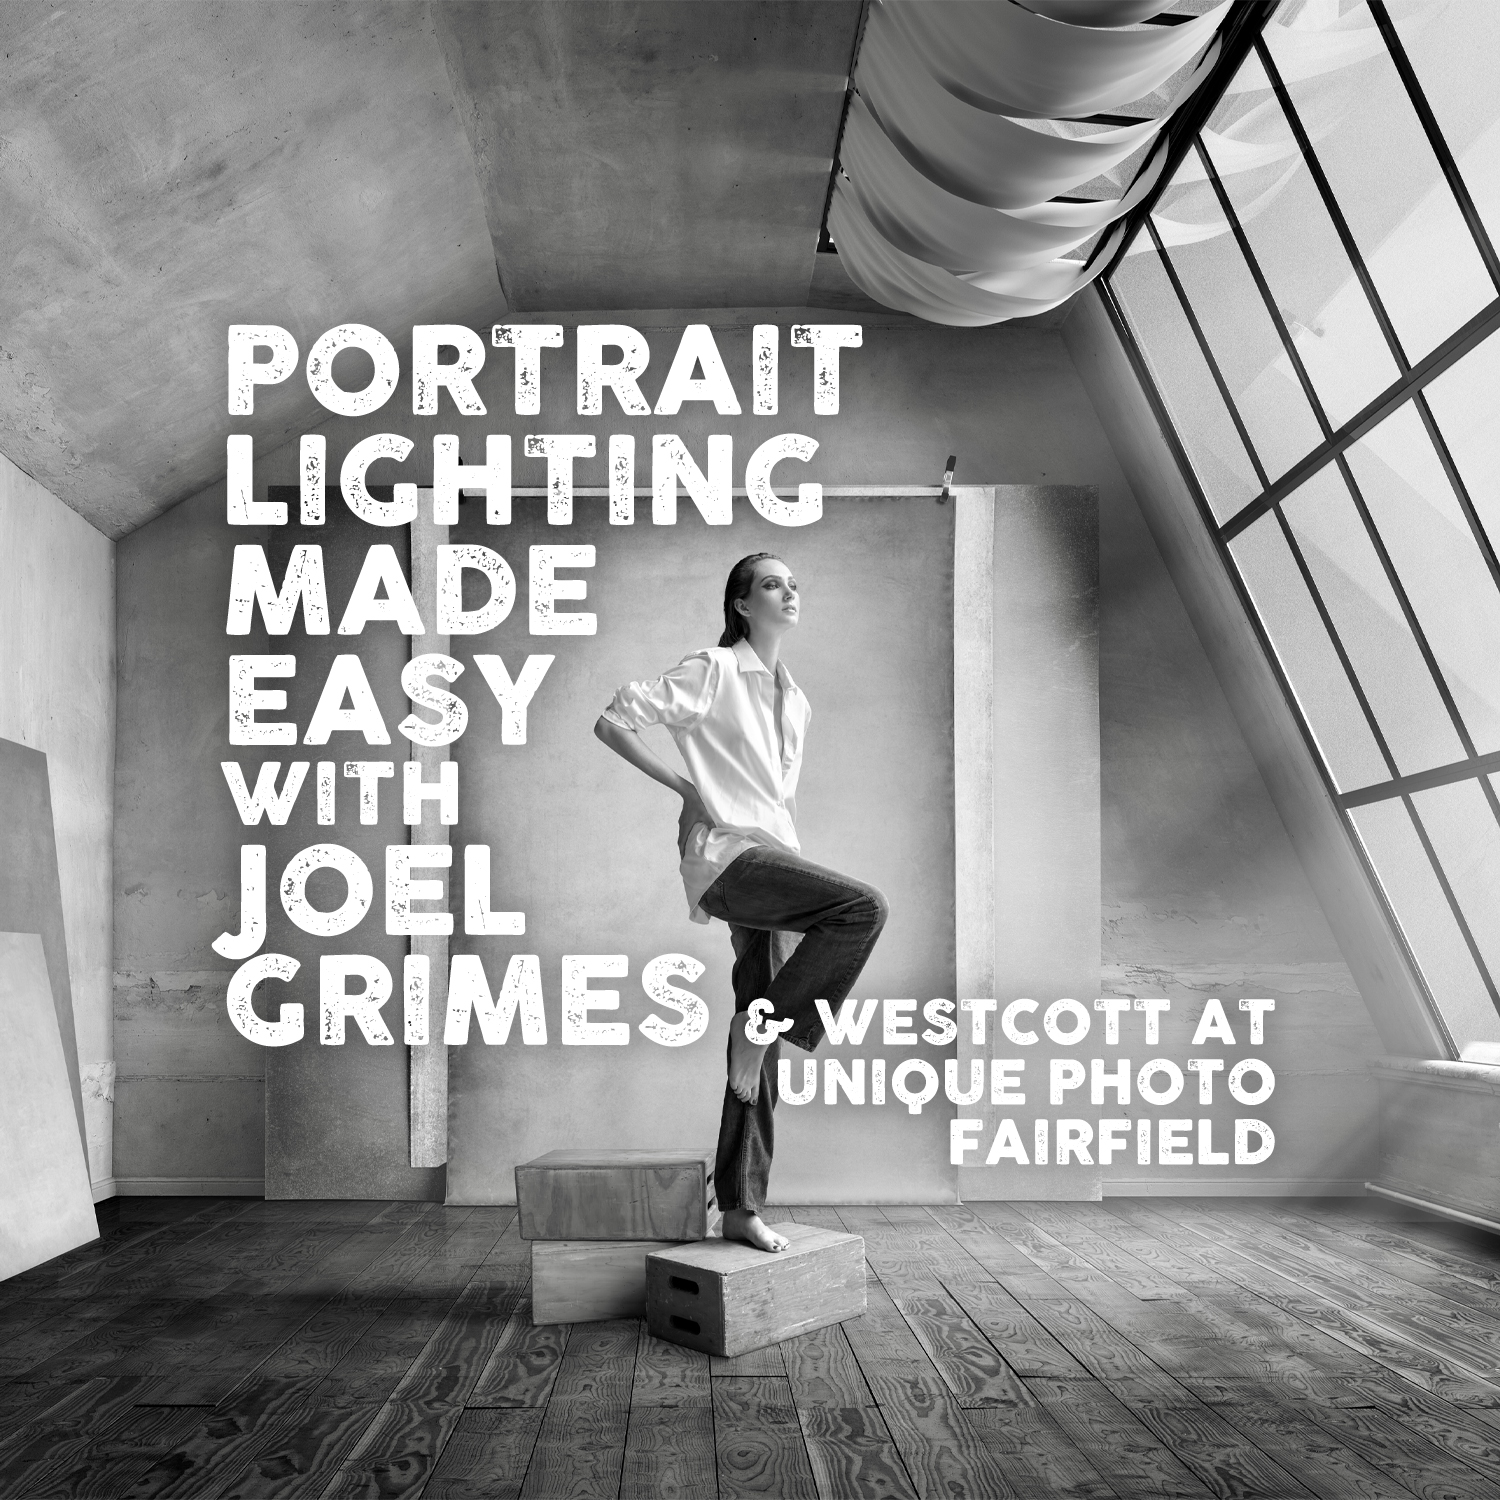
How do I keep color accurate under mixed lighting?
First, identify your dominant ambient source, then match your flash with corrective gels. Create a custom white balance or shoot a color target for fast post work. If the ambient mix is unavoidable, lean into a creative palette by intentionally warming your subject while cooling the background (or vice versa) for separation and mood. Our NJCS: Advanced Creative Lighting with Robert Harrington and ExpoImaging explores creative color strategy along with on-location problem solving. 
Should I bring continuous lights or strobes?
Carry tools that match the assignment. Continuous lights are great for quick composition decisions and hybrid photo/video coverage; strobes excel at freezing motion and overpowering sun. Many photographers bring a compact kit of both: small LED panels for ambient shaping and one or two speedlights or compact strobes for punch. If you’re refining your key placement across both systems, our Nanlite-focused Key Lighting Methods class helps you build a consistent look whether you’re using LEDs or flash.
What’s a proven field kit, and how do I protect it?
Pack for flexibility and speed: two lights (one key, one accent), a collapsible modifier, gels, a small stand, clamps, and spare batteries. Keep it organized and travel-safe in a hard case that’s built for lighting. The SKB iSeries 3i-4213-12 Case with Think Tank-designed dividers provides rugged protection and efficient, customizable compartments for stands, heads, and accessories—ideal when your kit rides in trunks, planes, or on foot across venues. 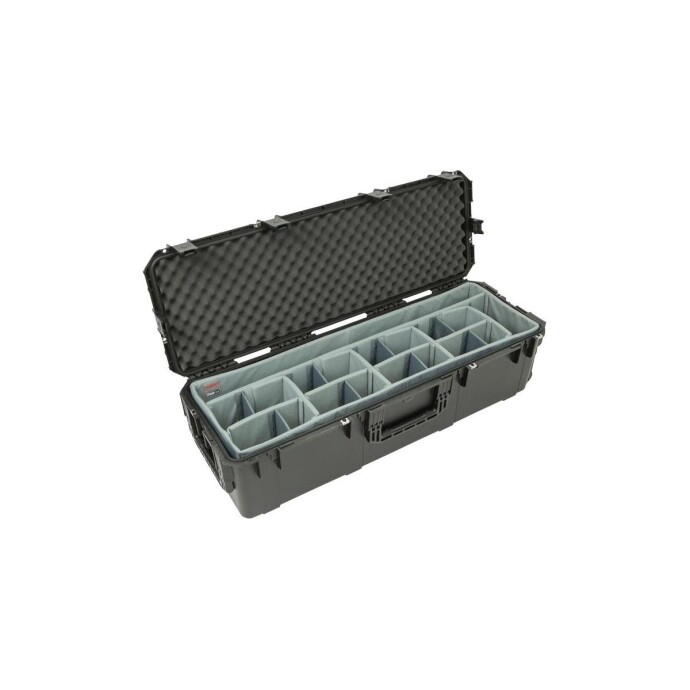
Can you share fast, repeatable setups I can deploy under time pressure?
Try these three recipes: 1) Soft key + subtle fill: Large bounced or diffused key camera-left, low-level fill camera-right; add a rim if the background is busy. 2) Dramatic two-light: Focused key at 45°, strong rim opposite; let ambient fall for mood. 3) Color wash: Neutral key on the face, gel a background or rim for depth. Practice them in controlled workshops—Portrait Lighting Made Easy for fundamentals and Mastering Portrait Lighting: Mixing Flash and Ambient for exposure balance—so you can execute fast on location.
Lighting is a craft you refine with repetition and the right tools. Visit Unique Photo for hands-on education through Unique University, plus lighting, gels, and protective cases that help you deliver reliable results on every assignment.