If you are just getting into black and white film, the idea of developing at home can feel equal parts exciting and intimidating. The good news is that black and white processing is one of the most beginner-friendly ways to take more control of your photography. It can save money over time, shorten the wait to see your images, and teach you a lot about exposure and film itself. For many newcomers, the real question is not whether home developing is possible—it is whether it is worth the effort. These tips will help you decide.
Why black and white is the best place to start
1. The process is simpler than many beginners expect
Compared with color film, black and white development is more forgiving with time and temperature. That makes it a much better first step if you want to learn at home without feeling overwhelmed. You do not need a full darkroom just to process negatives—just a changing bag or dark space for loading film, a tank, chemistry, and a little patience.
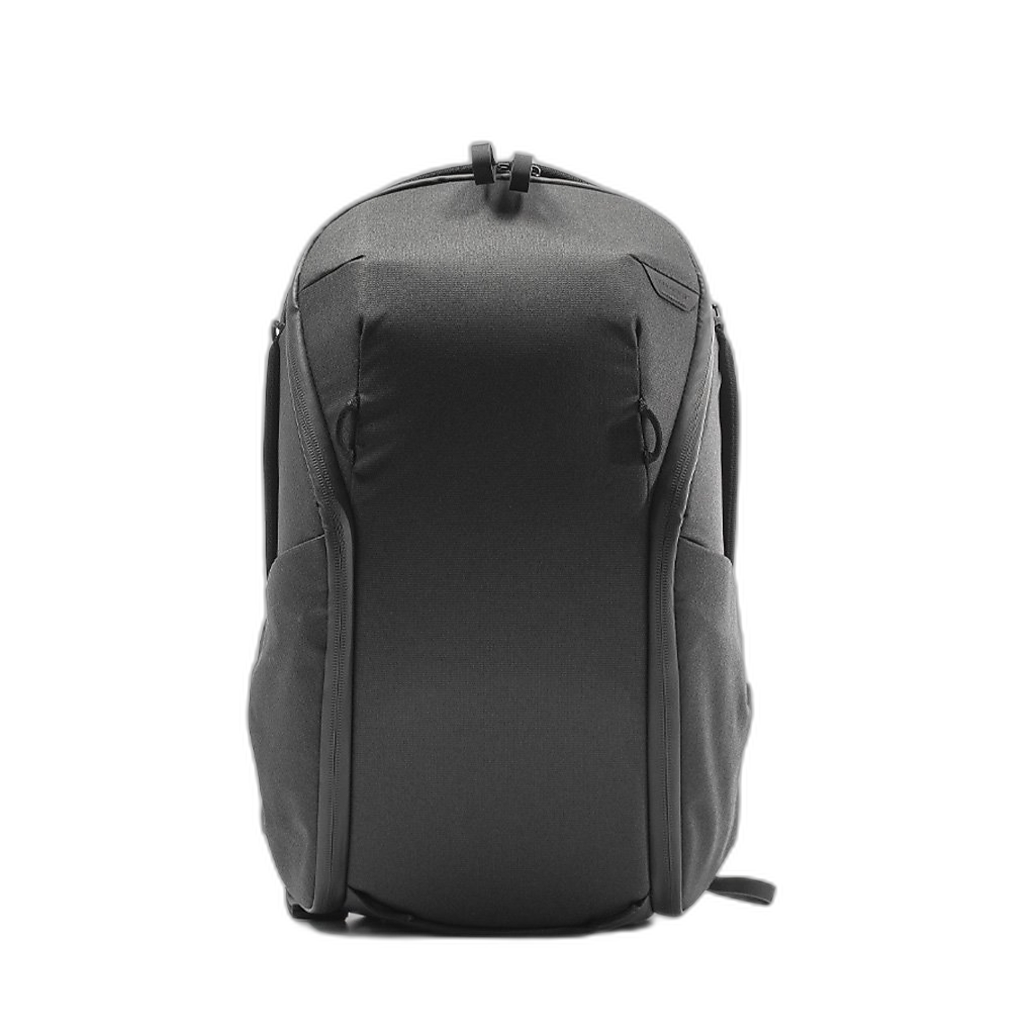
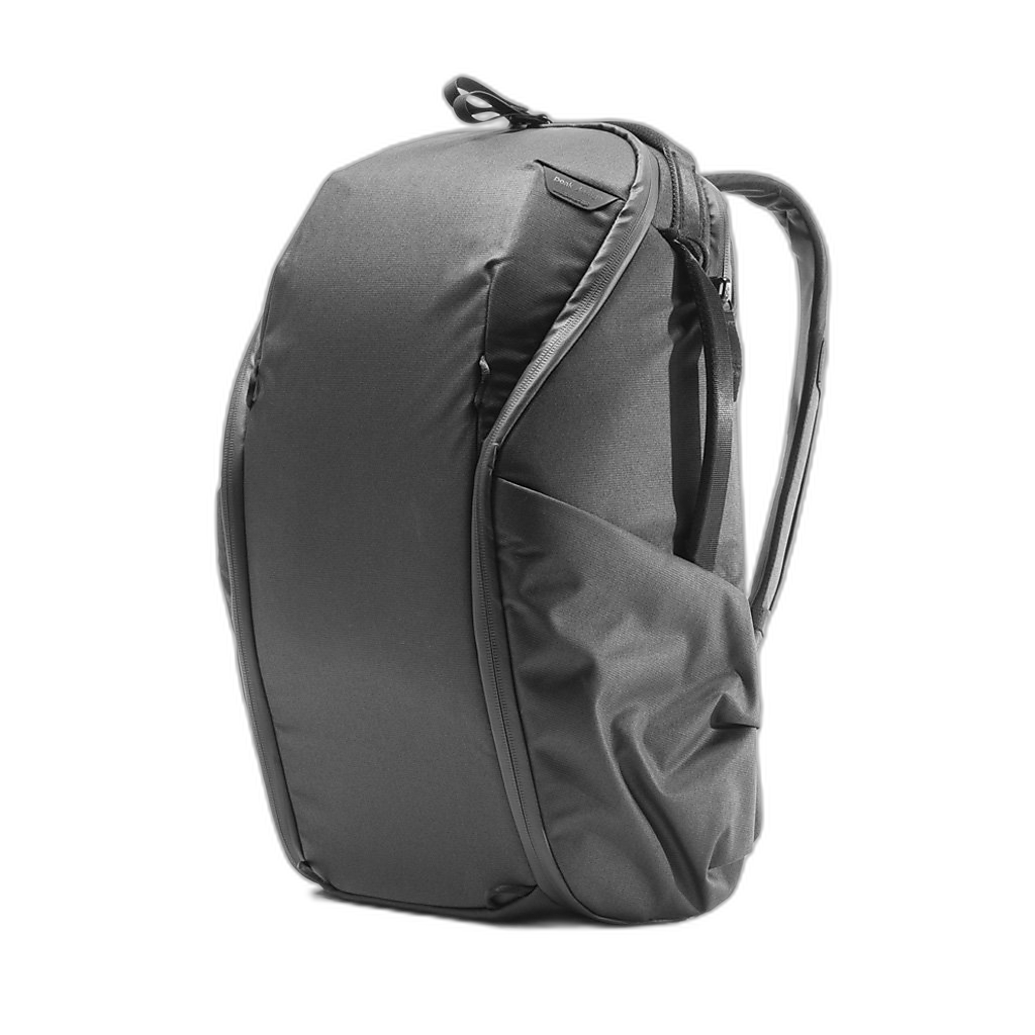
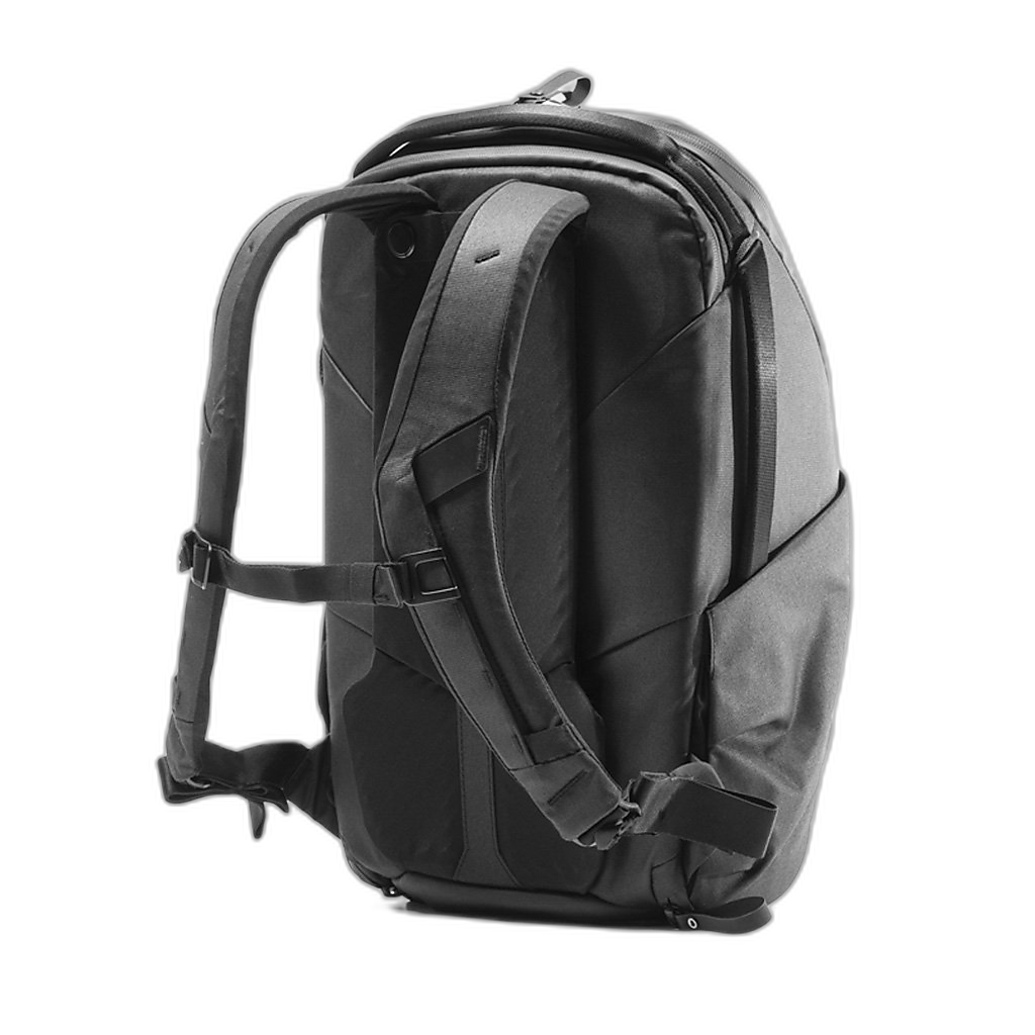
If you like keeping your gear organized between shoots and home sessions, a practical carry solution like the Peak Design Everyday Backpack 20L Zip can make it easier to separate exposed rolls, notebooks, and scanning accessories from your everyday camera kit.
The biggest reasons home developing can be worth it
2. You get faster feedback on your shooting
One of the best reasons to develop at home is speed. Instead of waiting on a lab, you can see your negatives the same day and quickly learn what worked. That kind of rapid feedback helps new film photographers improve much faster, especially when you are figuring out metering, contrast, and how different black and white stocks respond to light.
Once you have your negatives, you may also want a simple way to store prints or contact sheets. An album such as the Pioneer TS-246 Oxford Brass Corner Photo Album fits naturally into a film workflow if you enjoy making physical keepsakes from your favorite shots.
3. It can save money if you shoot regularly
For occasional film shooters, lab processing may still make sense. But if you are going through rolls every month, home developing can become more economical. The upfront cost of tanks, reels, and chemistry can pay off over time, especially with black and white film, where the chemistry is relatively approachable and often reusable depending on the developer you choose.
The value is not just in cost per roll—it is also in convenience. You can build a routine, process on your own schedule, and avoid the stop-and-start feeling that happens when exposed film piles up waiting to be sent out.
What beginners should consider before diving in
4. Be honest about whether you enjoy process, not just results
Home developing is worth it most for people who enjoy hands-on steps. Measuring chemistry, timing agitation, washing negatives, and hanging film to dry are all part of the experience. If that sounds relaxing and rewarding, you will probably love it. If it sounds like a chore, a good lab may still be the better choice.
This is similar to how some photographers love carefully packing and organizing a kit bag before a shoot. A sling like the PGYTECH OneMo Sling 11L appeals to people who appreciate workflow and organization, and home developing often attracts that same mindset.
5. Space matters, but you do not need much
You do not need a dedicated studio or darkroom to start developing black and white film. A bathroom, kitchen counter, or utility sink can be enough if you work neatly. The main things you need are a clean area, consistent water access, and a dust-free place for drying negatives.
Many beginners overestimate how complicated the setup needs to be. A small apartment or shared space can still work well if you keep your tools organized and process one or two rolls at a time.
Tips to make your first home developing sessions successful
6. Start with one film stock and one developer
Keep variables to a minimum. Pick a common black and white film and pair it with a well-documented developer. When you stay consistent, it becomes much easier to understand what changes are coming from your shooting versus your processing. Beginners who jump between multiple film stocks and chemistry combinations often make the learning curve steeper than it needs to be.
7. Label everything and write down your times
A notebook or phone note can save you from a lot of confusion. Record your dilution, temperature, development time, agitation pattern, and how the negatives look afterward. That makes your second and third batches much easier to refine.
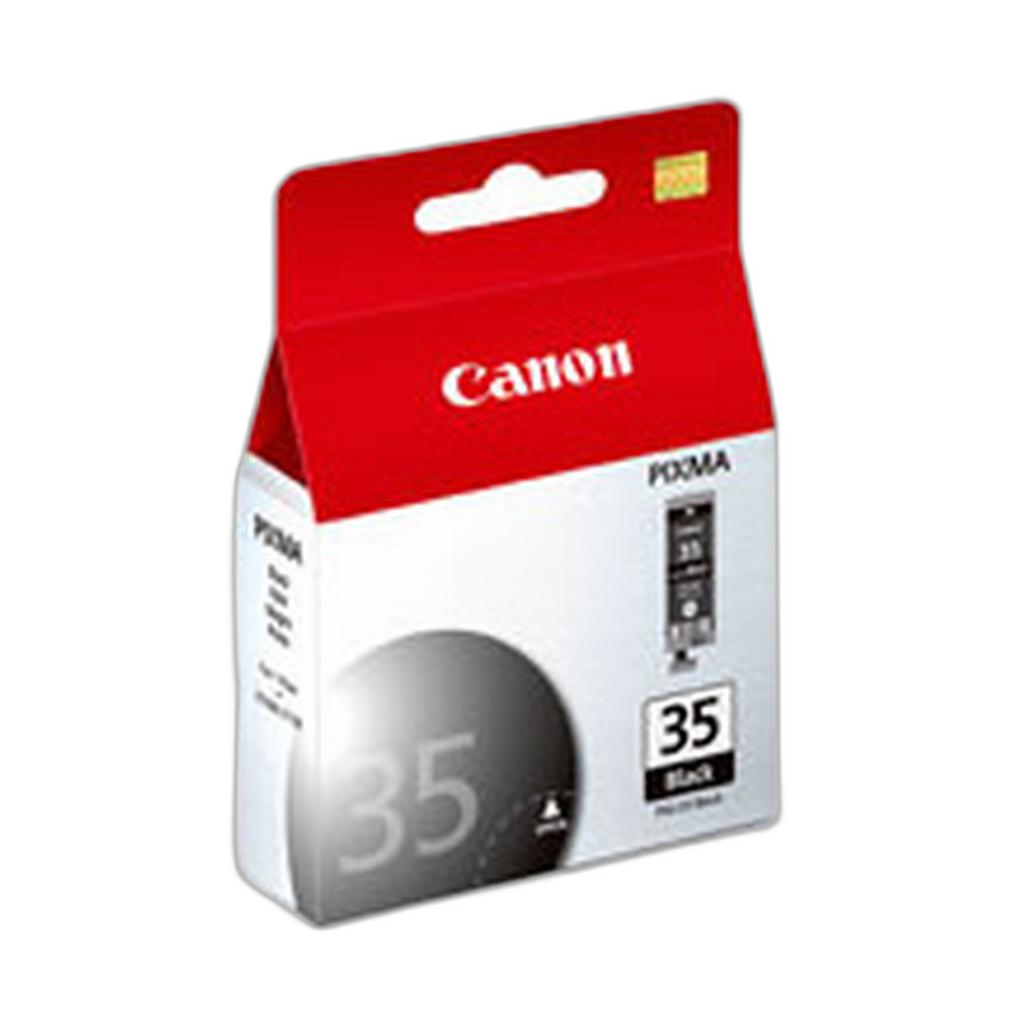
If you eventually print reference sheets at home, having enough ink on hand matters too. Something as basic as the Canon PGI-35 Black Ink Cartridge can be useful if you are printing notes, index images, or workflow references for your archive.
8. Expect your first roll to be imperfect
Your first few home-developed rolls may have water spots, uneven drying, or minor handling marks. That is normal. Black and white film is a fantastic teacher because even imperfect negatives can still be highly usable, and each mistake gives you immediate insight into how to improve your routine.
Perfection should not be the goal at first. Consistency is the better target.
When home developing may not be worth it
9. Labs still make sense for some photographers
If you only shoot a few rolls a year, do not have a reliable place to dry negatives, or simply want the easiest path from camera to scan, a lab may be the smarter option. There is no rule that says being serious about film means doing every step yourself.
Some photographers choose a hybrid approach: develop black and white film at home because it is simpler, then send color film to a lab. That can be an ideal middle ground for beginners who want to learn without taking on too much at once.
How to make the experience feel more rewarding
10. Archive your results so you can see your progress
One of the most satisfying parts of shooting film is building a physical archive. Storing prints, contact sheets, or notes in a system you enjoy can make the whole process feel more meaningful. DF White Refill Pages are a useful option if you are assembling a binder-based archive, while a traditional album can be a nice home for finished prints you want to revisit.
When you can physically look back through your work, it becomes easier to notice how much your exposure, composition, and developing consistency have improved.
Final verdict
So, is home developing worth it for black and white film newbies? For many people, yes. If you shoot regularly, enjoy hands-on creative process, and want faster feedback from your film photography, it is one of the most rewarding skills you can add. It does take practice, but the barrier to entry is lower than many beginners expect, and black and white is the perfect place to learn.
If you are ready to build your film workflow, experiment, and stay organized along the way, Unique Photo is a great place to find the gear and accessories that help make the process smoother. Start simple, stay consistent, and enjoy seeing your negatives come to life at home.