
Who this guide is for
If you love the look of color negative film and want more control, developing C-41 at home is absolutely doable. This guide is for photographers ready to save on lab costs, learn a repeatable process, and take charge of color from negative to print. We’ll cover the essential gear, step-by-step tips, and a few smart product picks from Unique Photo to help you shoot, process, and print with confidence.
What is C-41 and what to expect
C-41 is the standard process for color negative film. Unlike black-and-white, it’s temperature-critical and time-sensitive. Typical home kits run the developer near 102°F/39°C, followed by bleach and fix (or a combined blix), then a stabilizer. Expect your first few rolls to be practice runs—consistency in temperature, agitation, and clean handling are the keys to great color and minimal grain.
Essential home C-41 gear checklist
- Changing bag or completely dark room to load reels
- Daylight developing tank and reels (35mm/120)
- Reliable thermometer (reads 68–110°F / 20–43°C)
- Water bath container and a stable heat source (immersion circulator/sous vide is popular)
- Graduated cylinders, funnels, and labeled storage bottles (light-tight, chemical-safe)
- Timer, nitrile gloves, eye protection, apron, and good ventilation
- Distilled water for mixing chemistry and final rinse
- Film clips and dust-free drying space
- Scanner or digital camera + macro lens for scanning, or a quality photo printer for output
Note: Use only C-41 chemistry for film developing. RA-4 chemistry and paper are for printing color negatives onto photographic paper, not for developing film.
Step-by-step developing tips
- Pre-heat everything: Bring your developer, bleach/fix, tank, and water bath to target temperature before you start.
- Load film cleanly: In a changing bag, trim the film leader square, feed onto the reel smoothly, and avoid touching the emulsion.
- Developer: Follow your kit’s time/temp precisely (commonly ~3:15 at ~102°F/39°C). Agitate at the start and on schedule (e.g., 4 inversions every 30 seconds) to maintain even development.
- Bleach/Fix (or Blix): Maintain temp; agitate consistently for even clearing. Rinse per kit instructions.
- Stabilizer: Use room-temperature stabilizer last; avoid bubbles and do not rinse afterward.
- Drying: Hang in a dust-free space. Use a final rinse with wetting agent; avoid hard squeegees—use clean, pinched fingers with very light pressure if needed.
Color management and scanning
Color negative film has an orange mask. When scanning, invert in software and neutralize the mask; avoid clipping the shadows and highlights. For camera scanning, use a high-CRI light source and a stable film holder. If you want true photographic prints from negatives, you can either print digitally on an inkjet photo printer or opt for an optical RA-4 darkroom workflow.
Product recommendations
Kodak KODACOLOR 200 (35mm, 36 exp)
A versatile ISO 200 color negative film that’s forgiving, affordable, and perfect for practice rolls while you dial in your home C-41 process. It delivers pleasing color with a classic Kodak palette and fine grain in good light.
Epson SureColor P5370 17-Inch Professional Photographic Printer
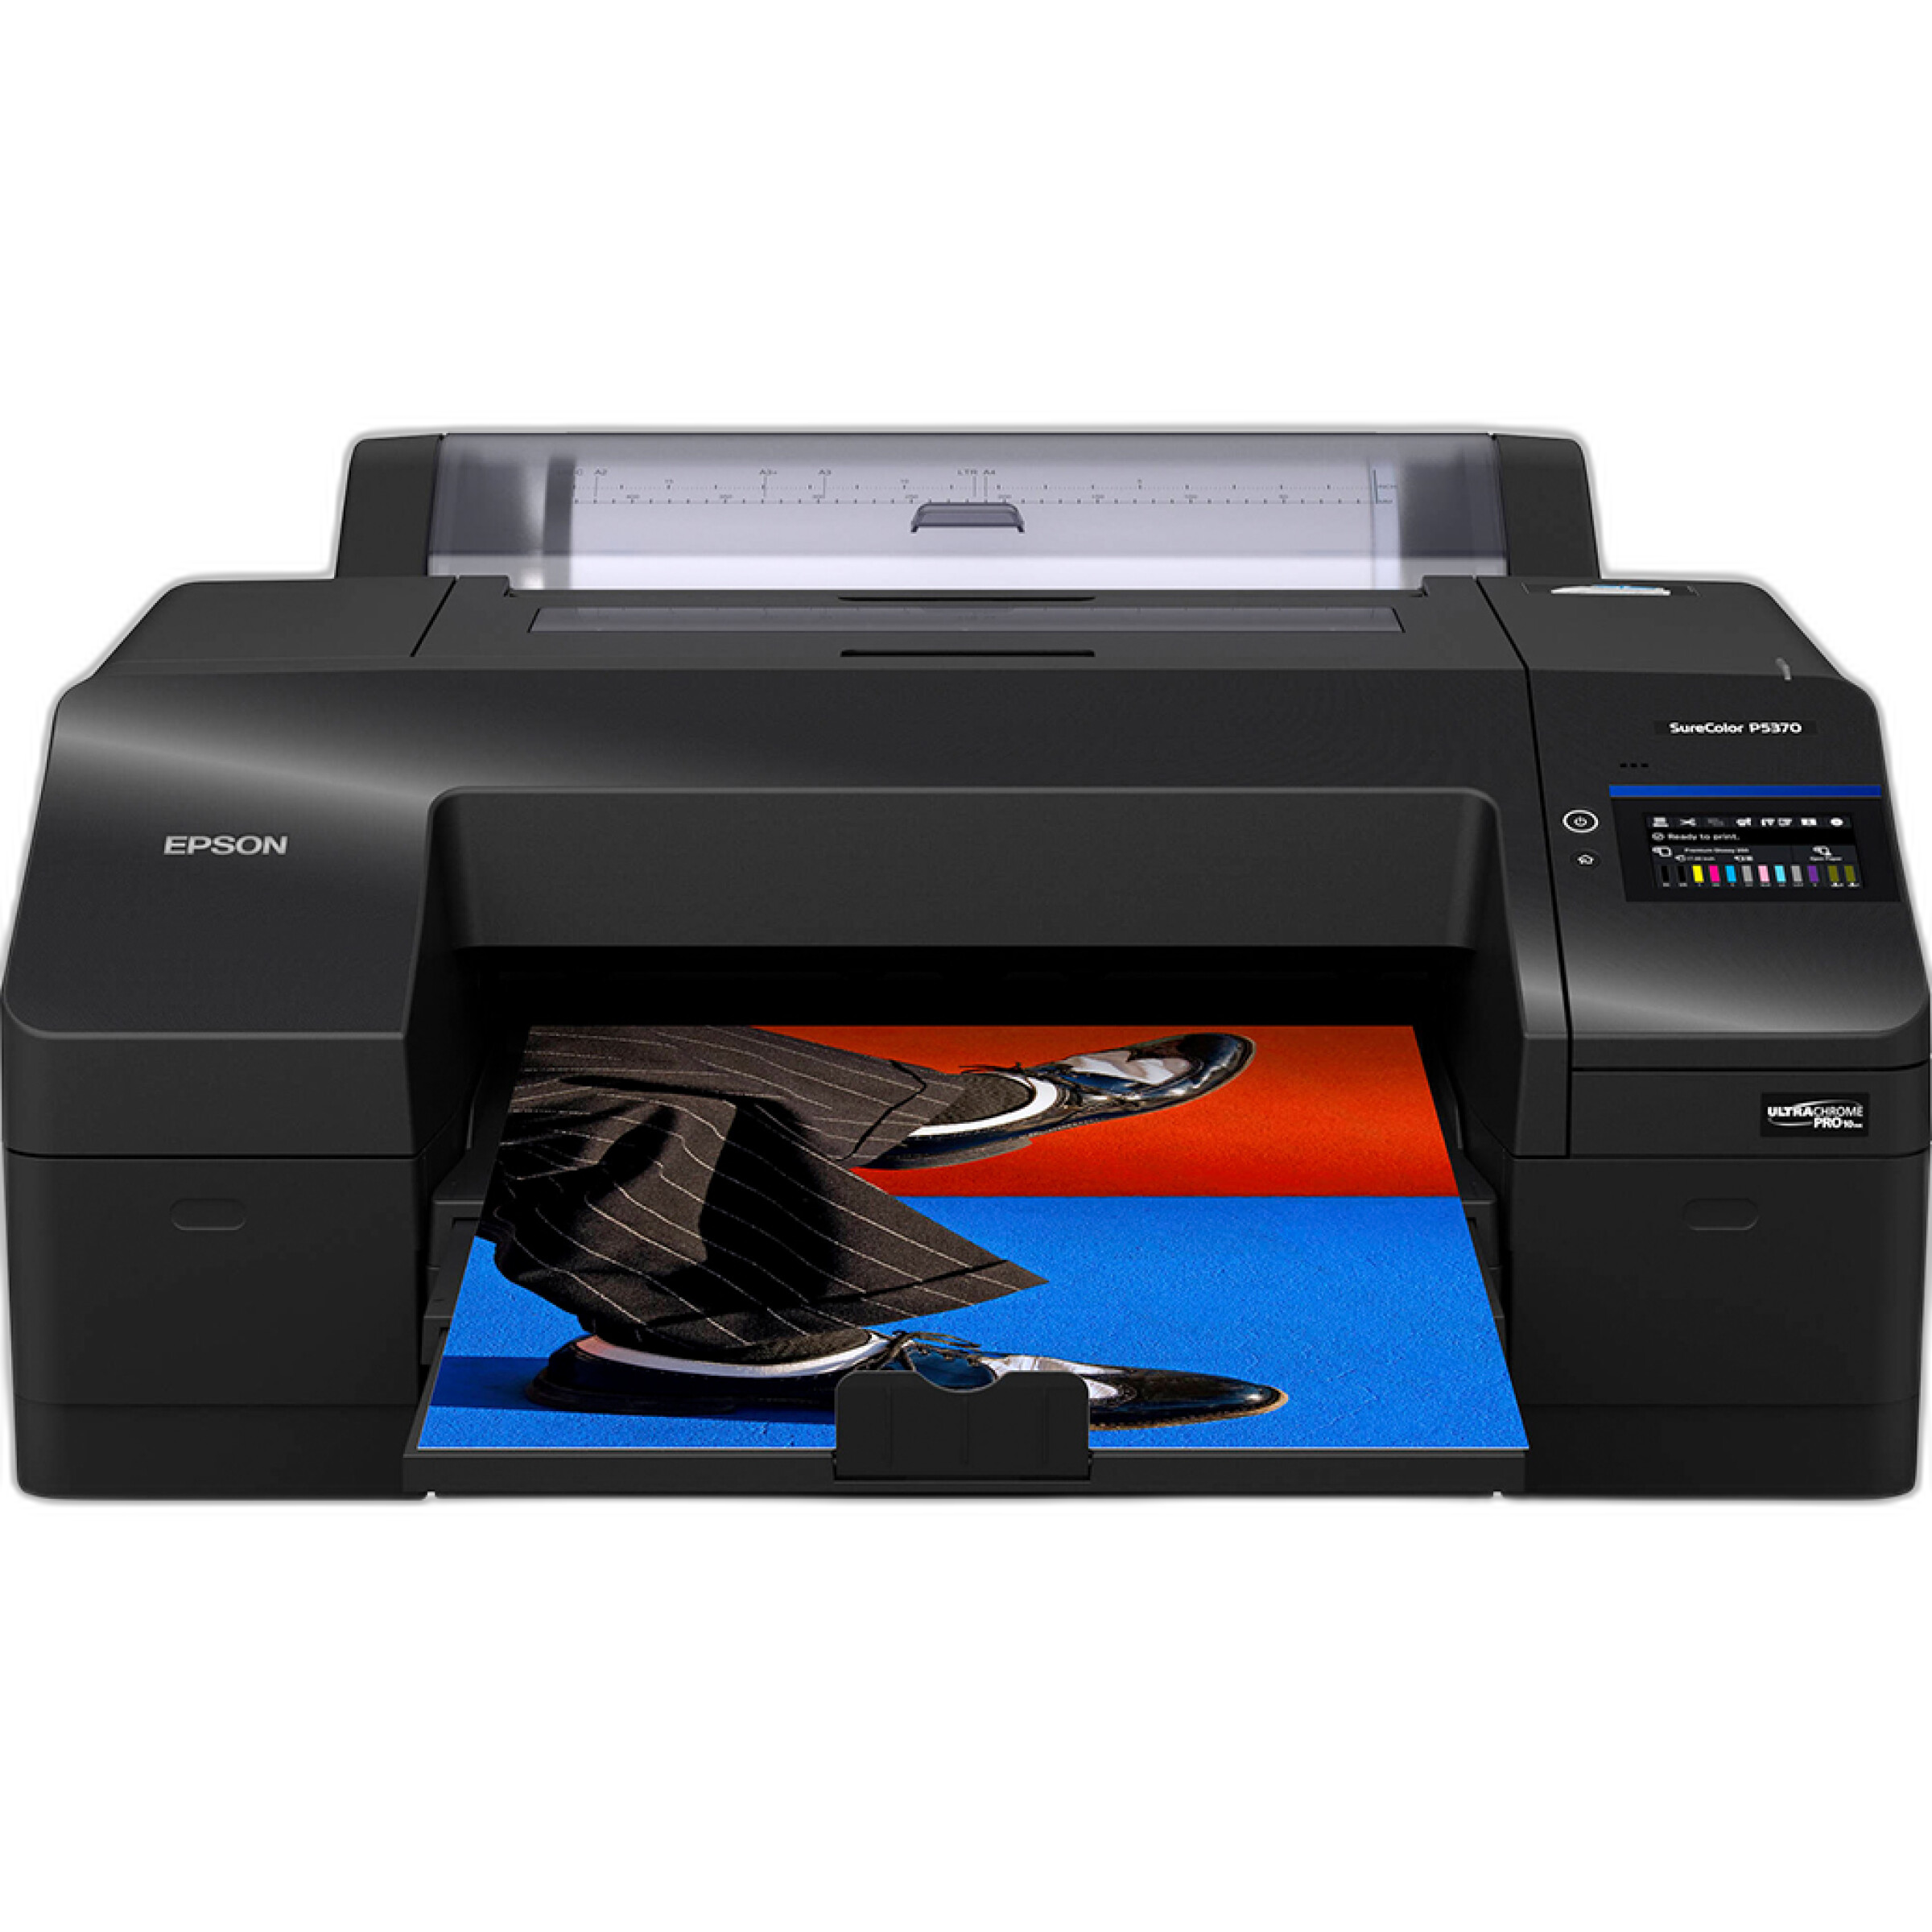
After developing and scanning, the P5370 gives you gallery-quality color prints up to 17 inches wide. Expect excellent neutrality, smooth tonal ramps, and long-lasting pigment prints. Perfect for turning your home-developed negatives into display-ready artwork.
- Wide color gamut pigment inks for rich color and smooth skin tones
- Designed for photographic media; ideal for color-managed workflows
- Reliable paper handling for cut sheets and panoramic lengths
Fujifilm DIGITAL PRO Glossy Color Paper (RA-4)

For the advanced route: print color negatives optically in the darkroom. This RA-4 color paper offers the classic chromogenic print look. Handle in total darkness and process with RA-4 chemistry. Great for those seeking a fully analog end-to-end workflow.
Important: RA-4 paper is not for inkjet printers and must be processed chemically under strict darkroom conditions.
Fujifilm Digital RA PRO Developer/Replenisher Part B (200L)
Advanced RA-4 users may consider minilab-scale chemistry. This is a Part B component of RA-4 developer/replenisher and is intended for high-throughput darkroom/minilab setups. Not for C-41 film development; ensure you assemble the complete RA-4 system (all parts) and follow lab safety and disposal protocols. For most home users, a standard RA-4 kit in smaller volumes is recommended instead.
Choosing your printing path: comparison
| Path | Pros | Cons | Gear highlight |
|---|---|---|---|
| Scan + inkjet printing | Maximum control, easy color management, repeatable | Requires a quality printer and profiles | Epson SureColor P5370 |
| Optical RA-4 darkroom printing | Classic chromogenic look, fully analog | Complex, light-sensitive workflow; chemistry handling | Fujifilm DIGITAL PRO Glossy paper + RA-4 chemistry |
| Lab scanning/printing | No setup time; predictable results | Less hands-on control; ongoing costs | Use as a baseline while learning C-41 at home |
Troubleshooting quick tips
- Thin, low-contrast negatives: Developer too cool/short time; improve temperature stability and agitation.
- Color casts: Inconsistent temps or exhausted chemistry; verify thermometer accuracy and mix fresh.
- Milky or purple negatives after fix: Extend fix or use fresh fixer/blix; ensure thorough rinse.
- Drying marks: Use distilled water + wetting agent and avoid touching the emulsion.
- Dust: Clean reels/tank, use an anti-static brush before scanning, and dry in a closed space.
Conclusion: a clear path to great color
Start simple: shoot Kodak KODACOLOR 200, develop at a stable 102°F/39°C with a reliable water bath and clean technique, then scan and print. For most home workflows, digitizing and printing on the Epson SureColor P5370 offers the best blend of control and quality. When you’re ready to go fully analog, step into RA-4 printing with Fujifilm color paper and the appropriate chemistry. Whatever path you choose, Unique Photo has the film, paper, printers, and expert support to help you succeed.