Home film developing is one of the most rewarding ways to take control of your photography workflow. Whether you are processing color negative film with C-41 chemistry or black-and-white film at home, consistency is what separates unpredictable results from clean, repeatable negatives you can trust. In this guide, Unique Photo shares practical home developing tips to help you improve temperature control, agitation, timing, chemical handling, and overall process reliability.
If you are building a home darkroom or refining an existing setup, the key is not necessarily making it more complicated. It is making it more repeatable. A disciplined routine, quality tools, and fresh chemistry can go a long way toward better scans, better prints, and fewer surprises.
How to Get Consistent Results When Developing Film at Home
The biggest challenge in home developing is variation. Small changes in temperature, dilution, agitation, and chemical age can noticeably affect negatives. That is especially true with C-41 color negative film, where process control is tighter than with many black-and-white developers.
To improve consistency, create a standard workflow and stick to it every time:
- Use the same tank, reels, graduates, and thermometer
- Mix chemistry carefully and label everything clearly
- Maintain accurate times for each step
- Agitate with the same rhythm every roll
- Track how many rolls each batch of chemistry has processed
- Dry film in the cleanest dust-free area possible
Many photographers shopping at Unique Photo for darkroom supplies find that consistency improves as soon as they stop changing multiple variables at once. If you want better results, lock down your process before experimenting.
C-41 Home Developing Tips for Reliable Color Negative Results
C-41 home developing is absolutely possible with excellent results, but it rewards precision. Color shifts, uneven density, and thin negatives often come from inconsistent temperature or exhausted chemistry rather than the film itself.
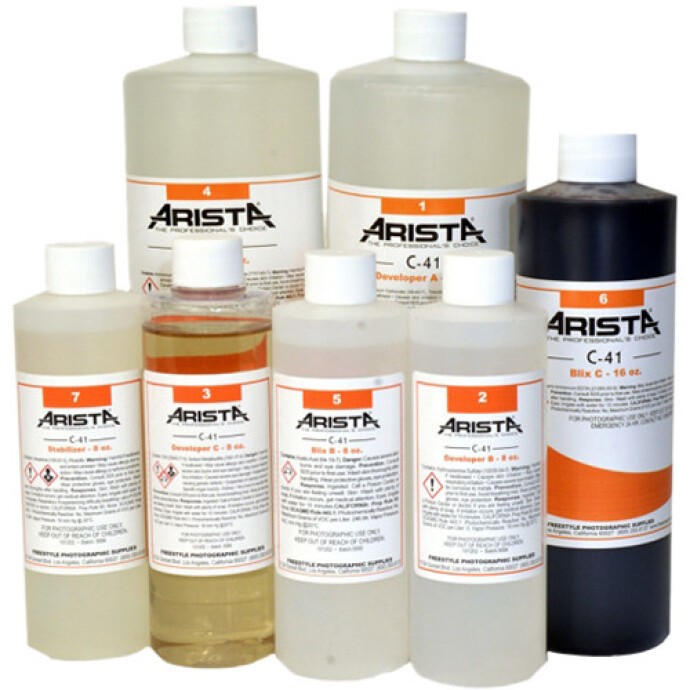
A strong starting point for many home users is the Arista C-41 Liquid Color Negative Developing Kit (to Make 1 Gallon), which is a practical option available from Unique Photo for photographers who want to process color film at home.
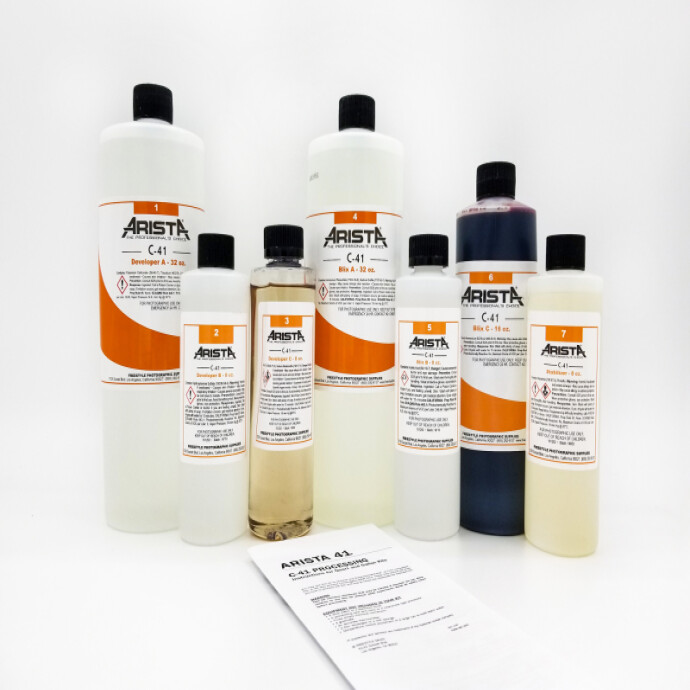
When developing C-41 film at home, focus on these fundamentals:
- Temperature accuracy matters. C-41 chemistry is designed to run at a specific temperature, commonly around 102°F. Even small fluctuations can affect color and density.
- Preheat your bottles and tank. Bringing the tank, reels, and chemistry close to processing temperature helps reduce drift during development.
- Use a water bath. A tempered water bath is one of the easiest ways to stabilize chemistry throughout the process.
- Mix chemistry thoroughly. Incomplete mixing can cause inconsistent activity from batch to batch.
- Watch chemical capacity. As chemistry ages and processes more rolls, development times may need adjustment depending on the kit instructions.
If your C-41 negatives look too dense, too thin, or have color crossover, review temperature first. In home color processing, temperature consistency is often the biggest factor.
Black-and-White Film Developing Tips for More Repeatable Negatives
Black-and-white film developing tends to be more forgiving than C-41, which makes it ideal for learning good habits. But even though B&W gives you more flexibility, consistency still matters if you want predictable contrast, grain, and shadow detail.
For repeatable black-and-white results at home:
- Use the same developer and dilution regularly. Constantly switching formulas makes it harder to evaluate your results.
- Standardize agitation. More agitation generally increases contrast, while less can reduce it.
- Control water temperature. Even in black-and-white processing, temperature changes can alter development activity.
- Measure accurately. Small errors in concentrate-to-water ratio can affect density and contrast.
- Use a consistent stop, fix, and wash routine. Development is only part of the equation.
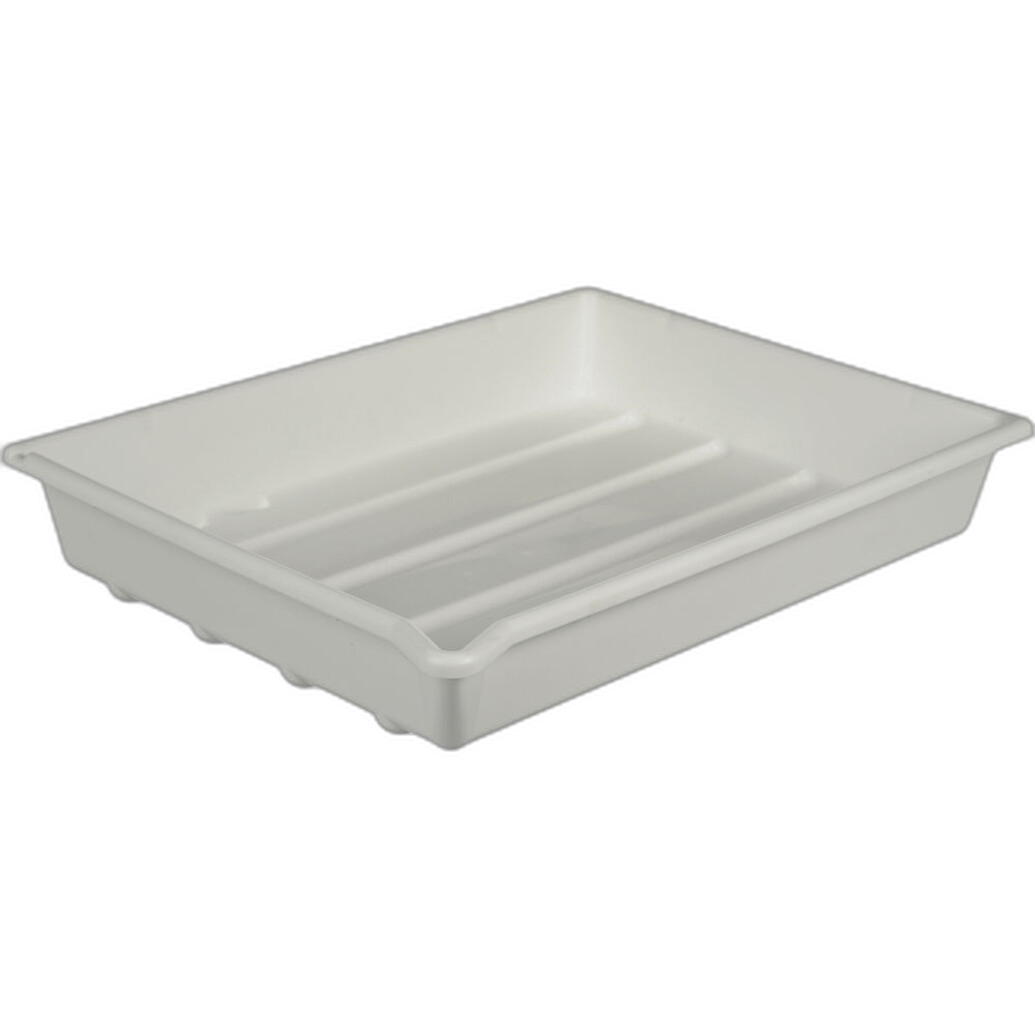
One helpful accessory in a home setup is a simple organizing tray for bottles, graduates, or wet darkroom tasks. The Paterson Developing Tray 12x16 White, available from Unique Photo, can be useful for keeping your space orderly during chemical prep or print workflow.
Best Temperature Control Practices for Home Film Developing
If you are searching for how to keep film chemistry temperature consistent at home, the answer is process design. You do not need a commercial lab setup, but you do need a system.
Here are proven temperature control tips for home developing:
- Use a reliable thermometer and verify it periodically
- Store chemistry in bottles that can sit in a tempered water bath
- Bring reels, tank, and chemistry up to target temperature before starting
- For C-41, keep the developer at process temperature throughout the development step
- Try to keep your workspace free from drafts or sudden room temperature changes
For black-and-white processing, temperature is more flexible, but that does not mean it should be random. If your first roll is developed at 68°F and the next at 74°F, your negatives may not match in contrast or density.
How Agitation Affects C-41 and B&W Film Development
Agitation is one of the easiest variables to overlook, but it has a major impact on consistency. Agitation refreshes chemistry at the film surface. If you agitate too aggressively, too gently, or inconsistently from roll to roll, you may see changes in density, contrast, and even uneven development.
To improve agitation consistency:
- Pick one method, such as inversions or rotation, and use it every time
- Agitate on the same schedule for every roll
- Tap the tank after agitation to dislodge bubbles
- Do not improvise mid-process unless you are deliberately testing a new technique
For black-and-white films, agitation can be used creatively, but if your goal is consistency, repeatability matters more than experimentation. For C-41, stable and even agitation is especially important for uniform color and density.
Chemical Storage and Mixing Tips for Better Home Developing Results
Fresh chemistry is critical. Old, oxidized, contaminated, or poorly mixed chemistry is one of the most common reasons home developers get inconsistent results.
Follow these chemical handling tips:
- Mix chemicals according to the manufacturer instructions exactly
- Use clean containers dedicated to photo chemistry
- Label every bottle with contents, mix date, and roll count
- Store chemistry in tightly sealed bottles with minimal air space
- Avoid cross-contamination by using separate graduates or rinsing thoroughly between steps
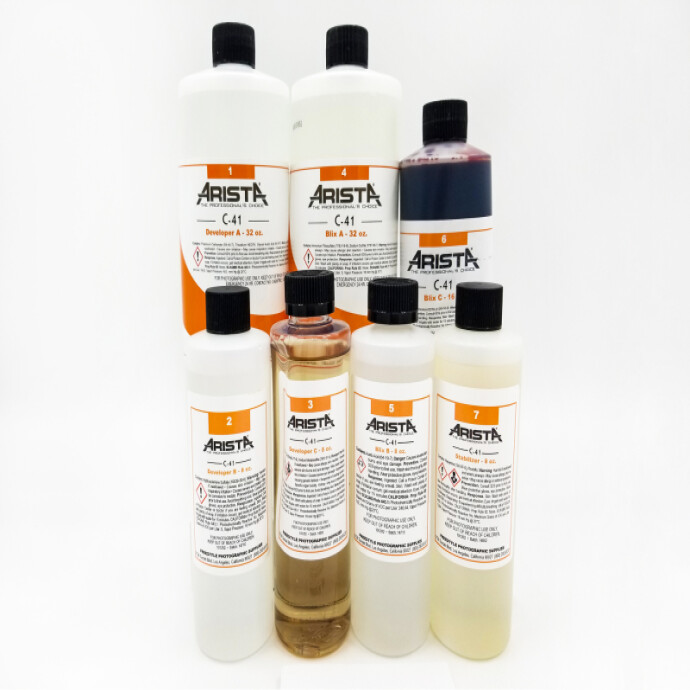
The Arista C-41 Liquid Color Negative Developing Kit is a good example of a home-friendly color processing solution, but like any chemistry, it performs best when mixed carefully and stored properly.
How to Avoid Dust, Water Spots, and Drying Marks on Negatives
You can do everything right during development and still lose quality during drying. Dust, mineral spots, and drying streaks can make scanning and printing more frustrating than they need to be.
For cleaner negatives:
- Use a final rinse with wetting agent for black-and-white film when appropriate
- Dry film in a bathroom or other clean low-dust space
- Hang film straight and use a clip or weight at the bottom
- Avoid touching the emulsion side while wet
- Let negatives dry completely before cutting and sleeving
If your scans always require heavy spotting, your drying environment may be the issue rather than your development technique.
Scanning Your Negatives After Home Developing
Consistent development and consistent scanning go together. Even well-developed negatives can look disappointing if your scanning process is uneven. Keep your light source, exposure, film holder alignment, and white balance as standardized as possible.
For photographers who want to improve their camera scanning workflow after developing film at home, Unique Photo also offers educational opportunities like the Film Lovers Event: Getting Better Scans with Your Digital Camera (Philly). Learning how to digitize negatives well is a natural next step after refining your developing process.
Common Home Developing Problems and How to Fix Them
If your results are inconsistent, diagnose one variable at a time.
- Thin negatives: underdevelopment, low temperature, exhausted developer, or inaccurate dilution
- Dense negatives: overdevelopment, high temperature, or excessive agitation
- Color shifts in C-41: temperature drift, exhausted chemistry, or timing inconsistency
- Uneven development: poor agitation, insufficient chemistry volume, or loading issues
- Water spots or streaks: poor final rinse or hard-water drying marks
- Dusty scans: dirty drying environment or poor film handling
Take notes for every roll. Record film stock, chemistry, temperature, time, agitation style, and final outcome. Over time, your notes become the fastest path to reliable improvement.
Building a Repeatable Home Developing Workflow
The best home developing setup is the one you can repeat confidently. That means organizing your workspace, keeping your tools ready, and avoiding rushed decisions. A small routine checklist can help:
- Prepare and label chemistry
- Bring chemistry to target temperature
- Load film carefully
- Start timer immediately with developer
- Agitate on schedule
- Complete stop, bleach/fix or fixer, wash, and final rinse consistently
- Hang film in a clean area to dry
- Sleeve, label, and scan with a repeatable process
Unique Photo is a valuable resource for photographers building out a home film workflow, whether you need chemistry, trays, darkroom supplies, or classes that help you improve the next stage of your process.
Conclusion: Better Film Developing at Home Starts with Consistency
Whether you are learning how to develop C-41 film at home or trying to get more repeatable black-and-white negatives, consistency is the goal. Tight control over temperature, agitation, chemical freshness, and drying will do more for your results than constantly changing films or chasing complicated techniques.
Unique Photo makes it easier to build that consistency with home developing essentials like the Arista C-41 kit and darkroom accessories such as Paterson trays, along with educational events for photographers who want to improve scanning and workflow from start to finish.
For internal linking, consider guiding readers to related Unique Photo pages such as film developing chemistry, darkroom supplies, film scanning resources, and Unique University classes and events to help them continue building a reliable analog workflow.