Essential Lenses for Wildlife Photography—Which to Prioritize?
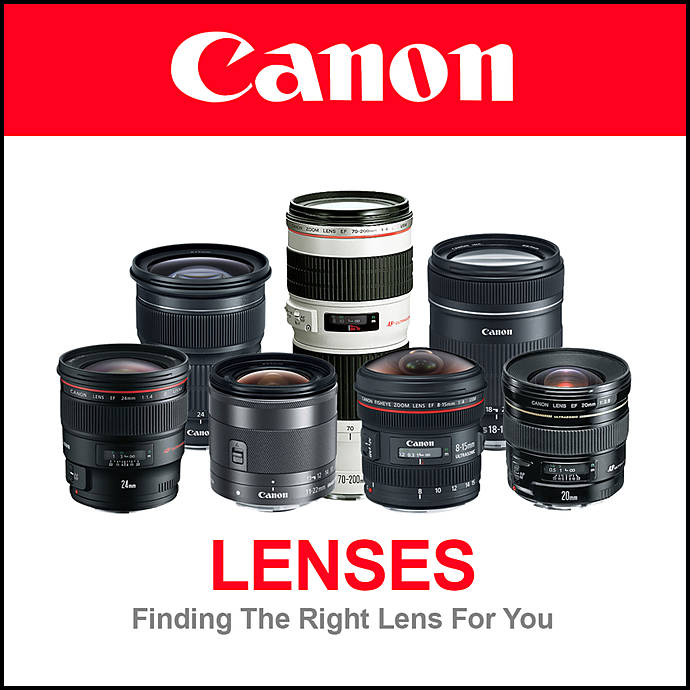
Wildlife photography is an arms race between reach, speed, and portability. If you’re standing at the trailhead wondering which lens to buy first, the smartest path is to build a kit in stages—starting with the most versatile telephoto reach you can reasonably carry and afford, then expanding as your subjects, locations, and technique demand. Below, I break down a clear lens priority list that balances cost, weight, autofocus performance, image quality, and real-world field handling—plus a few accessories that make a difference. When you’re ready to buy, Unique Photo has you covered with expert advice and a deep selection.
Your First Wildlife Lens: A Modern Super‑Telephoto Zoom
Why start here (100–400mm or 150–600mm)
For most photographers, a 100–400mm or 150–600mm is the best starting point. These lenses offer flexible framing—from small birds to larger mammals—without constantly swapping glass. They’re relatively portable, stabilized, and focus fast enough for birds in flight and fast-moving animals in good light. On APS‑C bodies, a 150–600mm effectively frames like ~225–900mm, delivering serious reach.
What to look for
- Optical stabilization that plays nicely with your camera’s IBIS
- Confident autofocus for birds in flight
- Close‑focus performance for small subjects
- Weather sealing and a robust tripod collar
When to Step Up: Fast Super‑Telephoto Primes
Who needs a 500mm f/4, 600mm f/4, or 400mm f/2.8?
If you regularly shoot at dawn/dusk, track small birds in erratic flight, or demand top-tier sharpness and subject isolation, a fast prime is a revelation. Wider apertures deliver faster shutter speeds and creamier backgrounds, and pro builds take teleconverters beautifully. The trade‑offs are obvious: cost, weight, and less framing flexibility.
Prime strategy
- Match focal length to your subjects and typical distances (shorebirds vs. large mammals)
- Use a 1.4× teleconverter first; add a 2× only when needed
- Plan for support: a stout gimbal head and tripod or a robust monopod
Teleconverters: Reach with Responsibility
1.4× vs. 2×—what changes
- 1.4×: +40% reach, ~1 stop of light loss, modest AF hit
- 2×: 2× reach, ~2 stops of light loss, more AF/contrast demands
On zooms with smaller maximum apertures, teleconverters can push you into AF‑challenging territory; primes maintain performance better. Always test for sharpness and AF reliability before committing to a converter in critical situations.
Crop Bodies and High Pixel Density
Why APS‑C still shines for wildlife
High‑density sensors provide more “pixels on target,” making an APS‑C body a powerful partner for a 100–400mm or 150–600mm. The downsides are higher noise at equivalent exposures and increased demands on lens resolving power and technique—keep shutter speeds up and perfect your long‑lens handling.
Adapters That Expand Your Options
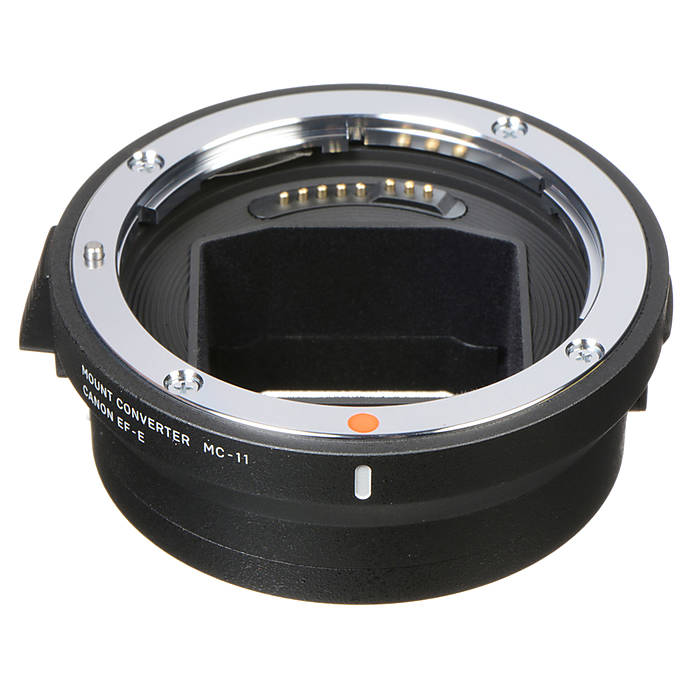
Mount flexibility for Sony shooters (Sigma MC‑11)
If you’re on Sony E‑mount and want access to the vast Canon EF super‑telephoto ecosystem, a reliable adapter becomes a force multiplier. The Sigma MC‑11 is a proven bridge for many EF lenses, preserving electronic communication for aperture control, EXIF, and stabilization with strong compatibility. It’s a practical path to wildlife‑ready glass while you evaluate native lens options. As always, test your specific lens/body combo for AF behavior, especially with teleconverters.
Stabilization, Support, and Handling
Keepers come from stability
- Use lens IS/OS in tandem with IBIS where supported
- Favor faster shutter speeds for birds in flight (start near 1/2000s and adjust)
- Employ a gimbal head for big primes; a monopod or braced stance for long hikes
Accessories That Matter
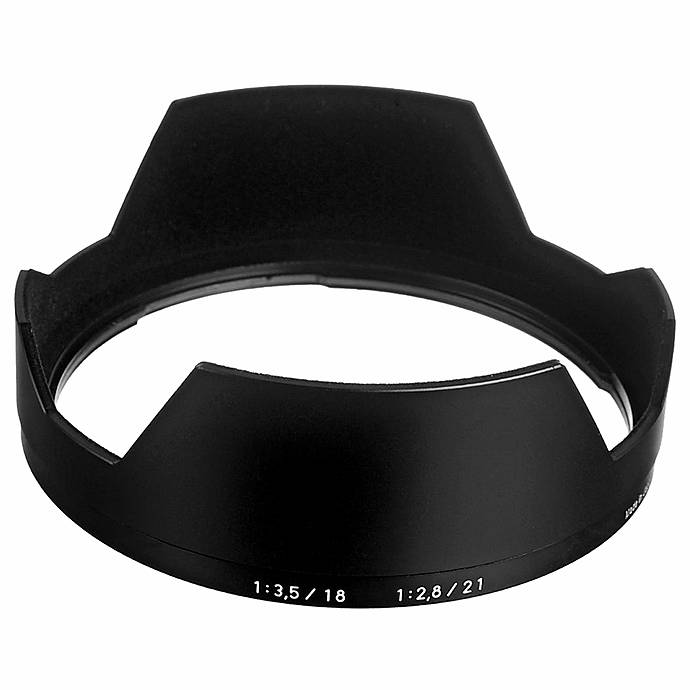
Hoods over filters
In wildlife work, a proper hood is more helpful than most front filters—boosting contrast, taming flare, and adding a bit of front‑element protection. Protective filters are a personal choice; if you use one, select high‑quality, multi‑coated glass and remove it when shooting into strong light sources.
Post‑Processing for Wildlife
Finish what your lens starts
Wildlife images often benefit from careful noise reduction, local contrast work, and color refinement. Sharpening for fine feather detail is subtle but critical. If you want to level up your workflow, consider hands‑on education like Unique Photo’s workshops dedicated to nature and wildlife editing.
Pros and Cons of the Priority Path
Pros
- A 100–400mm or 150–600mm zoom covers the widest range of wildlife scenarios with one lens
- Cost‑effective, relatively portable, and stabilizer‑equipped
- Pairs well with APS‑C for extra reach
- Upgradeable path: add a 1.4× teleconverter or step into a fast prime as needs grow
- Adapter options (e.g., MC‑11) expand lens choices for mirrorless shooters
Cons
- Super‑tele zooms have slower maximum apertures; low‑light performance and subject isolation trail fast primes
- Autofocus and absolute sharpness may not match flagship primes
- Long glass is heavy; fatigue and technique become limiting factors
- Teleconverters reduce light and can challenge AF, especially on slower zooms
Verdict and Recommendation
If wildlife is your primary passion, prioritize a modern super‑telephoto zoom first—100–400mm or 150–600mm—paired with a high‑density body and sound technique. This single purchase unlocks the broadest range of subjects and scenarios, from perched raptors to distant mammals and birds in flight. As you hit the limits of light and background separation, graduate to a fast super‑tele prime and integrate a 1.4× teleconverter for flexible reach. Sony shooters can smartly bridge to the EF ecosystem with a dependable adapter like the Sigma MC‑11, testing specific combos for AF reliability.
Ready to build your wildlife kit? Visit Unique Photo in‑store or online for hands‑on guidance, a broad selection of lenses and accessories, and education that helps you get more keepers in the field and polish them in post.