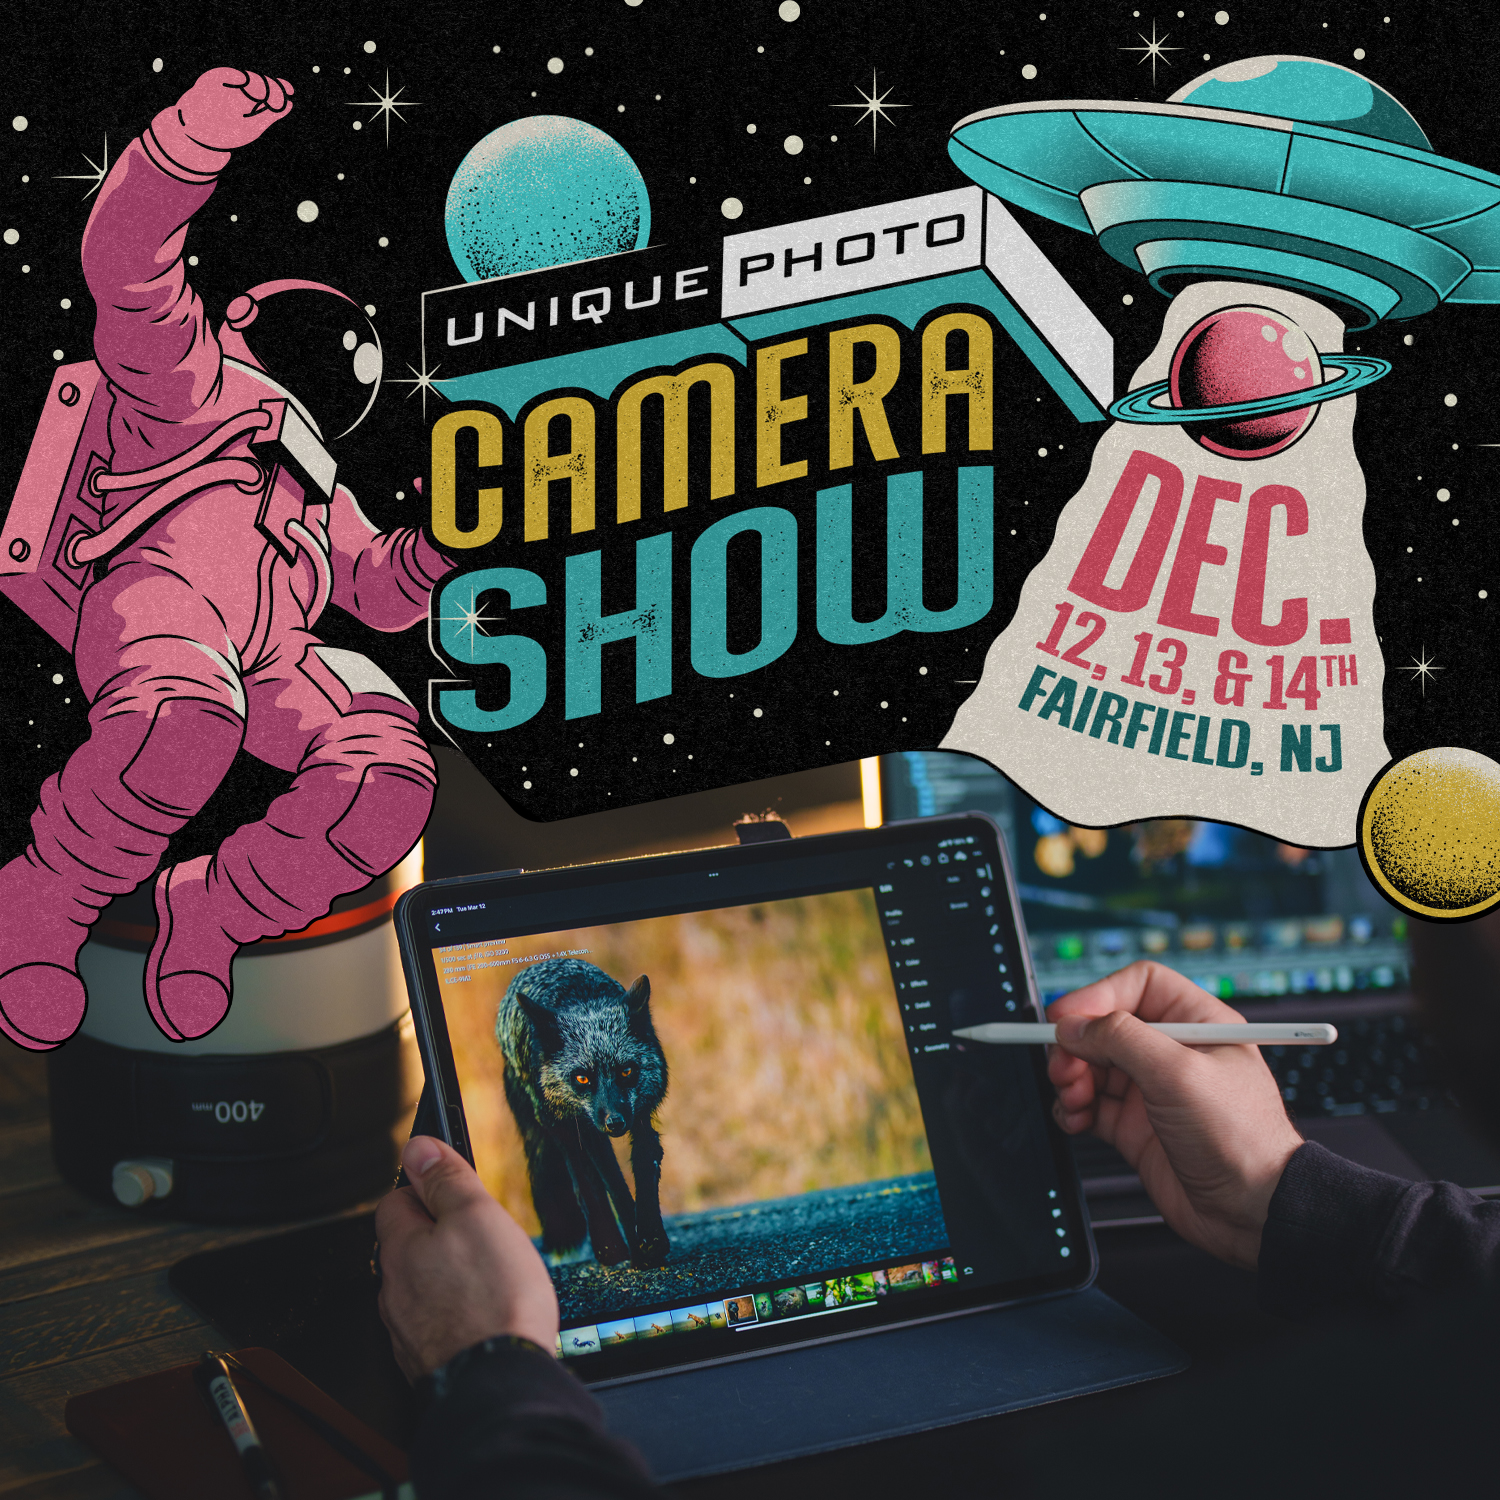
Why RAW processing matters—and how to choose your app
Shooting RAW gives you maximum image quality and flexibility, but the right processing app—and a smart workflow—make all the difference. Whether you’re new to editing or refining a pro-level pipeline, this guide helps you pick the best RAW converter for your style, then streamlines your import-to-export routine with practical tips and training options from Unique Photo.
Key factors to weigh when choosing software:
- Catalog vs. session workflow: Do you prefer long-term organization (catalog) or project-based folders (sessions)?
- Noise reduction and lens profiles: Look for quality demosaicing, denoise, and automatic optical corrections.
- Local adjustments and masking: Powerful selections, subject/sky masks, and edge-aware tools accelerate pro results.
- Tethering and studio features: If you shoot connected, consider stability, live view, and overlay tools.
- Speed and hardware: GPU acceleration and fast previews matter for high-res cameras.
- Round-tripping and plug-ins: Seamless handoffs to Photoshop or creative tools expand your capabilities.
Quick picks by shooting style
- All-around photographers and hybrid shooters: Adobe Lightroom Classic for its balance of cataloging, editing power, and deep camera support.
- Studio, fashion, product, and tethered workflows: Capture One Pro for elite tethering, sessions, and color control—especially with Fujifilm.
- Landscape and high-ISO wildlife: DxO PhotoLab for exceptional DeepPRIME XD noise reduction and optical corrections.
- Creative edits with fast results: ON1 Photo RAW or Luminar Neo for one-app effects, sky replacement, and AI-driven tools.
- Pixel-level control without subscription: Affinity Photo with a capable Develop Persona and advanced retouching.
- Open-source route: Darktable or RawTherapee for powerful, no-cost options with steeper learning curves.
RAW processor comparison at a glance
| App | Best For | Strengths | Watch Outs | Cost Model |
|---|---|---|---|---|
| Adobe Lightroom Classic | Most photographers | Excellent cataloging, masking, pano/HDR, broad camera support, PS round-trip | Catalog-first workflow, subscription | Subscription (Photography Plan) |
| Adobe Lightroom (cloud) | Mobile + cloud-first | Sync across devices, simpler UI, AI masks | Lightweight file management on desktop vs Classic | Subscription |
| Capture One Pro | Studio & tethering, color control | Rock-solid tethering, sessions, color tools, layers | Learning curve, cost | Subscription or perpetual |
| DxO PhotoLab | Landscape & high ISO | DeepPRIME XD denoise, lens modules, optical math | Library tools lighter than LrC | Perpetual (paid upgrades) |
| ON1 Photo RAW | All-in-one creative | Local edits, effects, portrait AI, sky swap | Can feel heavy on older machines | Perpetual or subscription |
| Luminar Neo | Quick creative results | AI-driven tools, presets, sky/relight | Cataloging basic, performance varies | Perpetual or subscription |
| Affinity Photo | One-time purchase editing | Advanced retouching, Develop Persona, no subscription | RAW workflow less automated; no catalog | Perpetual |
| Darktable / RawTherapee | Open-source power users | Highly capable, free, deep controls | UI/UX complexity, fewer tutorials | Free |
Workflow tips: from card to export
- Ingest fast and safely: Use a reliable UHS-II card reader to copy cards and verify. Create a dated folder structure and apply a consistent file naming scheme.
- Backup immediately (3-2-1 rule): 3 copies, 2 different media, 1 offsite or cloud. Don’t format cards until you have at least two verified copies.
- Choose catalog or sessions: Lightroom Classic favors a single catalog with smart collections; Capture One sessions shine for jobs and handoffs.
- Cull efficiently: Build standard/smart previews, use flags/ratings, and leverage subject detection to zoom to eyes fast.
- Start with global corrections: White balance, exposure, profile, lens corrections, and base noise reduction before heavy local edits.
- Leverage masks and local tools: Use sky/subject masks, color range, and linear/radial gradients for precise, non-destructive edits.
- Round-trip when needed: Send complex composites to Photoshop; keep a layered TIFF/PSD alongside your RAW.
- Export right: Match color space (sRGB for web, Adobe RGB/ProPhoto where required), output sharpen for screen/print, and embed metadata.
- Maintain consistency: Build presets for import, noise, and sharpening per camera/ISO. Calibrate your monitor monthly.
Pro tip: Upgrading to a dual-slot UHS-II reader significantly speeds up import, especially with high-res cameras or large wildlife/burst sessions.
Recommended classes and gear from Unique Photo
NJCS: Lightroom Photo Editing for Nature and Wildlife with Bobby Stormer
Master a nature-focused Lightroom workflow: fast culling, noise reduction, masking, and color work tailored to wildlife and landscapes. Ideal if Lightroom Classic is your primary RAW tool.
Editing and Enhancing Landscape and Nature Photography with Photoshop
Take your best RAW conversions further with targeted luminosity masks, focus stacking, and pixel-level finishing in Photoshop—perfect after your base edits in Lightroom, Capture One, or DxO.
Product Photography and Post Production Editing with Blake Taylor

Great for studio shooters: build a clean, repeatable product workflow from tethered capture through retouching and export. Pairs naturally with Capture One sessions or Lightroom Classic catalogs.
PCS: Lamborghini Model Shoot at Strawberry St with Allan Ali (Fujifilm)

Sharpen your on-location process, then translate that experience into a fast RAW workflow back at your desk. Fujifilm shooters can compare how Lightroom Classic vs. Capture One handle X-Trans files.
Lexar Professional Workflow Dual-Slot SD UHS-II Reader
A compact, dual-slot SD reader that takes advantage of UHS-II speeds—ideal for accelerating imports and verifications so you can get to culling and editing faster in any RAW app.
Our Pick
Conclusion
There’s no single “best” RAW processor—only the best one for your subjects, habits, and hardware. Try a couple of free trials, then lock in your process with consistent presets and backup routines. When you’re ready to level up, Unique Photo’s classes and expert staff can help you build a faster, more reliable editing workflow from ingest to print.