Budget macro photography: what forum users recommend most
Macro photography has a reputation for being expensive, but forum users consistently show that you can get excellent close-up results without spending a fortune. Across photography communities, the same advice comes up again and again: start with affordable gear, improve your lighting and stability, and learn technique before chasing high-end lenses. For shoppers browsing Unique Photo, that is good news—there are plenty of smart budget macro paths, including used lenses, close-focusing zooms, accessories, and even educational workshops that help you get more from modest equipment.
Instead of focusing only on premium 1:1 macro lenses, many photographers begin with used macro glass, extension methods, focus stacking, and support tools that make sharp shooting easier. The result is a practical, low-cost setup that can photograph flowers, insects, jewelry, textures, and small products with impressive detail.
Best budget macro lens options for beginners
One of the most common search topics is best budget macro lens, and forum discussions usually split the answer into two categories: true macro lenses and affordable lenses with macro capability. If you want the easiest route to sharp close-ups, a used true macro lens is often the best value.
A good example is a classic APS-C option like the Used Canon EF-S 60mm f/2.8 Macro. A lens in this category gives you true macro performance, a practical focal length for tabletop work, and image quality that still holds up extremely well. Buying used through a retailer like Unique Photo can be one of the smartest ways to enter macro photography without paying full price for a new lens.
Mirrorless shooters also frequently look for compact macro lenses that can double as everyday optics. A lens such as the Used Sony FE 50mm f/2.8 Macro Lens fits that idea well, offering close-up ability in a relatively approachable package for photographers who want versatility and macro in one lens.
Another budget-friendly path often mentioned in forums is the telephoto zoom with a macro mode or near-macro capability. The Used Sigma 70-300MM F/4-5.6 D APO Macro for Nikon F - Excellent is the kind of lens many budget-conscious photographers consider because it can provide useful close-up performance while also serving as a general-purpose telephoto lens.
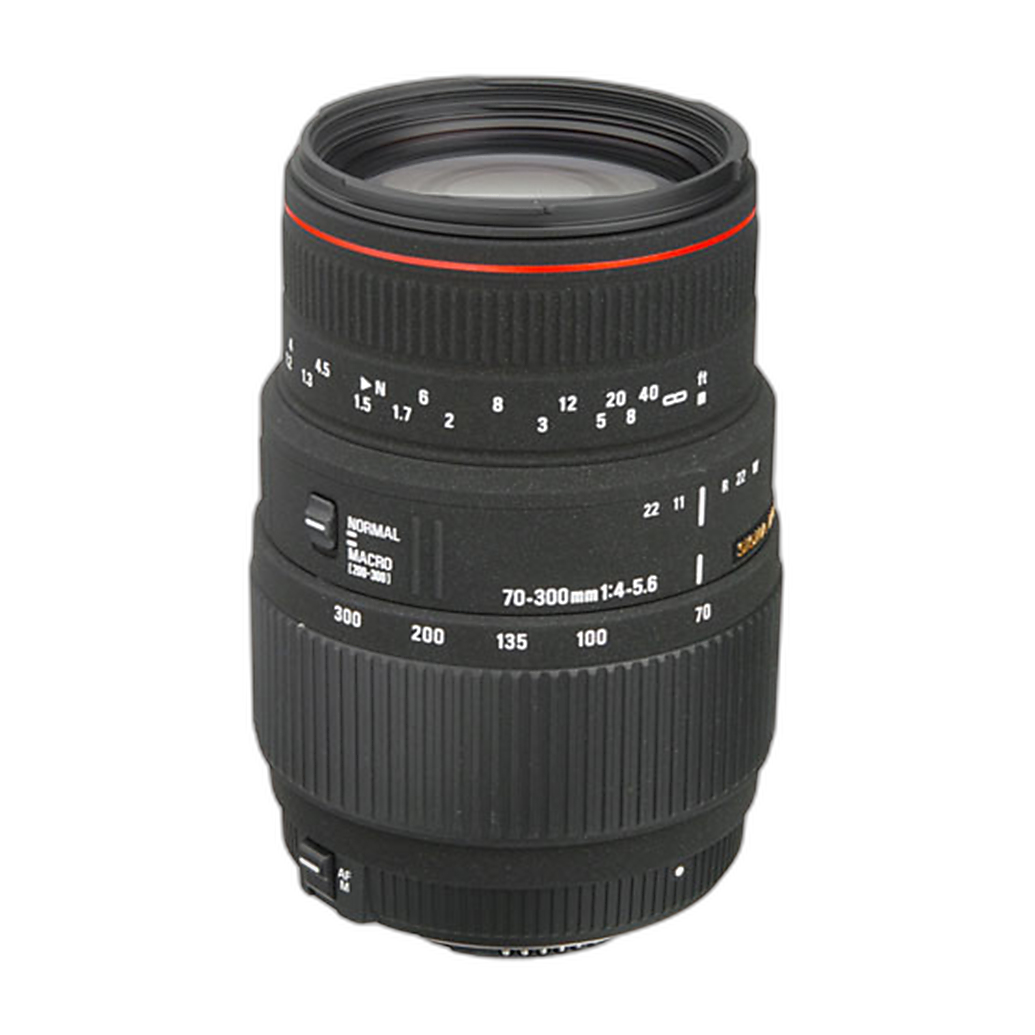
These kinds of lenses may not all deliver the same magnification or working distance as premium dedicated macro glass, but they can absolutely help you learn composition, focus control, and lighting on a budget.
Used macro lenses vs cheap DIY gear: which saves more money?
Forum users often debate whether it is better to buy a used macro lens or build a DIY setup. In many cases, a used macro lens wins on convenience and consistency. You get autofocus support in many situations, better handling, strong sharpness, and less trial-and-error. That is why many photographers shopping at Unique Photo browse used equipment first when searching for affordable macro gear.
DIY solutions can still be very effective. Reversing rings, extension tubes, close-up filters, and homemade diffusers are all common money-saving approaches. They can produce excellent results when paired with patience and careful shooting. The tradeoff is that these setups often require more manual work, more experimentation, and sometimes more frustration.
If your goal is the best balance of cost and usability, a used macro lens plus a few basic accessories is often the stronger long-term value. If your budget is extremely tight, extension-based or reversed-lens methods can still teach the core skills of macro photography for very little money.
DIY macro photography options forum users love
Searches for DIY macro photography and cheap macro setup remain popular because close-up photography is one of the easiest genres to experiment with at home. Forum users often recommend starting with subjects that do not move, such as coins, stamps, watches, leaves, or product details. This gives you time to practice manual focus and learn how tiny camera movements affect sharpness.
Popular low-cost DIY macro ideas include:
Extension tubes: These reduce minimum focusing distance and can turn a basic lens into a useful close-up tool. They are affordable, lightweight, and a common first step for macro beginners.
Close-up filters: These screw onto the front of a lens like a filter and can be an easy way to experiment with macro without changing your lens lineup.
Reversed lens setups: Forum hobbyists often try this for extreme magnification on a budget. It can deliver impressive detail, though it is less convenient and more specialized.
Homemade diffusers: Soft light matters tremendously in macro photography. Many users build diffusers from paper, foam, or translucent plastic to tame harsh flash or window light.
DIY backgrounds and stages: Simple colored paper, acrylic sheets, or household textures can make a budget macro image look much more polished.
DIY works best when paired with a stable camera position. Even a cheap setup becomes much more effective when focus and framing can be adjusted precisely.
How to get sharper budget macro photos
One thing forum reviews repeatedly confirm is that sharpness in macro photography depends as much on technique as gear. The closer you focus, the shallower your depth of field becomes, which means tiny changes in subject distance can ruin a shot. That is why support accessories matter so much.
A dedicated focusing rail or stage can make a major difference for tabletop and static subjects. The Kaiser Macro Focusing Stage is the sort of accessory macro photographers often rely on to make small, controlled forward-and-back adjustments for precise focus. For budget shooters, adding this kind of tool can improve results more than spending the same amount on a lens upgrade.
Other sharpness tips forum users consistently recommend:
Use a tripod whenever possible. Stability is critical, especially at higher magnifications.
Stop down carefully. Apertures like f/8 to f/11 are common starting points, but diffraction can become an issue if you stop down too far.
Use good light. Brighter light helps keep shutter speeds manageable and ISO lower.
Focus manually for static subjects. Many macro photographers prefer moving the camera slightly rather than relying only on autofocus.
Shoot bursts. If handholding, tiny body sway changes focus position; multiple shots can increase your chances of getting the exact focus plane you want.
Affordable macro accessories that make a big difference
Budget macro photography is not only about the lens. Forum users often point out that small accessories can dramatically improve image quality and usability. Lens hoods, tripod collars, focusing stages, and diffused lighting setups all help maximize what affordable macro gear can do.
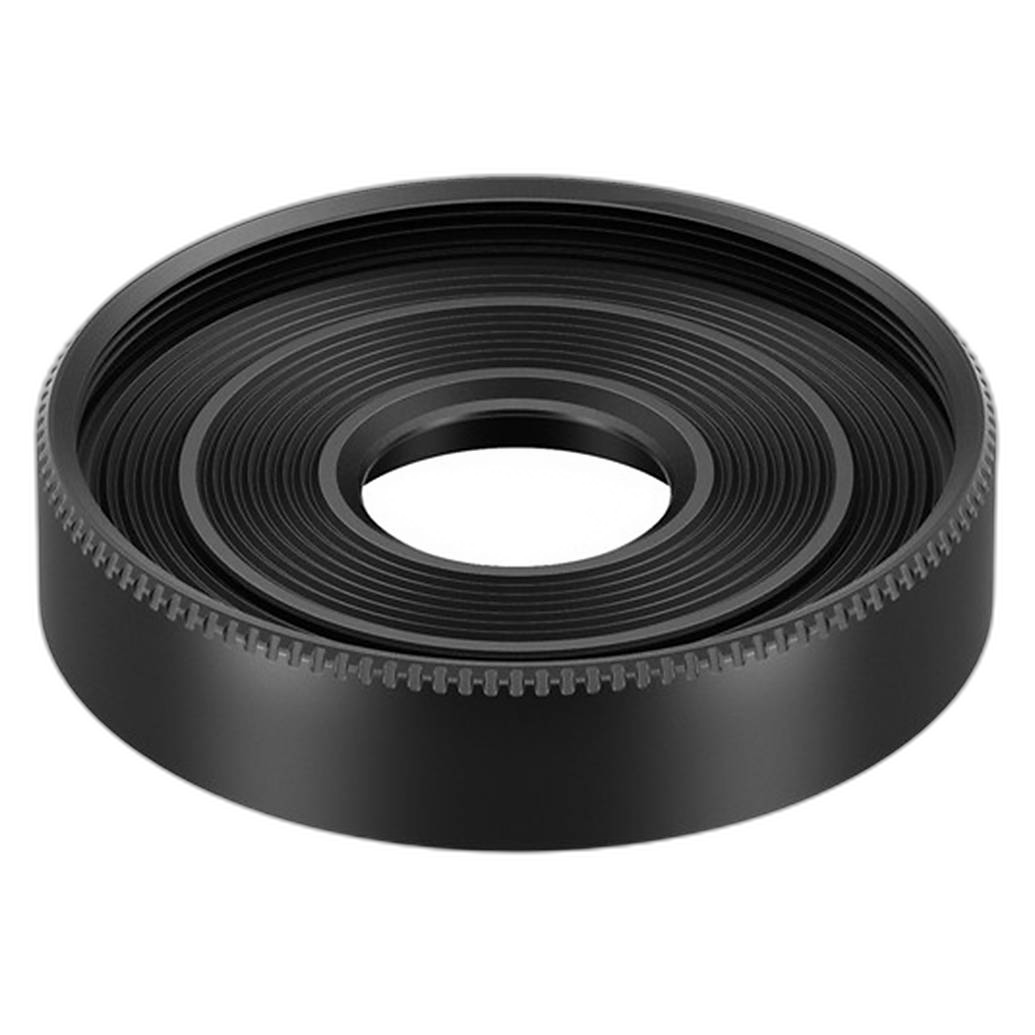
For example, if you are using Canon's compact macro options, accessories like the Canon ES-22 Lens Hood for EF-M 28mm f/3.5 Macro IS STM Lens can help manage flare and protect the front of the lens while shooting close-up subjects in changing light.
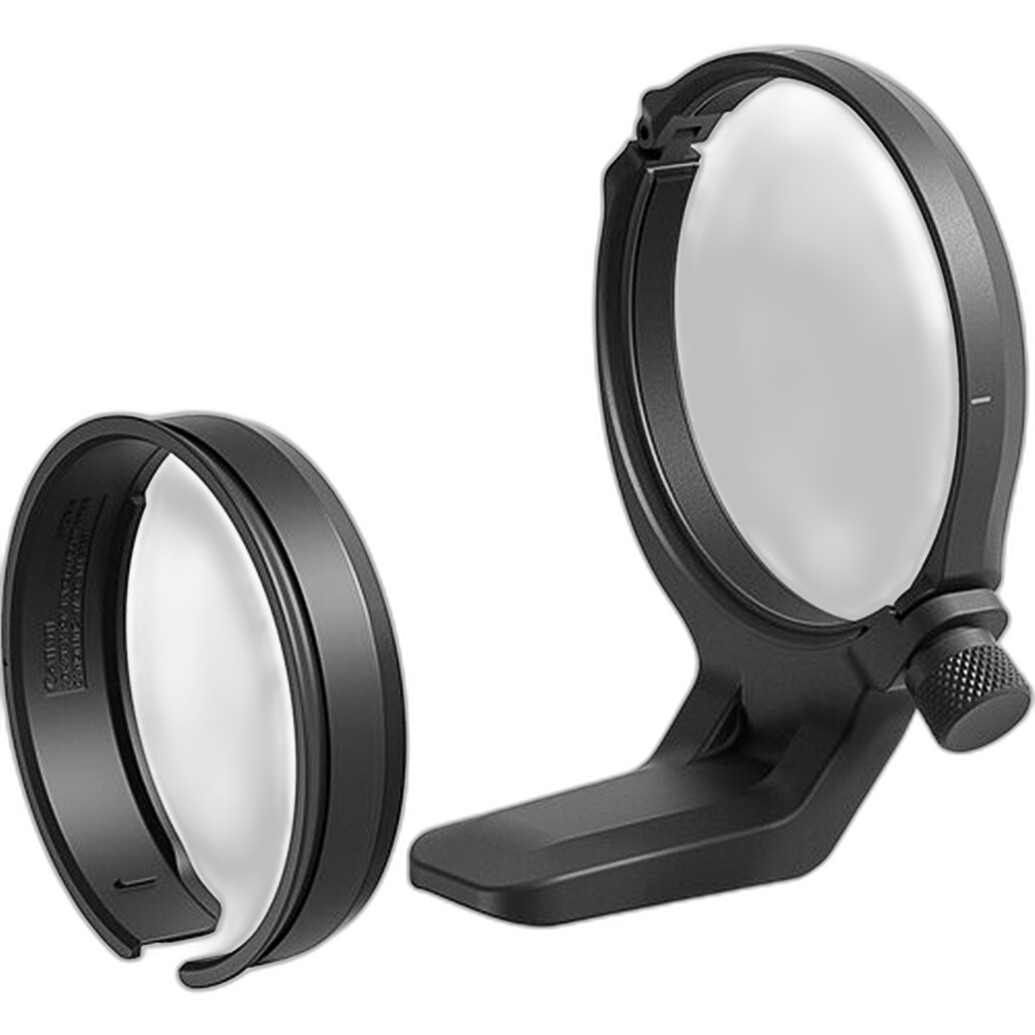
For longer macro lenses, support accessories can also improve balance and comfort. The Canon Tripod Mount Ring and Adapter for RF 100mm f/2.8L Macro IS USM Lens is more specialized, but it reflects a broader macro truth: stable support and better lens handling become increasingly important as your setup grows.
Even if you are building a low-cost setup, thinking about stability, lighting control, and handling will often pay off faster than simply increasing magnification.
Budget macro photography techniques that outperform expensive gear
Many experienced photographers on forums emphasize that technique beats gear surprisingly often in macro work. If you are trying to maximize results without overspending, these methods are especially important.
Work with non-moving subjects first. Flowers indoors, food, watches, and crafts are ideal practice targets.
Improve your light before upgrading lenses. A soft, controlled light source can make a modest lens look far better.
Use background separation creatively. Keep your subject away from the background to create a cleaner, more professional look.
Pay attention to the plane of focus. When depth of field is razor thin, aligning the subject with your sensor plane can dramatically increase perceived sharpness.
Try focus stacking. This is one of the best ways to make budget gear produce highly detailed macro images.
Focus stacking on a budget
Search interest for macro focus stacking keeps growing because it solves one of the biggest macro challenges: extremely shallow depth of field. Instead of trying to force everything into one frame, photographers shoot multiple images at slightly different focus points and blend them later.
For anyone learning this technique, education can be just as valuable as hardware. Unique Photo offers learning opportunities such as PCS: Macro and Closeup Image Stacking with Shiv Verma (Lumix), which can help photographers understand how to create more polished close-up images with the equipment they already own.
Focus stacking is especially useful for product photography, botanical work, and any still subject where total sharpness matters. Combined with a tripod and controlled movement, it can make a budget macro setup look significantly more advanced.
Can you learn macro photography without buying more gear?
Absolutely. This is another common theme in forum conversations. Many photographers improve faster by practicing observation, lighting, and composition rather than constantly buying accessories. Unique Photo's educational events and workshops can be a great complement to a lean gear setup.
For example, a class like Macro and Landscape Photography at Duke Farms with Michael Downey gives photographers a chance to refine field technique, subject selection, and close-up composition in a guided setting.
Learning how to position your camera, shape available light, and identify strong small-scale subjects often has a bigger impact than a minor equipment upgrade. That is why so many budget-minded shooters mix affordable used gear from Unique Photo with practical instruction and hands-on experimentation.
Best budget macro setup ideas by shooting style
For tabletop product and still life shooters: a used macro lens, tripod, focusing stage, and soft light are usually the best starting kit.
For nature and flower photographers: a lightweight macro lens or close-focusing zoom plus a diffuser and patient field technique can go a long way.
For experimenters: extension tubes, a used prime lens, and DIY lighting are often the most affordable entry point.
For hybrid shooters: a lens like a 50mm macro or 60mm macro can serve both everyday and close-up photography needs, making it easier to justify the purchase.
Conclusion: building a cheap macro kit that actually works
Forum users are right about one thing: budget macro photography is absolutely possible, and in many cases it is more about smart choices than big spending. A used macro lens, a stable support setup, basic lighting control, and strong technique can deliver results that surprise even experienced photographers. Unique Photo is a great place to explore this path, especially if you are comparing used macro lenses, useful accessories, and educational workshops that help you stretch your gear further.
If you are building your own affordable macro system, consider browsing Unique Photo's used lenses, macro accessories, and Unique University classes for practical next steps. Internal linking suggestions for this article include pages for used camera lenses, macro lenses, focus stacking classes, photography workshops, and camera support accessories. Those resources can help readers move from casual interest to a budget macro kit that truly performs.