Best Post‑Processing Practices: Fast Social vs Print‑Ready Mastering
If you want your photos to stand out, the how matters as much as the what. Below, we put two proven post‑processing workflows head‑to‑head—Fast Social and Print‑Ready Mastering—so you can choose the right approach for your goals, turnaround time, and output quality. We’ll compare them across color management, RAW development, noise and sharpening strategy, local adjustments, exporting, archiving, and automation. Along the way, we’ll also show a few pieces of supporting gear that help you capture cleaner files and finish stronger.
At a Glance: Two Workflows Compared
| Spec | Fast Social Workflow | Print‑Ready Mastering Workflow |
|---|---|---|
| Who it’s for | Creators needing quick, consistent web content | Photographers delivering portfolio/print/calibrated work |
| Starting file | RAW or high‑quality JPEG | RAW (14/16‑bit) |
| Working color space | sRGB | Wide gamut (Adobe RGB or ProPhoto RGB) |
| Bit depth | 8‑bit output | 16‑bit editing; 8/16‑bit output as needed |
| Time per image | 1–5 minutes | 10–45+ minutes |
| Tone profile | Low contrast lift; punchy midtones for screens | Scene‑referred, controlled contrast for print latitude |
| Noise reduction | Moderate, fast | Targeted, detail‑aware |
| Sharpening | Single global pass (capture or output) | Three‑stage (capture, creative, output) |
| Local edits | Minimal (subject/sky select, quick brush) | Extensive (dodging/burning, HSL masking, retouching) |
| Export | JPEG sRGB; 2048–4000px long edge | TIFF/PSD master; JPEGs for web and soft‑proofed files for print |
| Archiving | Catalog with smart previews; minimal versions | Catalog + versioned masters + print recipes |
| Calibration reliance | Recommended but not required | Essential (display, viewing light, printer/paper) |
Category‑by‑Category Analysis
1) Color Management & Working Space
Fast Social: Work in sRGB from import to export for predictable cross‑device color. A quick display calibration helps, but you can prioritize speed.
Print‑Ready Mastering: Calibrate and profile your display, work in a wide‑gamut space (Adobe RGB or ProPhoto RGB), and soft‑proof for your output. This preserves color latitude, especially for vibrant subjects and subtle gradients.
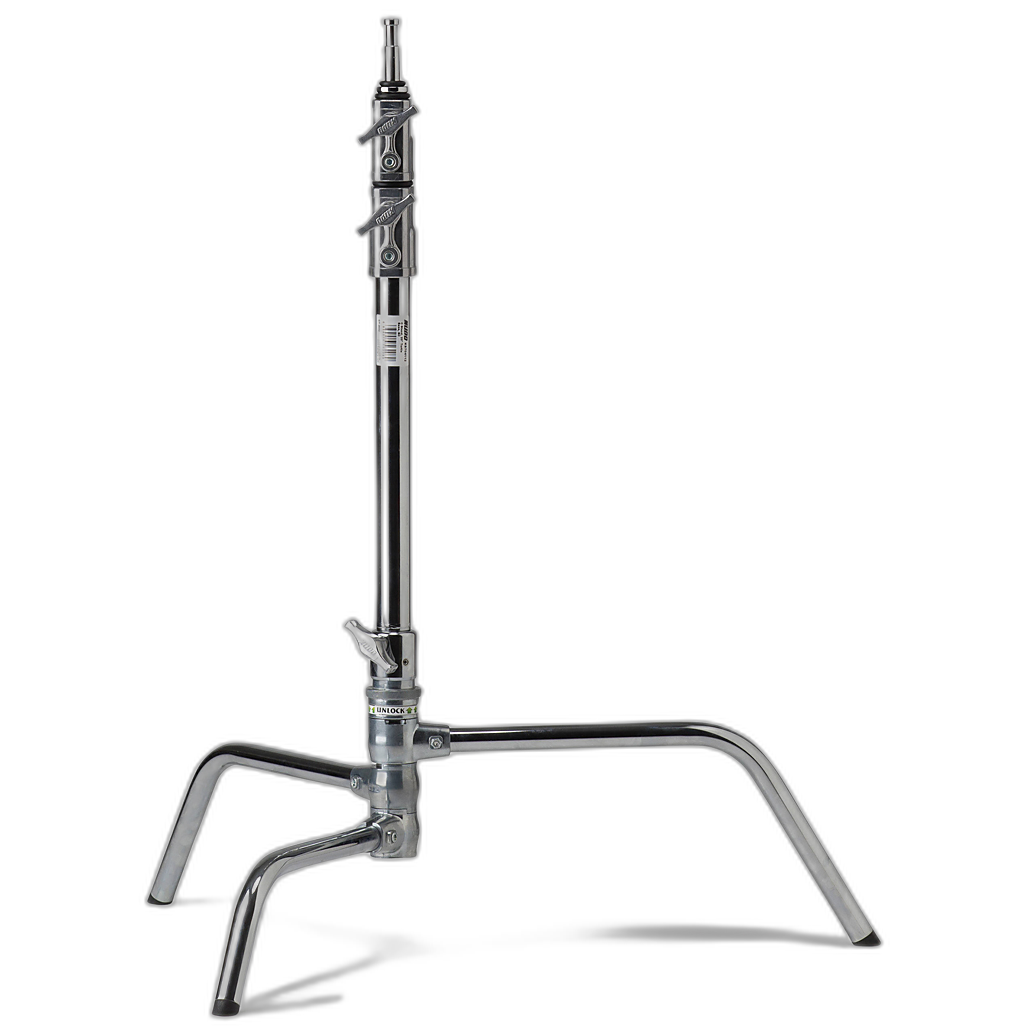
Capture and post are a continuum: stable, consistent lighting setups (like repeatable overhead or tethered rigs) yield cleaner files that grade more gracefully.
2) RAW Development & Global Tone
Fast Social: Start with a neutral camera profile, lift exposure and shadows for screen pop, add subtle contrast/smart tone, and keep white balance warm for skin‑friendly results.
Print‑Ready Mastering: Use a scene‑referred or flat profile to protect highlights; set white/black points with attention to paper dMax (if printing). Keep a conservative global contrast, then build perceived depth with local work.
3) Noise Reduction
Fast Social: Apply moderate luminance NR and a touch of color NR; prioritize speed and a clean look on mobile screens.
Print‑Ready Mastering: Denoise early, then restore edge acuity selectively. Use masking to keep fine texture (fabric, foliage, skin pores) and avoid plasticky results that show in print.
4) Sharpening Strategy
Fast Social: One efficient pass—either capture sharpening in your RAW app or output‑stage sharpening for screen.
Print‑Ready Mastering: Three‑stage sharpening shines. Perform capture sharpening (detail recovery), creative sharpening (directing viewer attention), and output sharpening tailored to paper type and viewing distance.
5) Local Adjustments & Retouching
Fast Social: Lean on automated subject/sky selections and quick brush masks to nudge exposure and color. Keep retouching light to maintain throughput.
Print‑Ready Mastering: Precision masking, dodging/burning on gray layers, frequency separation or healing for texture, and careful color grading elevate images from good to exceptional.

6) Composition, Crop & Aspect
Fast Social: Compose to platform: 4:5 for feeds, 9:16 for stories/reels, with safe margins for UI overlays.
Print‑Ready Mastering: Compose for intended print size and aspect; consider border, mat, and frame. Use virtual copies for multiple aspect ratios.
7) Exporting & Output
Fast Social: Export sRGB JPEGs, moderate compression, and resize for platform to reduce artifacts from app recompression.
Print‑Ready Mastering: Keep a layered 16‑bit master (PSD/TIFF). For print, soft‑proof with the correct paper/printer profile, adjust for gamut warnings, and export at native resolution or a clean multiple of your printer’s native DPI.

Consistent overhead lighting stands make reproductions and product shots easier to match in post, especially when profiling for print.
8) Archiving & Version Control
Fast Social: One catalog, smart previews, and simple naming. Keep one or two virtual copies per image for different crops.
Print‑Ready Mastering: Maintain a master archive (RAW + sidecars), versioned layered files, and a separate "Prints" collection with soft‑proofed variants and notes.
9) Automation, Presets & Speed
Fast Social: Use import presets (white balance, tone curve, lens corrections) and Quick Develop to batch‑finish a set.
Print‑Ready Mastering: Build modular presets (camera profile, base tone) and action panel stacks for repeatable, high‑quality steps while preserving room for image‑specific finesse.
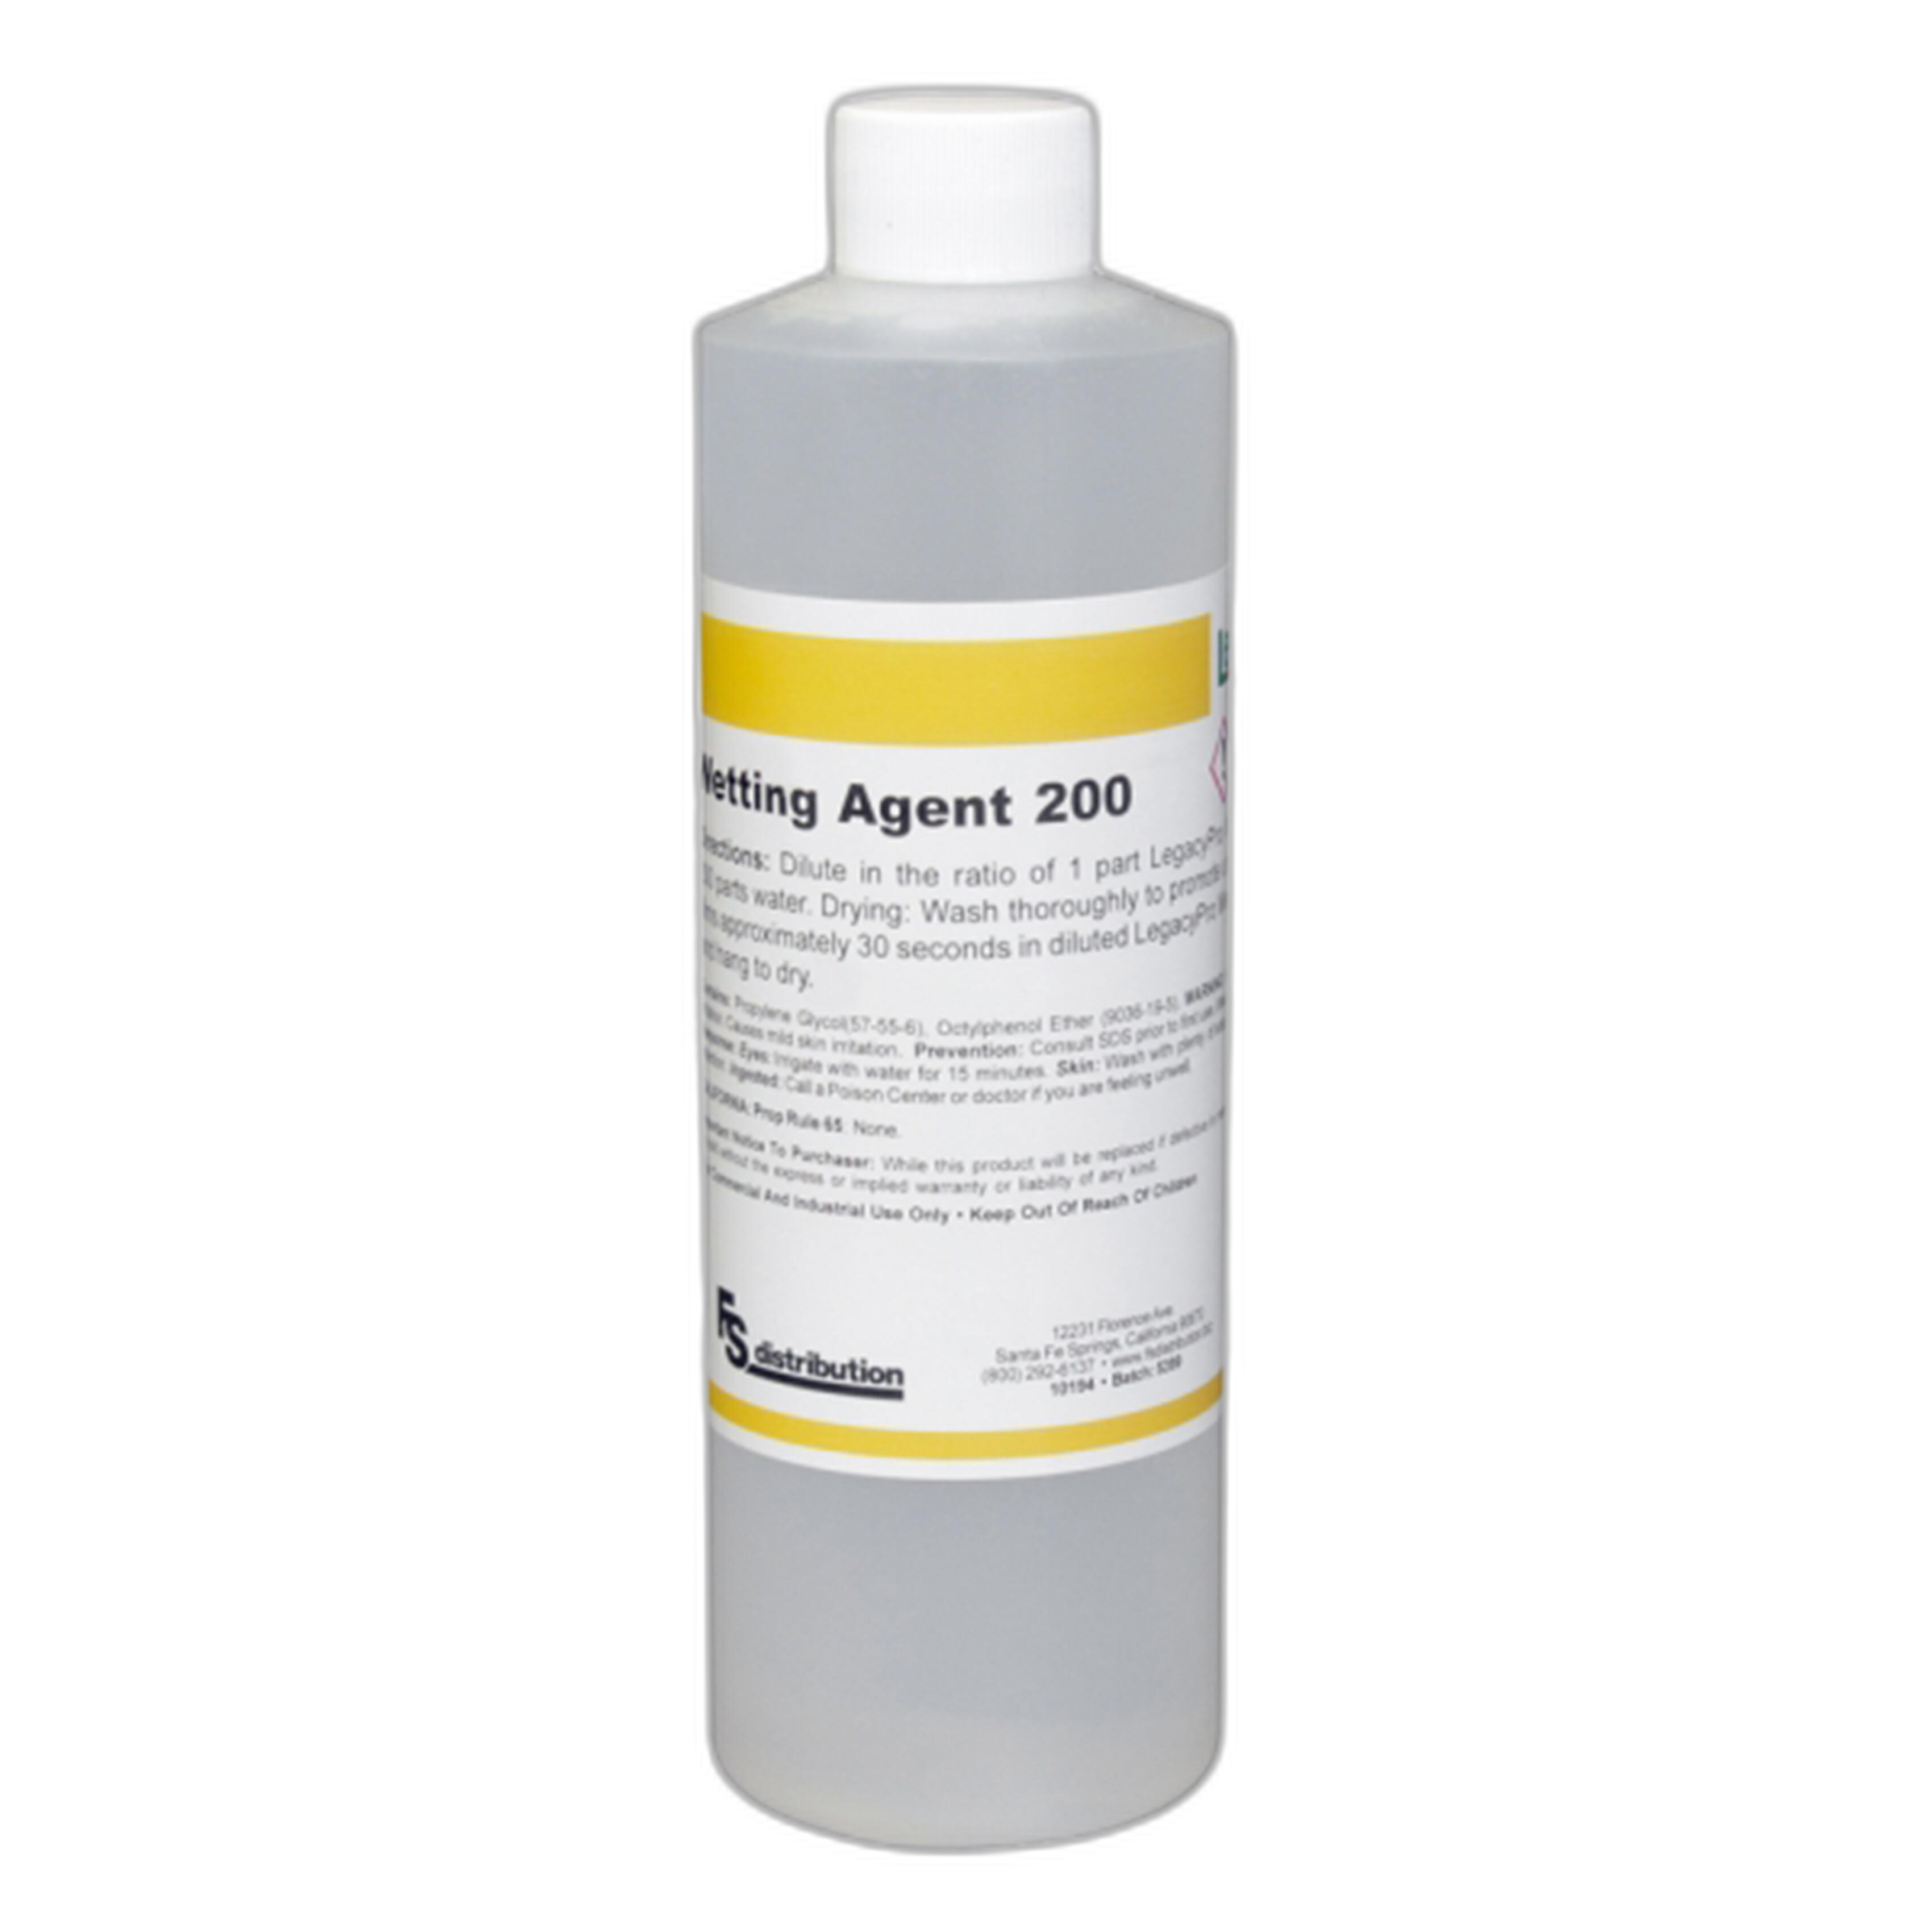
Special Case: Film to Digital
If you scan film, clean, well‑dried negatives reduce spotting and retouch time. A quality wetting agent in the final rinse helps water sheet off and minimizes drying marks before scanning.
Our Pick: Print‑Ready Mastering for Images That Truly Stand Out
If your goal is lasting impact—portfolio pieces, client work, or exhibition prints—the Print‑Ready Mastering workflow wins. Wide‑gamut, 16‑bit editing, thoughtful local adjustments, and output‑specific sharpening consistently yield depth, detail, and color fidelity that survive both close inspection and large‑format display. For creators on tight deadlines, start with Fast Social and keep a separate, slow‑craft path for your best frames—hybridizing the two is a practical sweet spot.
Conclusion
Whether you prioritize speed or ultimate quality, a deliberate workflow is the fastest way to consistent, standout images. Need help dialing it in? Unique Photo has the gear and guidance—from stable lighting stands for repeatable capture to darkroom and finishing supplies for film workflows. Visit Unique Photo online or in‑store for expert advice, classes, and the tools that support your editing from import to final output.