Affordable Prime Lenses for Portrait Photography – Smart Tips and Recommendations
Prime lenses are a portrait photographer’s best friend—lightweight, sharp, and often very affordable. If you’re building a budget-friendly portrait kit, these practical tips will help you choose the right focal length and features, then get professional-looking results with the lens you already have.
Tips to choose and use budget primes
1. Pick the right focal length for your space
On full-frame cameras, 50mm primes are versatile for half- and three-quarter portraits, while 85mm primes give flattering compression for tight headshots. On APS-C, 35mm behaves like a 50mm field of view, and 50mm acts closer to 75–80mm—great for tighter framing in small spaces. If you’re in the Canon ecosystem and want guidance on how focal length choices affect your portraits, consider our session "Canon Lenses: Finding the Right Lens for You."
2. Look for f/1.8–f/2 classics for value
Budget-friendly primes at f/1.8 or f/2 deliver beautiful background blur without the price, size, and weight of faster f/1.4 glass. They’re sharp, easy to carry, and often focus quickly—perfect for everyday portrait work. Want to see how aperture affects mood, separation, and skin tones? Hands-on practice makes a difference—our "Stunning Portraits Workshop with David Maynard and ExpoImaging" dives into practical techniques you can apply with any prime.

3. Match focusing performance to your style
If you shoot moving subjects (kids, events, street-style portraits), look for primes with quick, quiet autofocus and reliable eye-detection support from your camera. For slower-paced, posed portraits, you can prioritize optical quality and handling over AF speed. Try lenses in-store or rent before committing to see how they perform with your camera.
4. Light like a pro (even with a budget lens)
Great light beats expensive glass every time. Use soft window light, a simple reflector, or a single off-camera flash for flattering results. For a guided approach to shaping light with any prime, check out "Portrait Lighting Made Easy with Joel Grimes." It’s a practical way to elevate portraits without upgrading lenses.
5. Know your sensor: full-frame vs. APS-C
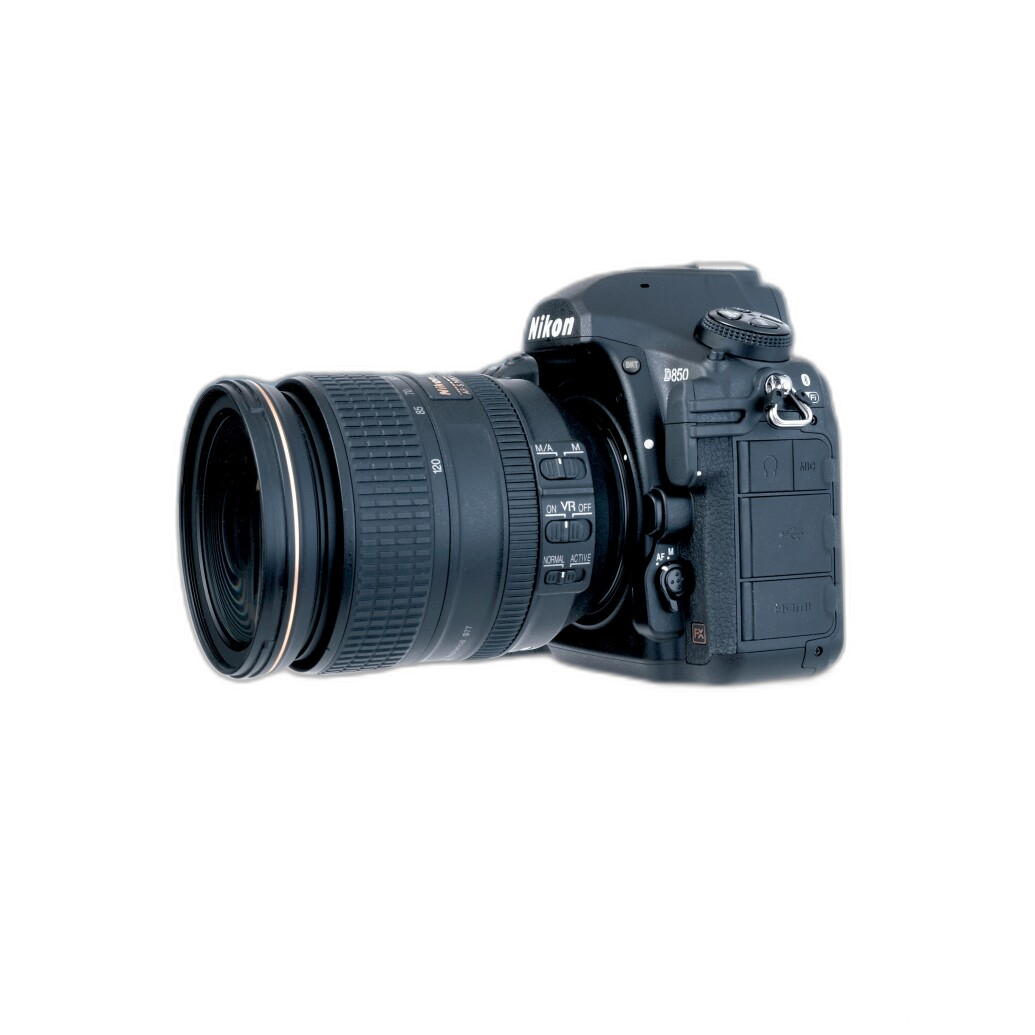
Your camera’s sensor changes how a prime feels. APS-C shooters often prefer 35mm for everyday portraits and 50mm for head-and-shoulders; full-frame shooters lean 50mm for general use and 85mm for tight headshots. If you’re working with a Nikon full-frame body, the "Nikon D850 Guide to Digital SLR Photography by David Busch" is a helpful reference for camera setup, focusing modes, and exposure techniques that pair perfectly with primes.
6. Buy smart: used market, simple features, and essentials
Stretch your budget by shopping used or refurbished and focus on what matters: clean optics, accurate AF, acceptable minimum focus distance, and an included lens hood. Image stabilization is nice but not essential for portraits—fast shutter speeds and good technique are usually enough.
7. Finish with subtle post-processing
Affordable primes give you great files; thoughtful editing makes them sing. Soften skin gently, enhance eyes, and keep color natural. Even if your course title is landscape-centric, universal Photoshop skills translate beautifully to portraits—see "Editing and Enhancing Landscape and Nature Photography with Photoshop" to sharpen your workflow.
Conclusion
Affordable primes like 35mm, 50mm, and 85mm are portrait powerhouses. Choose the focal length that fits your space, favor f/1.8–f/2 for value, master light, and refine your edits—then watch your portraits level up. If you want personalized recommendations or a chance to try lenses, visit Unique Photo in-store or online. Our team and classes can help you find the perfect prime and get the most out of it.