Introduction: A Beginner-Friendly Low-Light Camera Review
Low-light photography can feel intimidating when you are just starting out. Images turn blurry, autofocus struggles, and raising ISO too high can make photos look noisy. For beginners, the key is not just knowing which settings to change, but also choosing a camera that helps make those settings easier to use in real situations. That is where the OM SYSTEM OM-5 Mirrorless Camera stands out.
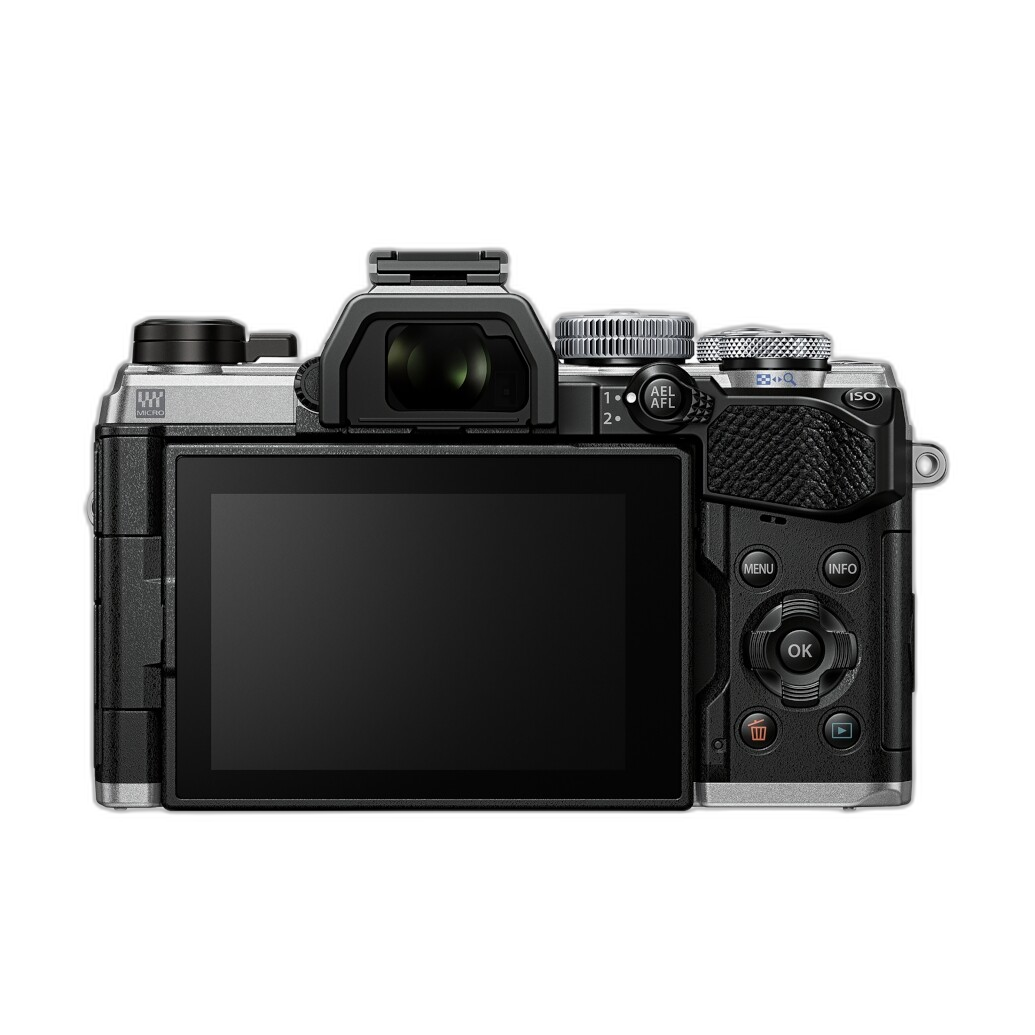
Positioned as a lightweight, travel-ready, enthusiast-friendly mirrorless body, the OM-5 is especially appealing for beginners who want to shoot handheld in dim restaurants, city streets at night, indoor events, or moody landscapes after sunset. Its compact design, strong image stabilization, and approachable controls make it a practical camera to learn low-light shooting with.
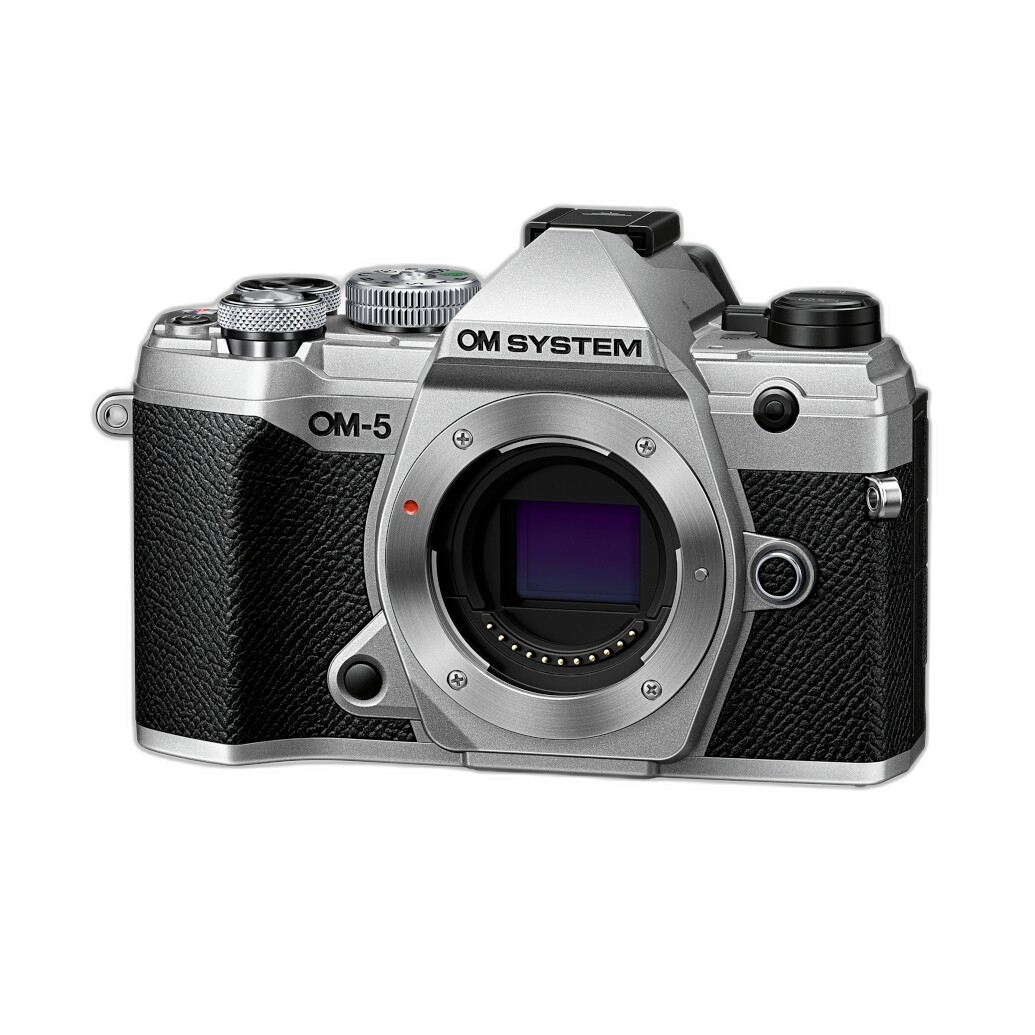
While low-light success always depends on technique, lens choice, and scene movement, the OM-5 gives new photographers a strong foundation. In this review-style guide, we will look at the best beginner low-light settings, how the OM-5 supports them, and why it is a smart camera to buy from Unique Photo if you want to improve your night and indoor photography.
Why the OM SYSTEM OM-5 Makes Sense for Low-Light Beginners
The OM-5 is not marketed as an oversized, high-end studio camera. Instead, it is designed for photographers who want portability, weather resistance, and powerful stabilization in a body they will actually carry. That matters in low light, because the best camera for beginners is often the one that is easy to keep with you and easy to use when conditions get challenging.
For low-light beginners, the OM-5 offers a particularly useful combination of features: in-body image stabilization, customizable controls, reliable metering, and shooting modes that help reduce guesswork. It encourages proper technique without overwhelming new users.
Recommended Camera Settings for Shooting in Low Light
If you are just getting started, these are the most important settings to understand when using the OM-5 in dim conditions.
1. Start in Aperture Priority Mode
For beginners, Aperture Priority is one of the best ways to shoot in low light. Set the aperture as wide as your lens allows, and let the camera choose the shutter speed. A wider aperture such as f/1.8, f/2.8, or f/4 lets in more light, which helps keep ISO lower and shutter speeds more usable.
On the OM-5, Aperture Priority is a smart starting point because it gives you creative control without forcing you to manage every setting at once. If your image gets too dark, exposure compensation can quickly brighten it. If shutter speeds drop too low, you know it is time to raise ISO or switch strategies.
2. Use Auto ISO with a Sensible Maximum
One of the best beginner-friendly low-light tips is to use Auto ISO, but set a maximum limit you are comfortable with. On the OM-5, this helps maintain exposure as light levels change while preventing the camera from jumping to excessively high ISO values too early.
A good starting point for beginners is:
- ISO Auto enabled
- Maximum ISO: 3200 or 6400
- Minimum shutter speed adjusted based on your subject
If you are photographing still subjects, the OM-5’s excellent stabilization can help you get away with slower shutter speeds. For moving subjects, you will need faster shutter speeds even if that means higher ISO.
3. Keep Shutter Speed High Enough for the Scene
Low light often causes blur, and beginners usually assume blur is always from camera shake. In reality, blur can come from both your movement and your subject’s movement. The OM-5’s stabilization helps a lot with your own hand movement, but it cannot freeze a person walking across the frame.
Useful beginner shutter speed guidelines:
- Still scenes: 1/15s to 1/60s, depending on lens and technique
- Casual portraits: 1/125s
- Walking people: 1/250s
- Fast action: 1/500s or higher
This is where the OM-5 becomes particularly forgiving. Its stabilization lets beginners try slower handheld speeds for stationary subjects, making it easier to capture sharp images without immediately needing a tripod.
4. Use the Widest Aperture Available
If your lens allows it, open the aperture wide in low light. This lets more light hit the sensor and can keep your ISO lower. For beginners using a kit zoom, your maximum aperture may be more limited, but even then, shooting at the widest available setting is usually the right move indoors or at night.
The OM-5 works especially well when paired with brighter primes, but even with more modest lenses, beginners can still learn the relationship between aperture, depth of field, and exposure very effectively.
5. Turn On Image Stabilization
This is one of the OM-5’s strongest advantages. In-body image stabilization is a major help for low-light photography, especially for handheld shooting. Beginners often do not realize how much stabilization can improve success rates in dim conditions.
For static subjects, keeping stabilization active can mean sharper images at slower shutter speeds. That makes the OM-5 a very friendly platform for learning indoor and night photography without depending on a tripod every time.
6. Shoot RAW for Better Recovery
Low-light images often need adjustment later. Shadows may be too deep, white balance may look uneven, and highlights from lamps or signs can be tricky. Shooting RAW gives beginners much more flexibility to fix exposure and color in editing.
The OM-5 rewards RAW shooters because it gives you room to recover and refine images that might otherwise look difficult straight out of camera.
7. Use Single-Point AF or Manual Focus if Needed
Autofocus can struggle in darker scenes. Beginners should avoid relying completely on wide-area autofocus in very dim conditions. Instead, use a more controlled focus method:
- Single-point AF for portraits or subjects with contrast
- Focus on bright edges, signs, or contrasty details
- Switch to manual focus when AF begins to hunt
The OM-5 gives users enough control to adapt when autofocus becomes less reliable, which is exactly what beginners need as they develop confidence.
8. Watch White Balance Under Mixed Lighting
Indoor low-light scenes often combine tungsten bulbs, LEDs, window light, and signage. Auto white balance can do a decent job, but not always a perfect one. Beginners should review images and, if needed, select a white balance preset or adjust later in RAW editing.
This is less about one perfect setting and more about recognizing that low-light color is often inconsistent. The OM-5 helps by delivering dependable overall handling and easy playback review.
Key Features That Help the OM-5 in Low Light
Compact, Portable Mirrorless Design
The OM-5 is small enough to bring anywhere, which makes it a realistic everyday camera for beginners. Low-light opportunities happen unexpectedly: a rainy evening street scene, a candlelit dinner, a concert, or a city skyline after dark. A camera you leave at home is never the right camera.
Strong In-Body Image Stabilization
This is the headline feature for new low-light photographers. Stabilization helps reduce blur from handheld shooting and gives beginners more room to experiment with slower shutter speeds. It is one of the biggest reasons the OM-5 feels confidence-inspiring in dim conditions.
Beginner-Accessible Controls
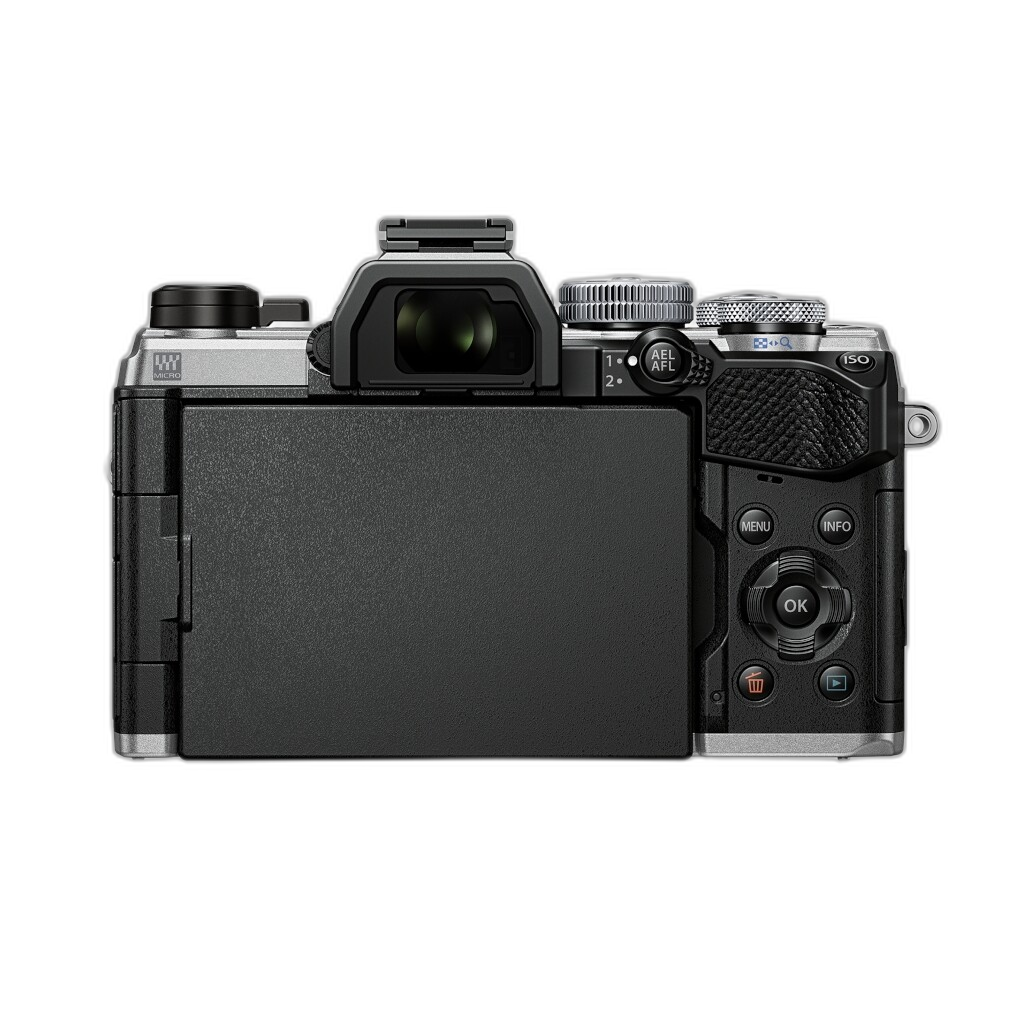
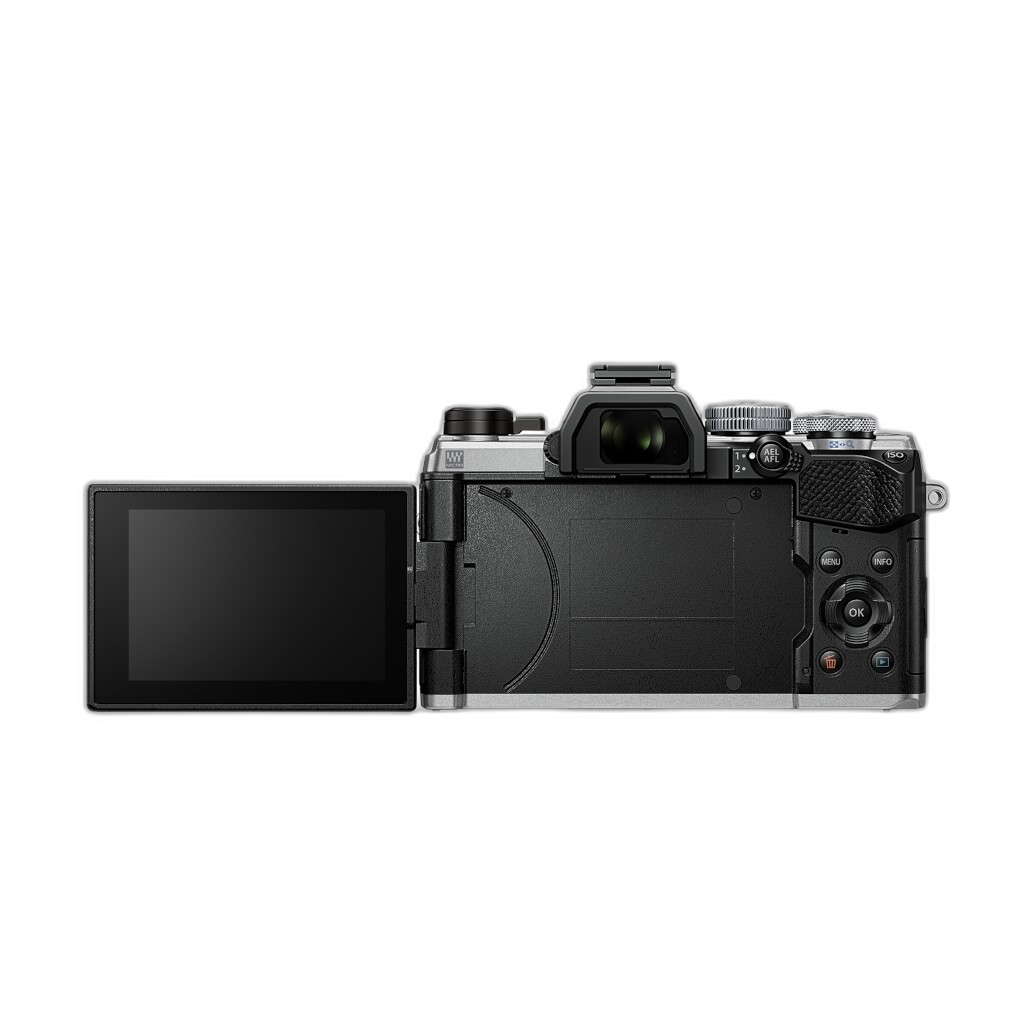
The OM-5 gives users manual control without becoming overly intimidating. Beginners can start with Aperture Priority and Auto ISO, then gradually move into Manual mode as they become more comfortable. That growth path is important in a camera meant to teach real photographic technique.
Weather-Resistant, Practical Build
Low-light shooting often happens outdoors at dusk, at night, or in changing weather. The OM-5’s durable design adds another layer of confidence for travel and street photographers who want to keep shooting when conditions are less than perfect.
Practical Beginner Low-Light Setup on the OM-5
If you want a simple starting point, try this setup:
- Mode: Aperture Priority
- Aperture: Widest available on your lens
- ISO: Auto, max 3200 or 6400
- Image Stabilization: On
- File Type: RAW or RAW+JPEG
- AF Mode: Single-point AF
- Drive Mode: Single shot for care, burst mode if subject movement is unpredictable
This setup is beginner-friendly and lets the OM-5 do what it does best: help you shoot handheld in difficult light while still learning the fundamentals.
Pros and Cons
Pros
- Excellent in-body stabilization for handheld low-light shooting
- Compact and lightweight body beginners will actually carry
- Great learning platform for Aperture Priority, Auto ISO, and manual control
- Weather-resistant design adds versatility for outdoor evening shooting
- Strong overall usability for travel, street, and casual night photography
Cons
- Low-light performance still depends heavily on lens choice
- Moving subjects remain challenging in very dim scenes
- Beginners may need time to fully understand shutter speed versus stabilization
- Body-only purchase means you will need to budget for a lens
Verdict: A Smart Camera for Learning Low-Light Photography
If your goal is to learn the best camera settings for shooting in low light, the OM SYSTEM OM-5 is an excellent beginner-friendly camera to build around. It does not remove the need to understand exposure, but it makes low-light success more achievable thanks to its stabilization, portability, and approachable controls.
For beginners, the biggest low-light lessons are simple: use a wide aperture, manage shutter speed carefully, keep ISO under control, and let stabilization help when your subject is still. The OM-5 supports all of those fundamentals very well, making it a strong recommendation for anyone who wants to improve indoor and night photography without jumping straight into bulky or overly complex gear.
If you are ready to buy, Unique Photo is an excellent place to shop for the OM SYSTEM OM-5 and the lenses and accessories that can help you get even better results in low light.