Recommendations for Lenses to Highlight Facial Features in Portrait Photography
The lens you choose shapes how a face is rendered just as much as your lighting and pose. Focal length, working distance, and aperture all influence jawlines, noses, cheekbones, skin texture, and eye emphasis. Use these practical tips to pick lenses that flatter and intentionally highlight your subject’s best features.
Lens tips to flatter and emphasize facial features
1) Start with the classic portrait zone: 85–135mm (full-frame)
Mid-tele primes are classics for a reason. At typical head-and-shoulders distances, 85–135mm compresses perspective slightly, slimming features and reducing the prominence of noses while keeping ears and cheeks proportionate. On APS-C, look around 50–90mm; on Micro Four Thirds, 45–75mm. If you’re deciding within one brand ecosystem, a concise resource like Canon Lenses: Finding the Right Lens for You can help you compare options and rendering styles.

2) Use 70–200mm compression to sculpt features
Zooms in this range are superb for flattering front-on portraits and three-quarter views. Try 135–200mm for tighter framing that minimizes distortion and emphasizes cheekbones. Step back to maintain a comfortable working distance; your subject’s features will look more refined and the background will melt away for clean separation.
3) Go 50mm for natural, 35–45mm for environmental portraits—mind your distance
For half- or full-length portraits with more environment, 50mm (full-frame) offers a natural perspective. At 35–45mm, keep your subject near the frame center and avoid shooting too close to reduce stretching of the nose and forehead. Backing up a step or two preserves facial proportions while still giving that storytelling context.

4) Highlight eyes and lips with close-focus and macro choices
For beauty and detail shots, a 90–105mm macro lets you fill the frame with eyes or lips from a comfortable distance. Stop down slightly (around f/5.6–f/8) to keep both eyelashes sharp while preserving soft skin rendering. Even if you don’t own a macro, pick lenses with short minimum focus distances for impactful close-ups.
5) Choose apertures that flatter skin and keep both eyes sharp
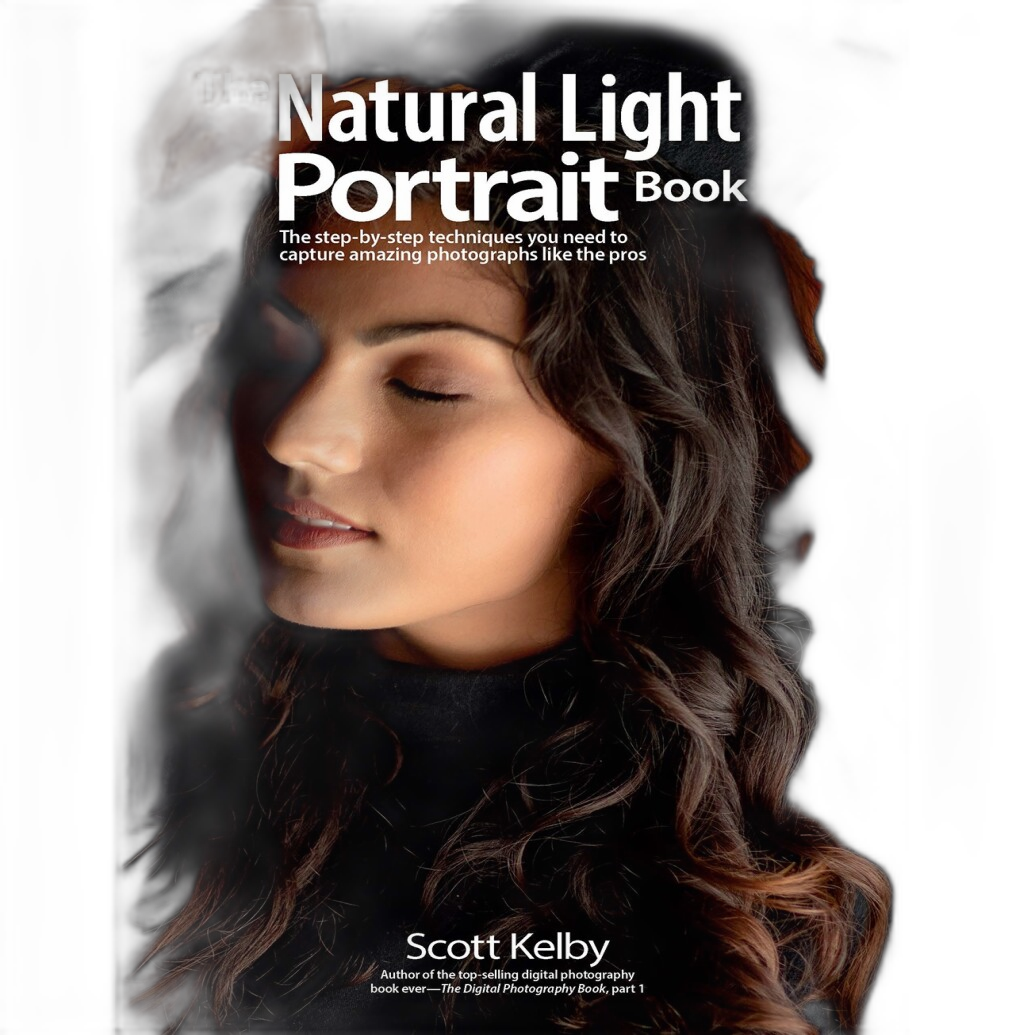
Wide apertures (f/1.4–f/2.8) soften backgrounds and smooth transitions, flattering skin. For angled poses, ensure adequate depth of field by stopping down one notch so both eyes sit within the focus plane. In natural light, mastering how aperture and light interplay is key—Mastering the Natural Light Portrait by Scott Kelby is a great companion for dialing in look and feel.
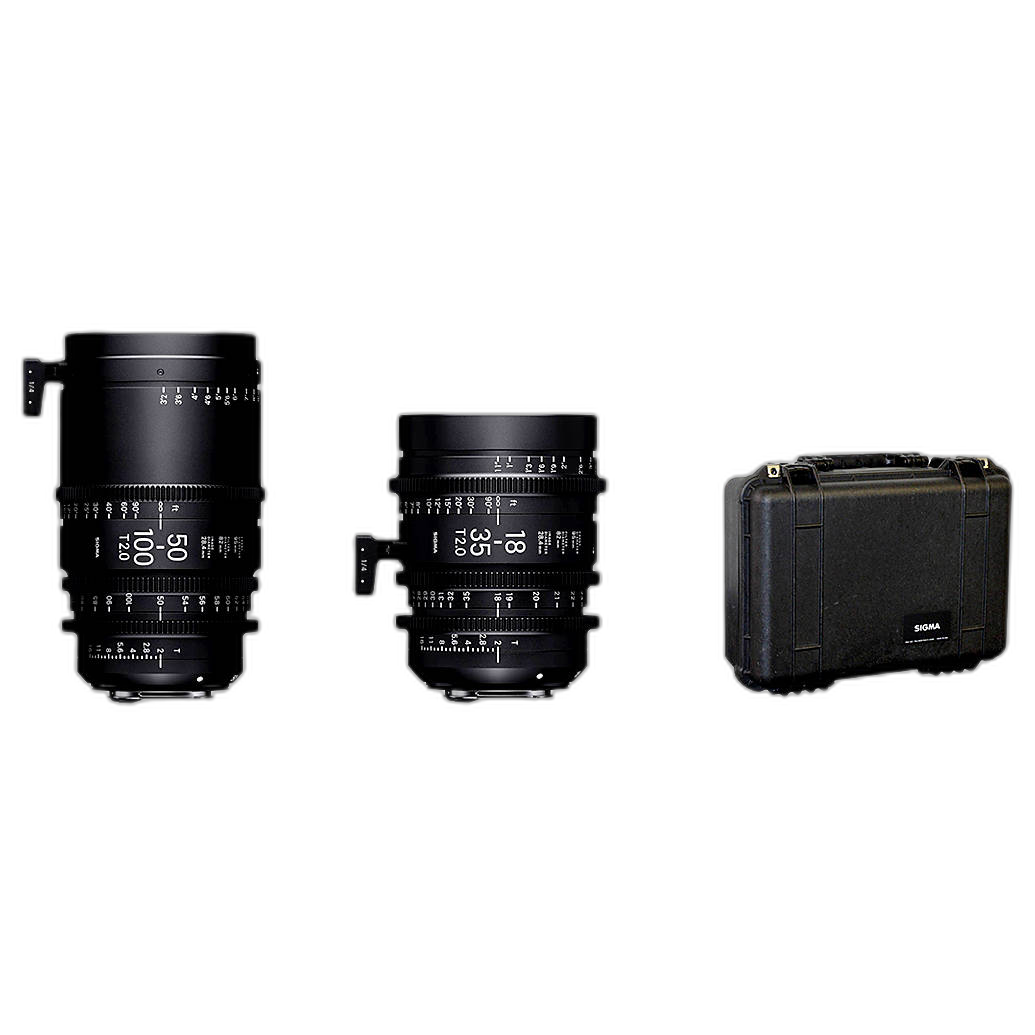
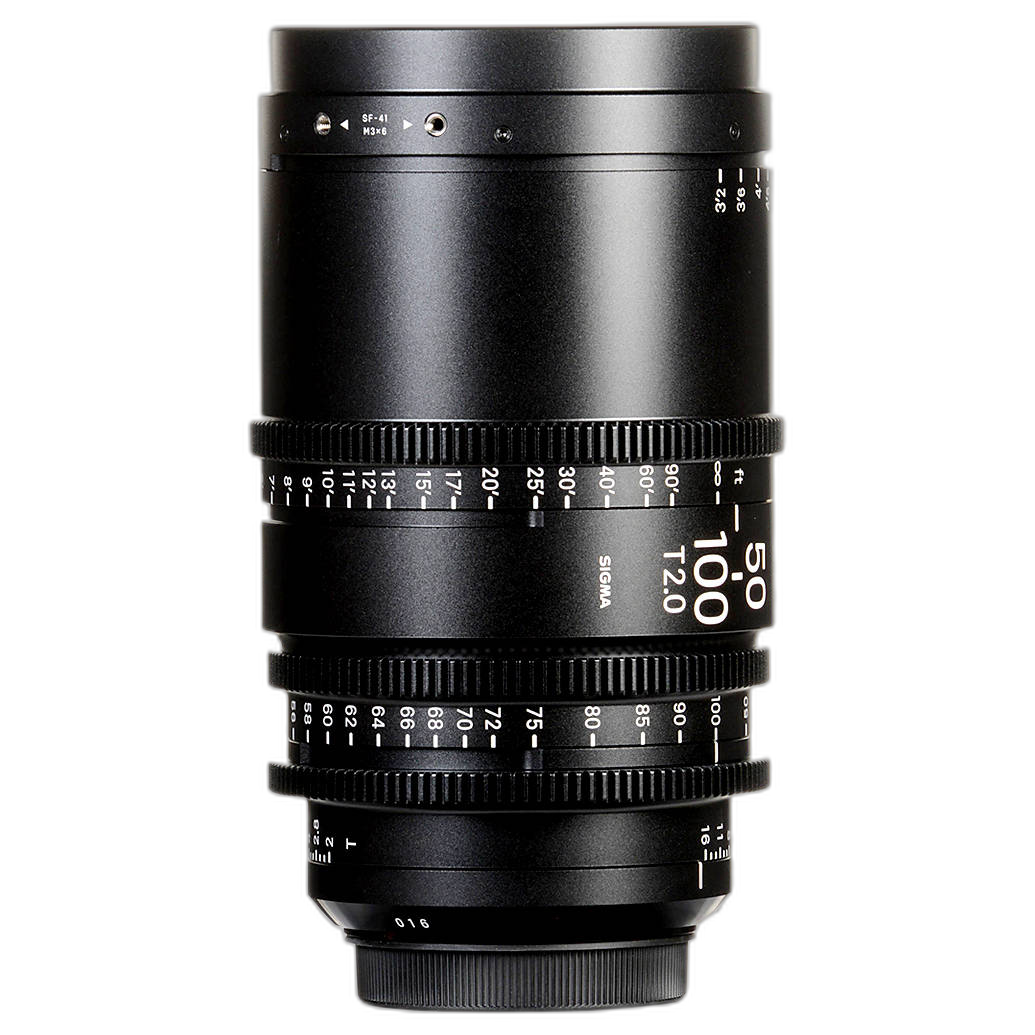
6) Filming portraits? Cine zooms keep faces consistent in motion
For video portraits and hybrid shooters, consistent T-stop transmission and smooth, long-throw focus help you maintain the same luminous skin tone and bokeh from shot to shot. The Sigma 18–35mm T2 and 50–100mm T2 (Canon EF) pair covers intimate wides to flattering tele for faces, with creamy focus transitions ideal for interviews and cinematic beauty.
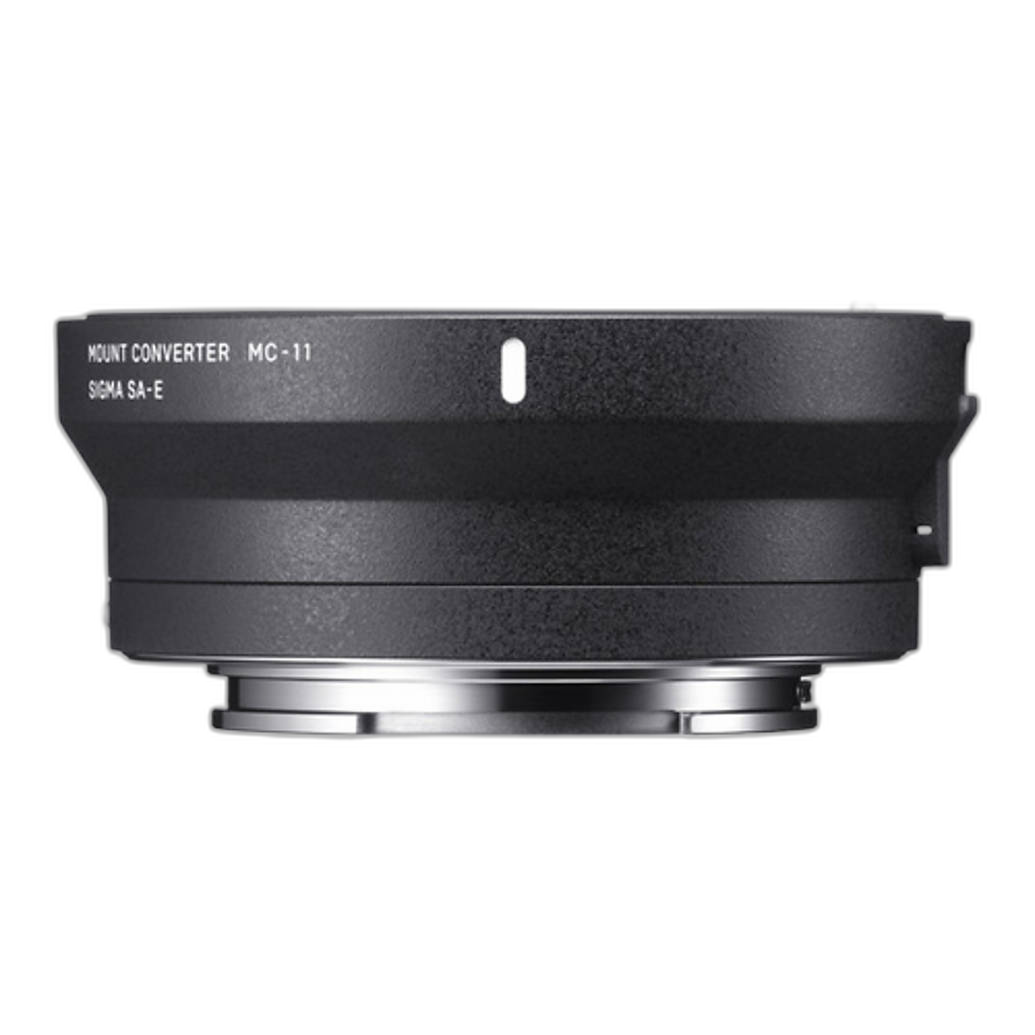
7) Sony shooter? Adapt proven EF portrait glass
If you own Canon EF portrait lenses (or EF-mount cine glass) and run a Sony E camera, the Sigma MC-11 Mount Adapter is a practical bridge. For portraits—where single-shot AF or manual focus is common—it’s a cost-savvy way to leverage flattering EF lenses without switching systems.
8) Shape faces with light as much as focal length
Lens choice defines perspective, but lighting carves cheekbones, defines jawlines, and minimizes texture. Learn to combine short lighting, butterfly lighting, and negative fill with your favorite portrait focal lengths. Portrait Lighting Made Easy with Joel Grimes (Westcott) is a solid way to elevate how your lenses render faces.
9) Mind working distance and subject comfort
Comfortable subjects look better. Telephoto focal lengths let you give space while preserving flattering proportions; wider lenses invite conversation for lifestyle frames. Practice both in real sessions—Unique University’s live shoots, like NJCS: Compelling Portraiture with Jonny Edward, help you experiment with distance, focal length, and angles on set.

10) Keep learning: try, compare, and get feedback
Test a few focal lengths on the same subject and distance, then compare how the nose, jaw, and eyes read. Bring prints to a workshop for critique to refine your eye. Unique Photo regularly hosts portrait classes and events—alongside live shoots, consider the Stunning Portraits Workshop to build your toolkit of flattering looks, and consult our Canon lens guide when you’re ready to round out your kit.
Ready to refine your portrait look? Visit Unique Photo online or in-store to explore lenses, adapters, and education. Our team can help you pick focal lengths that flatter your style—and your subject.