Beginner FAQ: How to Develop Black & White Film at Home
Developing black and white film at home is one of the most approachable ways to take more control over your photography. With a simple workflow, a few core tools, and careful handling, beginners can get consistent results without needing a full darkroom.
At Unique Photo, we often recommend starting with a straightforward process you can repeat reliably before experimenting with alternative developers, agitation styles, or more advanced scanning methods. Below, we answer the most common questions new film photographers ask when setting up a home black and white workflow.
What is the simplest and most reliable black and white development process for a complete beginner?
The easiest path is a basic tank development workflow using a changing bag or dark room for loading, a daylight developing tank, black and white developer, stop bath or water stop, fixer, and a wetting agent for final rinse. The overall sequence is simple: load the film onto a reel in total darkness, place it in the tank, pour in developer for the recommended time, stop development, fix the film, wash thoroughly, then hang it to dry.
For first-time users, consistency matters more than complexity. Choose one film stock, one developer, and one temperature target so you can learn what normal results look like. A standard process at approximately 68°F/20°C is the most common starting point because most black and white chemistry data is written around that temperature. Once you can repeat the same result several times, it becomes much easier to adjust development for contrast or scanning preferences later.
Which chemicals and kits are best for getting started?
Beginners usually do best with an all-in-one black and white starter kit that bundles developer, fixer, and basic accessories, or with a simple mix-and-use set of chemistry from established darkroom brands. The best starter chemistry is the one that is clearly labeled, easy to mix, and backed by straightforward time charts. Liquid concentrates are especially convenient for apartment use because they are easy to measure and store.
When shopping at Unique Photo, look for black and white processing kits, developers designed for general-purpose use, rapid fixer, and wetting agent. If you are just getting started, prioritize ease of use over exotic formulas. A dependable standard developer is ideal for learning proper exposure and development timing. Pair it with a rapid fixer and clearly marked graduates or bottles so your workflow stays organized.
If you plan to digitize your negatives after processing, it also helps to think beyond chemistry. A stable support can make camera scanning easier and more repeatable. For photographers building a hybrid film-and-digital setup, a sturdy support option like the Peak Design Pro Tall Tripod can help keep your camera aligned when copying negatives.

How do I control temperature in a small apartment?
Temperature control sounds intimidating, but for black and white film it can be very manageable in a small space. The goal is not laboratory perfection; it is keeping your chemistry reasonably close to the intended temperature and avoiding major swings between steps. A sink, a few containers, and a thermometer are usually enough.
A practical method is to place your bottles of developer and fixer in a basin or sink filled with water near your target temperature. Let them sit for a few minutes before processing so they equalize. If your apartment runs warm, add a little cool water to the bath. If it runs cold, use slightly warmer tap water and check frequently. Try to keep the wash water from being dramatically hotter or colder than the chemistry, since abrupt changes can stress the emulsion.
Mix only what you need for the session whenever possible. Smaller volumes are easier to bring to temperature, and they reduce clutter in a compact kitchen or bathroom workspace.
How can I dry film cleanly when I do not have a dedicated darkroom?
Many apartment photographers dry film successfully in a bathroom because it is one of the easiest spaces to control. Run a hot shower briefly before hanging the film, then stop the water and let the room settle. The temporary humidity can help knock dust out of the air. After your final rinse with wetting agent, hang the film vertically with a clip at the top and a little weight at the bottom so it dries straighter.
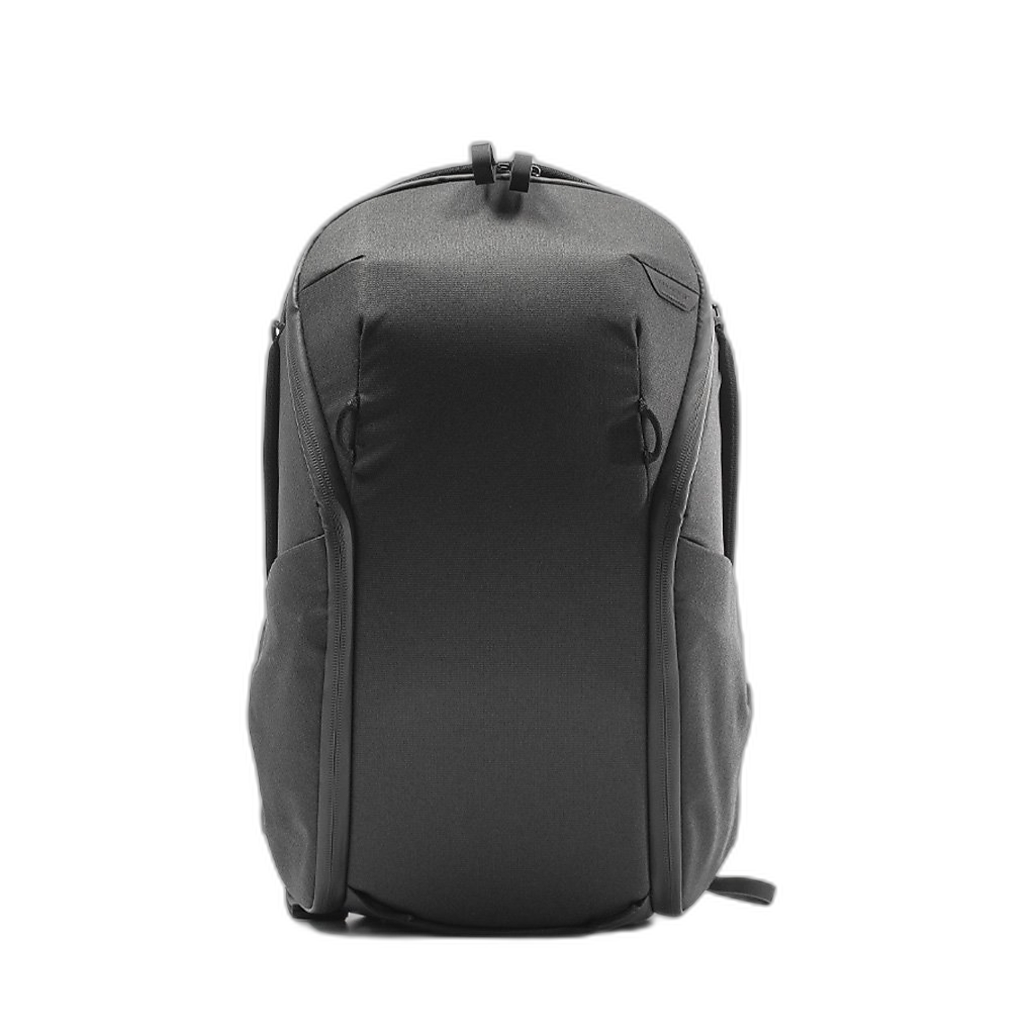
The biggest drying issues are dust, fingerprints, and rushing the process. Avoid touching the emulsion side, do not dry film near fans or open windows, and resist the urge to cut negatives before they are fully dry. If you are storing finished strips before sleeving or printing, keep them in a clean bag or backpack compartment rather than on an open countertop. A protective carry solution such as the Peak Design Everyday Backpack 20L Zip can be useful for transporting your film kit or keeping scanning accessories and sleeves organized between sessions.
What are the most common mistakes beginners make when developing black and white film?
The most common error is poor loading technique. If the film is not seated correctly on the reel, chemistry cannot reach the emulsion evenly and the roll may be damaged before development even begins. Practice loading with a sacrificial roll in daylight first, then repeat in a changing bag until the motion feels natural.
Another frequent mistake is inaccurate timing or inconsistent agitation. Follow the manufacturer instructions closely and use the same agitation pattern every time. Over-agitating can increase contrast and grain, while under-agitating may lead to uneven development.
Chemistry mix-ups are also common. Label every bottle clearly, and never confuse developer with fixer. Once film is fixed before development, the image cannot be recovered. Work methodically, one step at a time, and keep your workspace uncluttered.
Finally, many beginners judge negatives too quickly. Thin, dense, or low-contrast negatives are often still usable with careful scanning. Before changing your entire process, confirm whether the issue came from exposure, development, or scanning settings.
Do I need a special setup for scanning negatives at home?
You do not need a professional lab scanner to get started, but you do need a repeatable setup. Whether you use a dedicated film scanner or a digital camera scanning rig, stability and alignment make a huge difference. If you are camera scanning, keep the sensor plane parallel to the film, use even backlighting, and shoot in a way that preserves maximum tonal information.
A tripod is often the easiest way to build a stable home scanning station. The Peak Design Pro Tall Tripod can help create a secure overhead or copy-style setup for photographers digitizing black and white negatives with a digital camera.

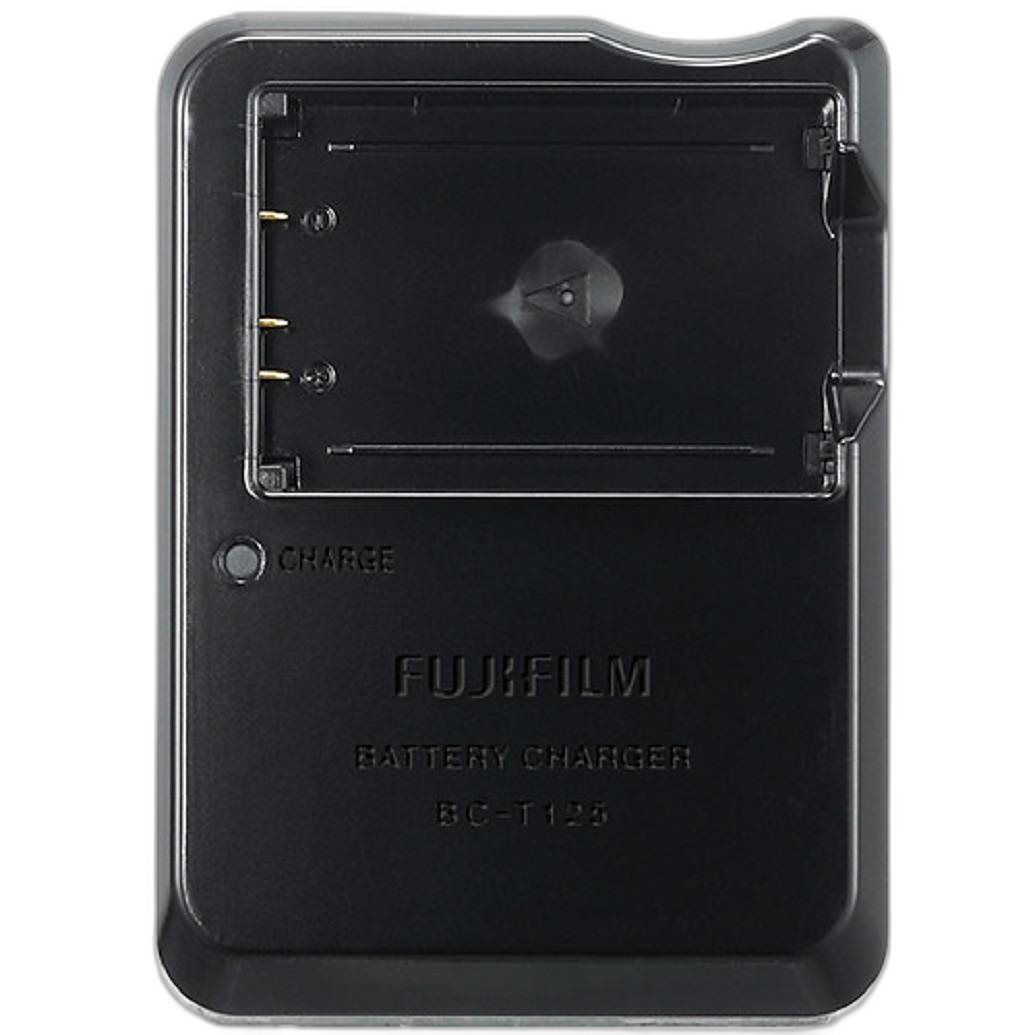
Power management also matters during longer scanning sessions. If your digital camera relies on rechargeable batteries, keeping a charger ready helps avoid interruptions. For Fujifilm GFX users scanning medium format negatives, the Fujifilm BC-T125 Battery Charger is a practical accessory to keep your workflow moving.
How do I avoid scratches, dust, and water marks on my negatives?
Clean handling is everything. Use only the edges of the film, and make sure reels, tanks, scissors, and clips are fully clean and dry before use. Residue inside the tank or on the reel can transfer to fresh film. During the final rinse, use the correct amount of wetting agent and avoid over-mixing, since too much can leave marks instead of preventing them.
Dust is usually a room issue, not a chemistry issue. Keep your drying area simple, wipe surfaces before processing, and store sleeves and negatives away from loose fibers. If you later scan with a camera, dust that seemed minor on the strip can become very visible in high-resolution files, so a clean drying routine saves editing time later.
Should I push or pull film as a beginner?
In most cases, no. The best beginner strategy is to expose and develop film normally until you understand what standard results look like. Pushing and pulling can be powerful tools, but they add another variable at the exact stage when you are trying to build consistency. Start with box speed, standard development, and careful notes.
Once you have a few successful rolls behind you, you can experiment intentionally. If you do start pushing, be prepared for more contrast and potentially more visible grain, depending on the film and developer combination. The key is changing only one variable at a time so you can tell what caused the result.
What is the best way to stay organized with a home film workflow?
Organization prevents mistakes. Keep exposed film separate from developed negatives, store chemistry in clearly labeled containers, and write down your film stock, ISO, developer dilution, temperature, agitation, and total time for every roll. A compact bag can help keep your tools together if your processing area doubles as a kitchen or bathroom. For photographers who want a portable, tidy carry option for reels, gloves, sleeves, and small accessories, the PGYTECH OneMo Sling 11L can fit naturally into a mobile home workflow.
After your negatives are dry and scanned, consider preserving favorite prints in a dedicated album. The Pioneer TS-246 Oxford Brass Corner Photo Album is a simple way to archive 4x6 prints from your black and white work and keep a physical record of your progress.
Where should beginners buy black and white film developing supplies?
It helps to buy from a retailer that understands both analog and hybrid workflows. At Unique Photo, film photographers can shop for chemistry, processing accessories, storage, scanning tools, and camera support gear in one place. That makes it easier to build a system that works now and grows with you as your technique improves.
Whether you are assembling your first home developing kit or refining your scanning setup, Unique Photo can help you choose dependable gear for a cleaner, more repeatable black and white process. Explore our film and darkroom essentials, and if you are unsure where to begin, reach out to Unique Photo for guidance tailored to your setup and experience level.